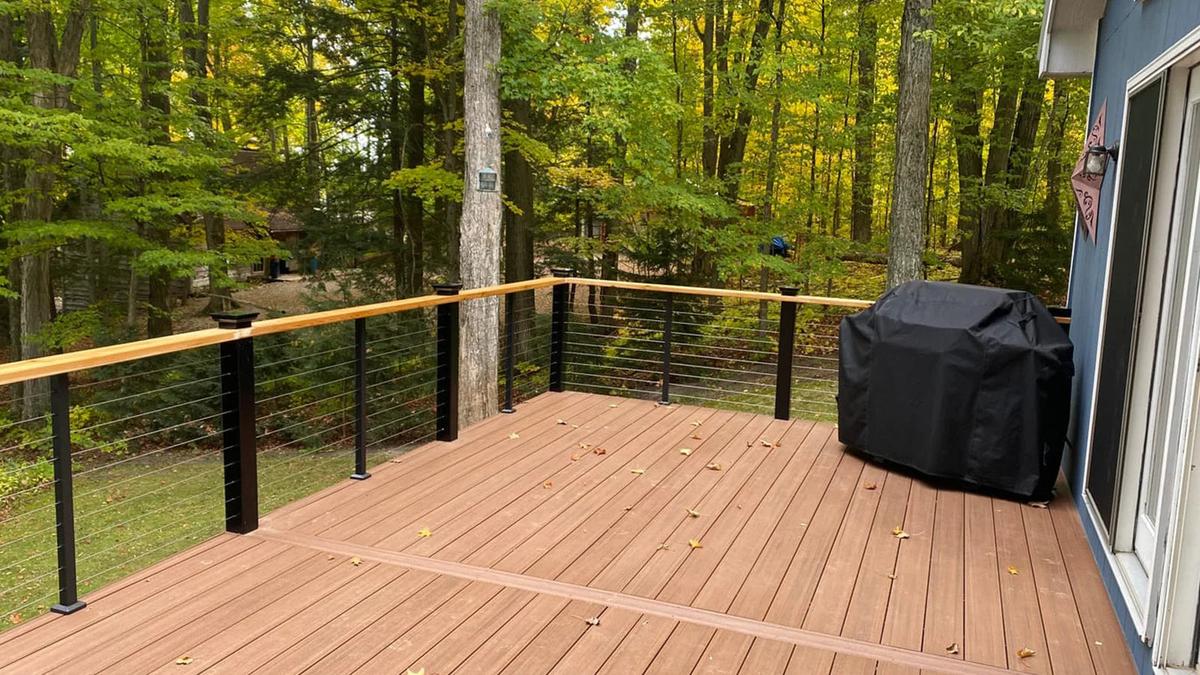
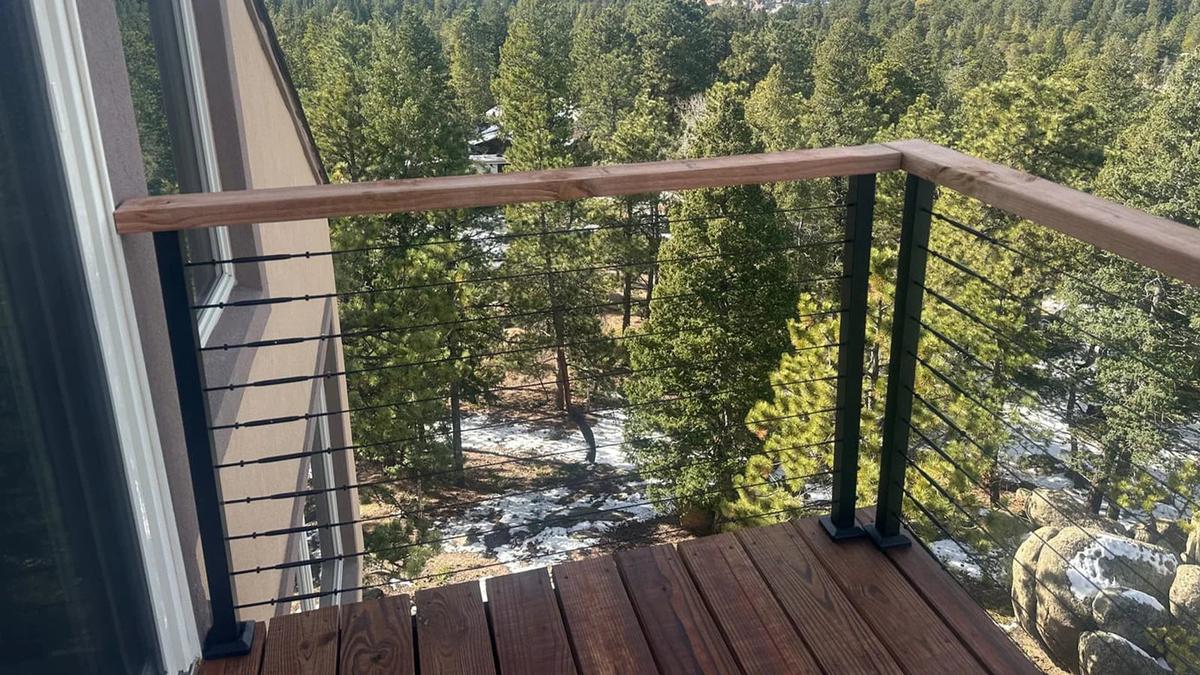

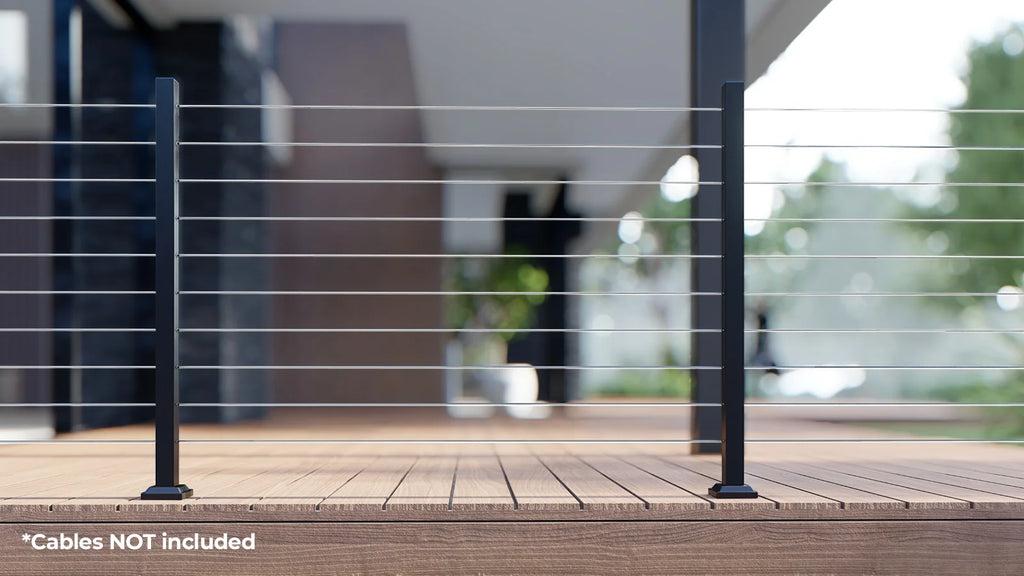
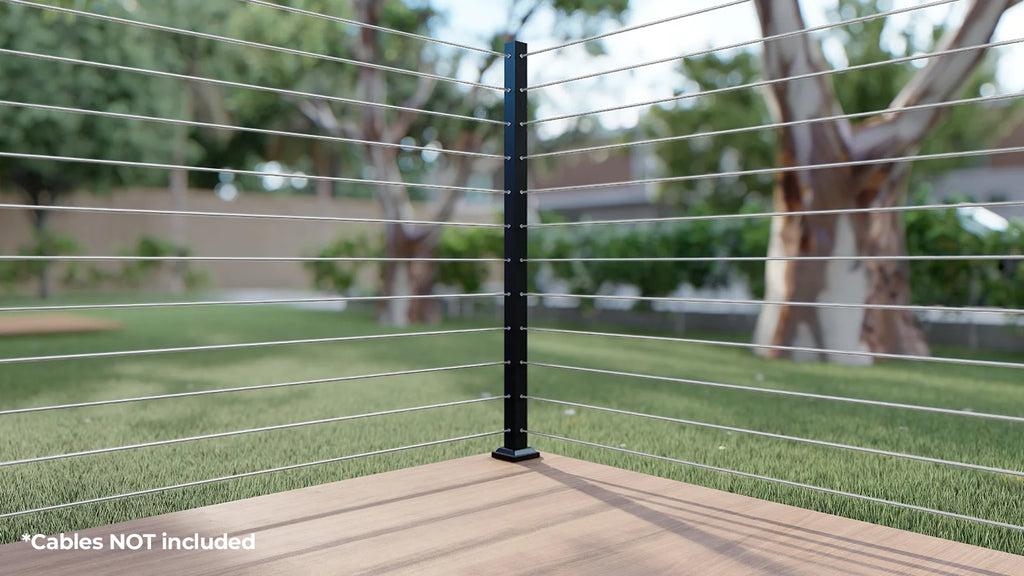
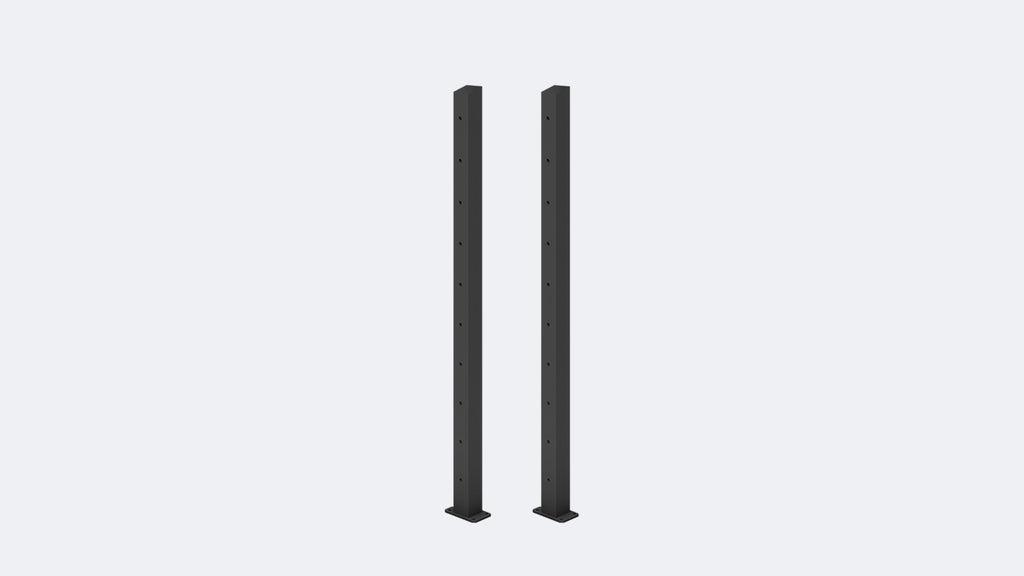
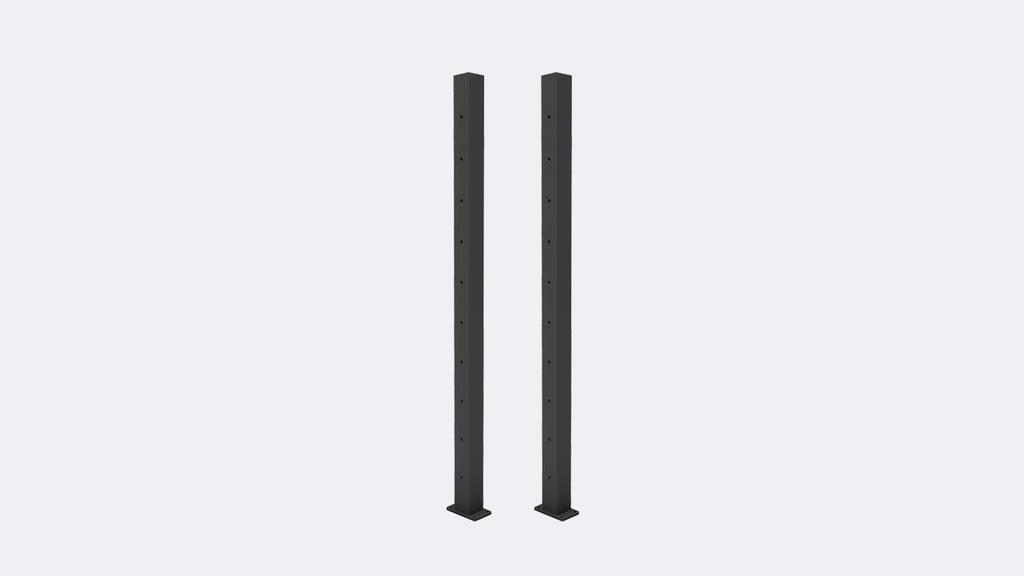
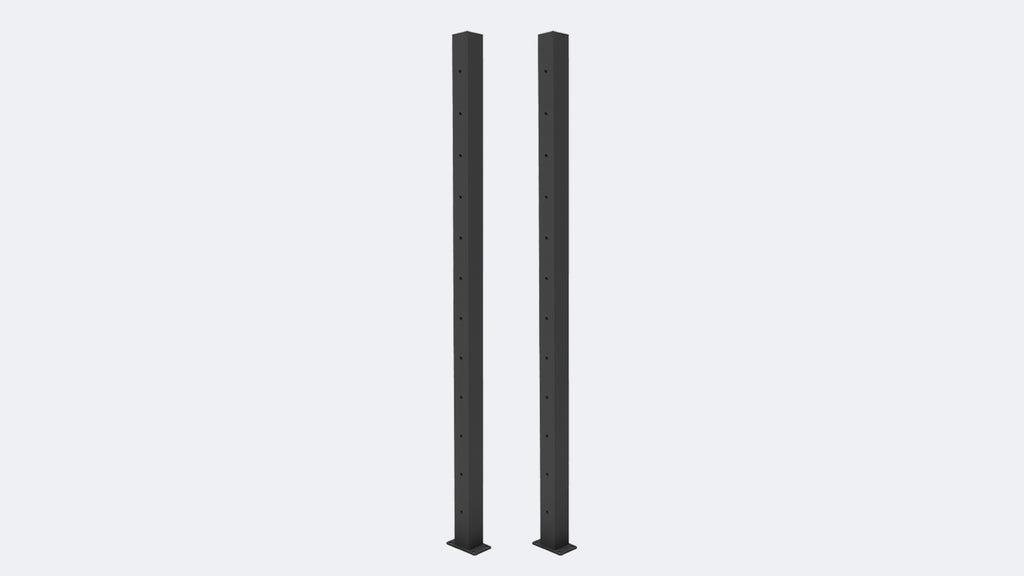
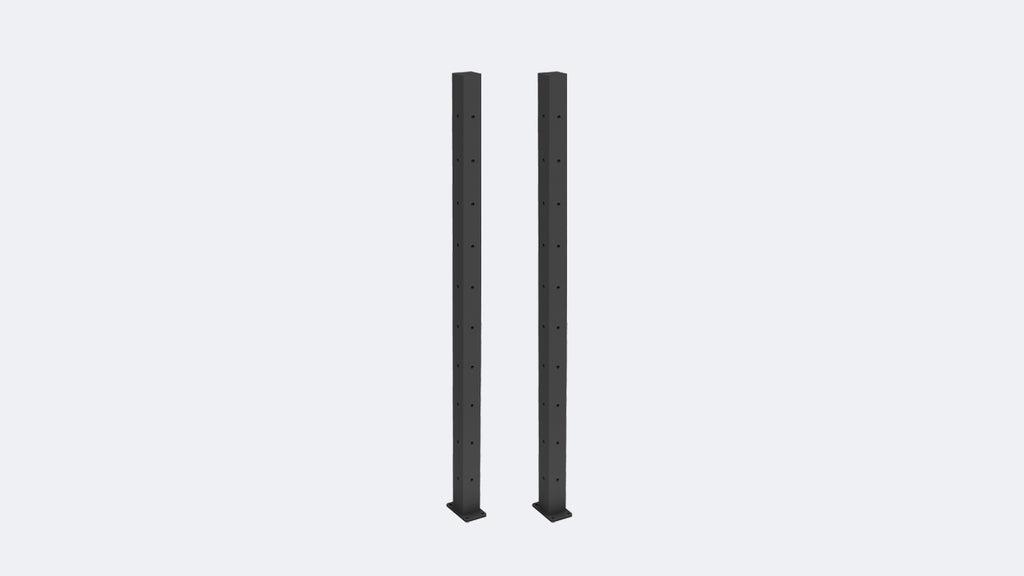
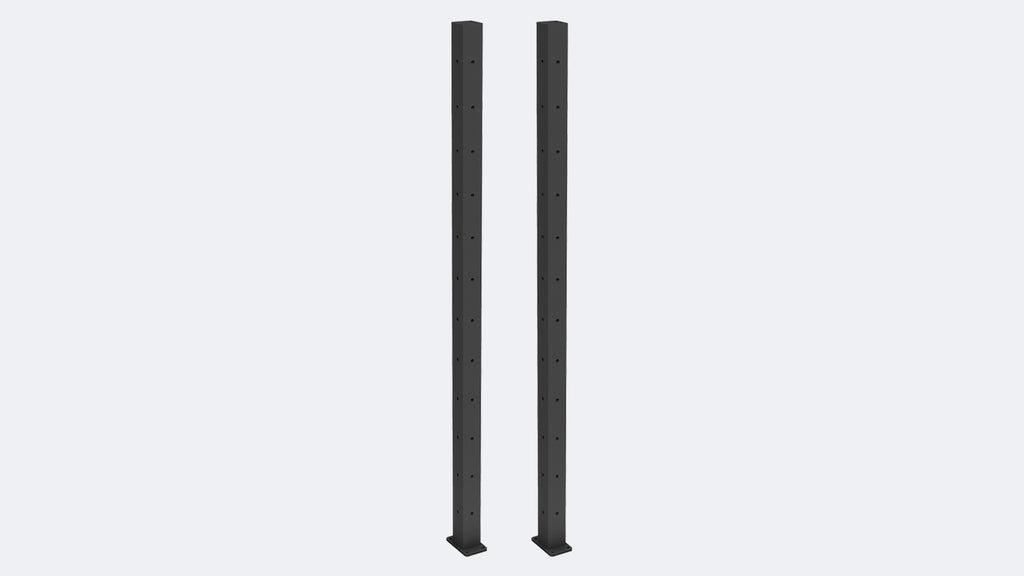
Straight Cable Post 42" (1pc)
$69.97 Regular price Sale price Regular price $69.97 Unit price / per (Shipping)
Usually paired with this product:
Adding product to your cart
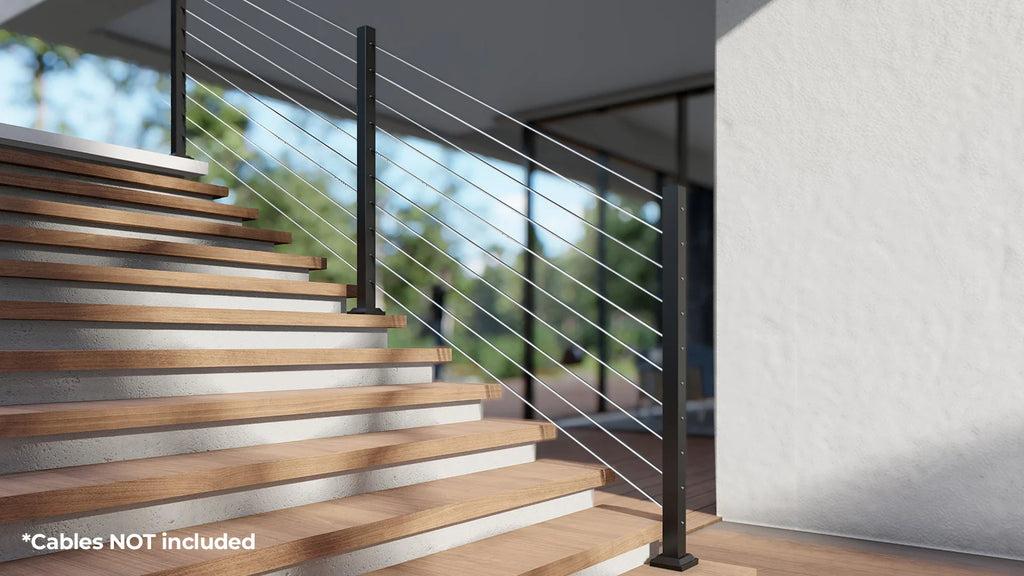
Our Top Mount Cable Rail Posts are our most versatile cable rail product. It's available in residential and commercial heights, and depending on the type can be compatible with straights, corners, or stairs.
Complete your railing setup with Stainless Steel Cable Reels and Top Rails.
Size chart
| Size (Variant) | Total run (in) | Total run (ft) |
|---|---|---|
| 1 & 2 Steps (CRHR1) | 12” | 1' |
| 3 Steps (CRHR2) | 12.01” - 24” | 1.01’ - 2’ |
| 4 Steps (CRHR3) | 24.01” - 36” | 2.01’ - 3’ |
| 5 Steps (CRHR4) | 36.01” - 48” | 3.01’ - 4’ |
| 6 Steps (CRHR5) | 48.01” - 60” | 4.01’ - 5’ |
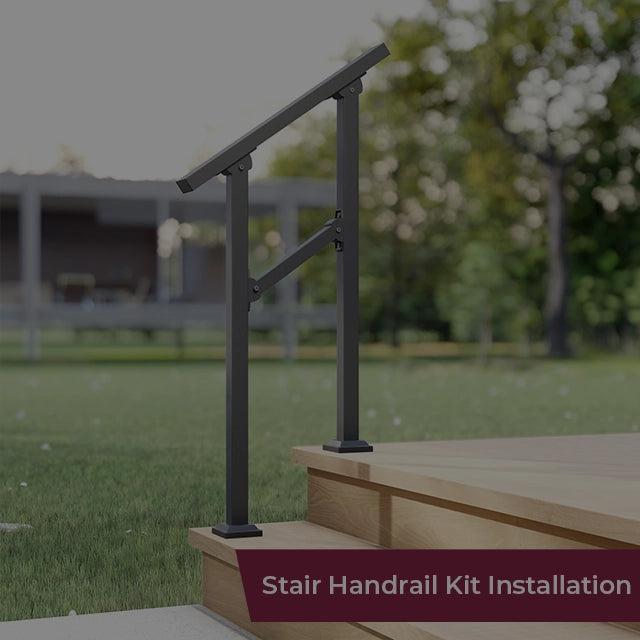
This chart outlines which variant of our Stair Handrail Kit you should purchase depending on the measurement of your stairs.
If your stairs are longer than 60 inches or 5 feet, you will need to combine two or more Handrail Kits to cover the entire run. Our Instant Quote feature can recommend you the exact products and parts you’ll need for your layout.
If you are connecting the Stair Handrail Kit to a Flat Rail Kit on a turn, purchase and use one size up for the top rail to reach the Flat Rail.
In addition to this, you also need to ensure that your stairs have enough clearance for our rails to fit.
Measuring your stairs
For any type of staircase, you need to get the distance between the edge of the first step landing and the edge of the top landing. It is possible that you are able to measure the total distance in one go using your tape, however, you can measure each step individually for precision.
Below, we illustrate how you can do this for the most common types of stairs:
Without nosing
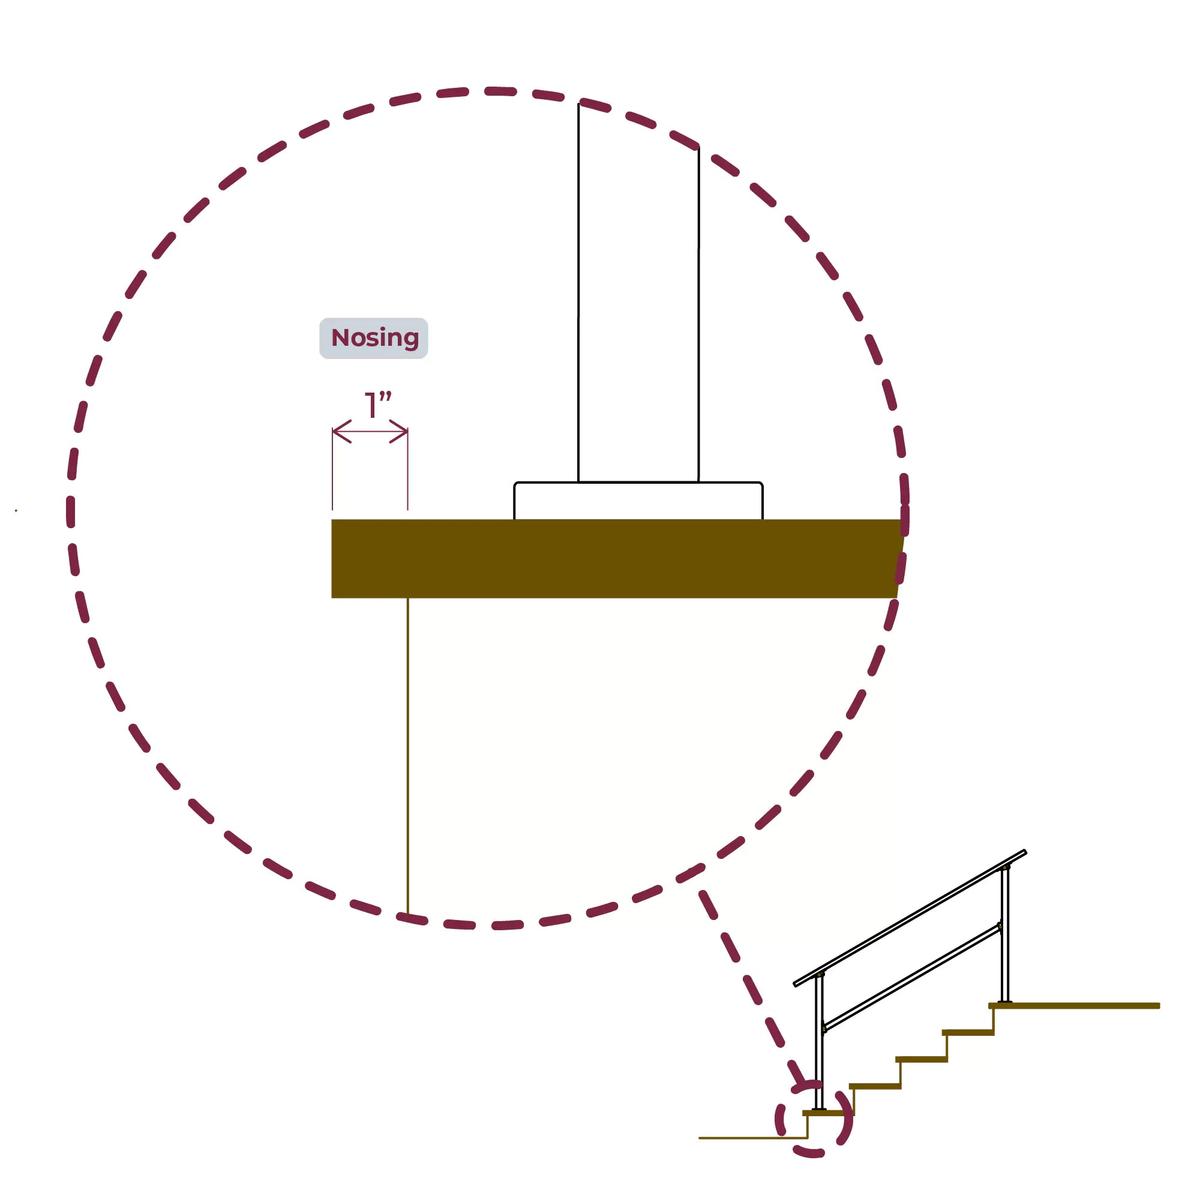
With nosing
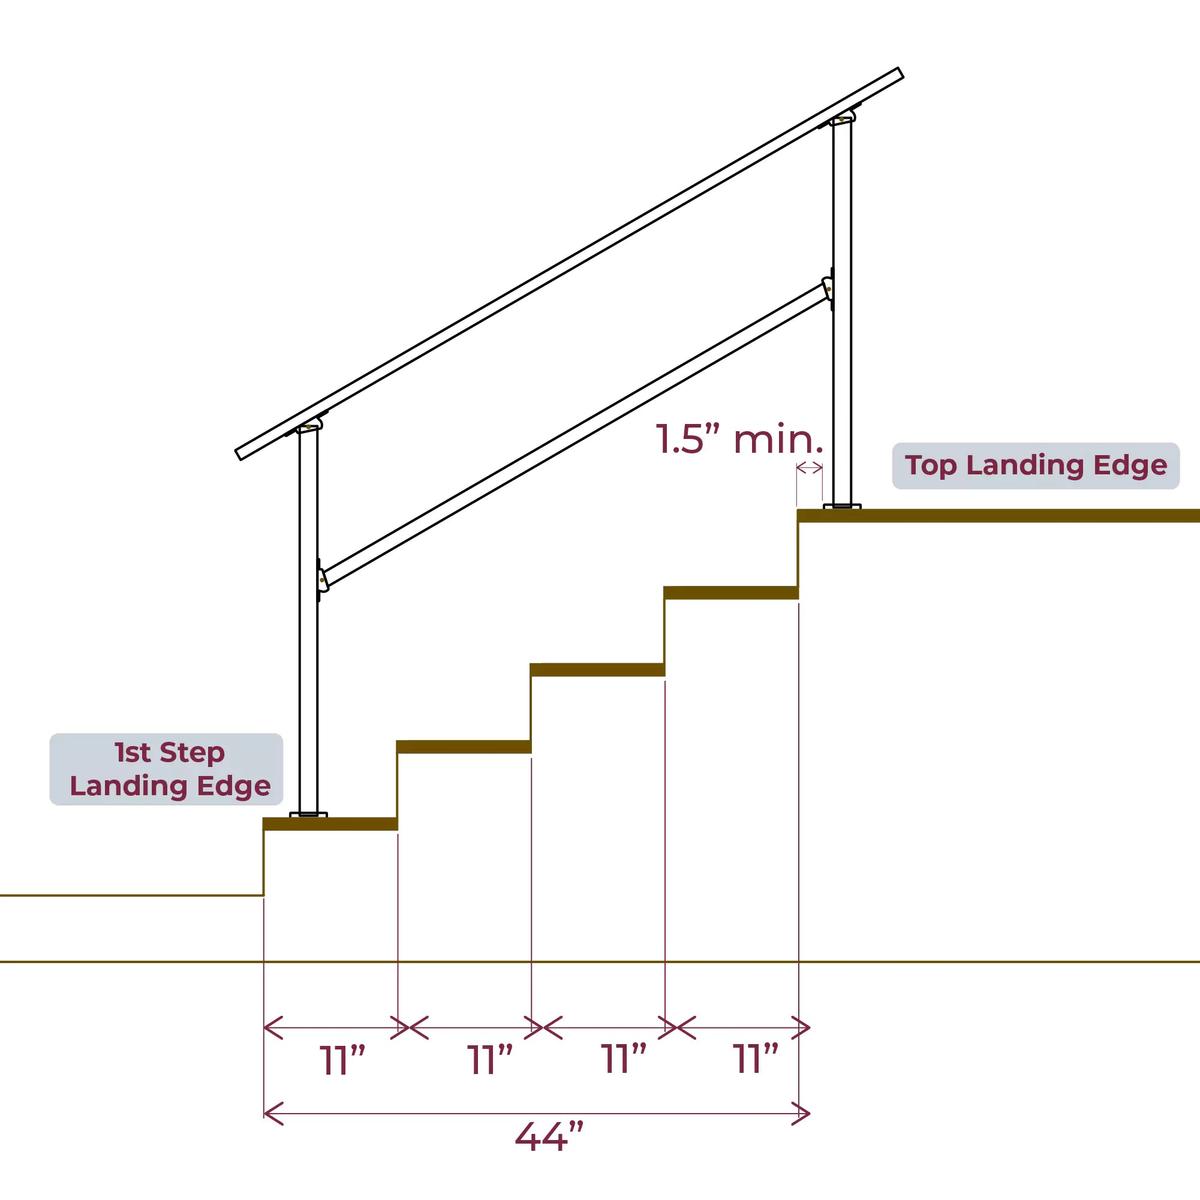
Step 1: Measure the run or tread depth of each step beginning with the first step landing until the last step landing
Step 2: Add each measurement to get the sum or distance of your stairs
In this example, each step has a run of 11 inches and we have 4 steps. The total distance is 44 inches or 3.67 feet.
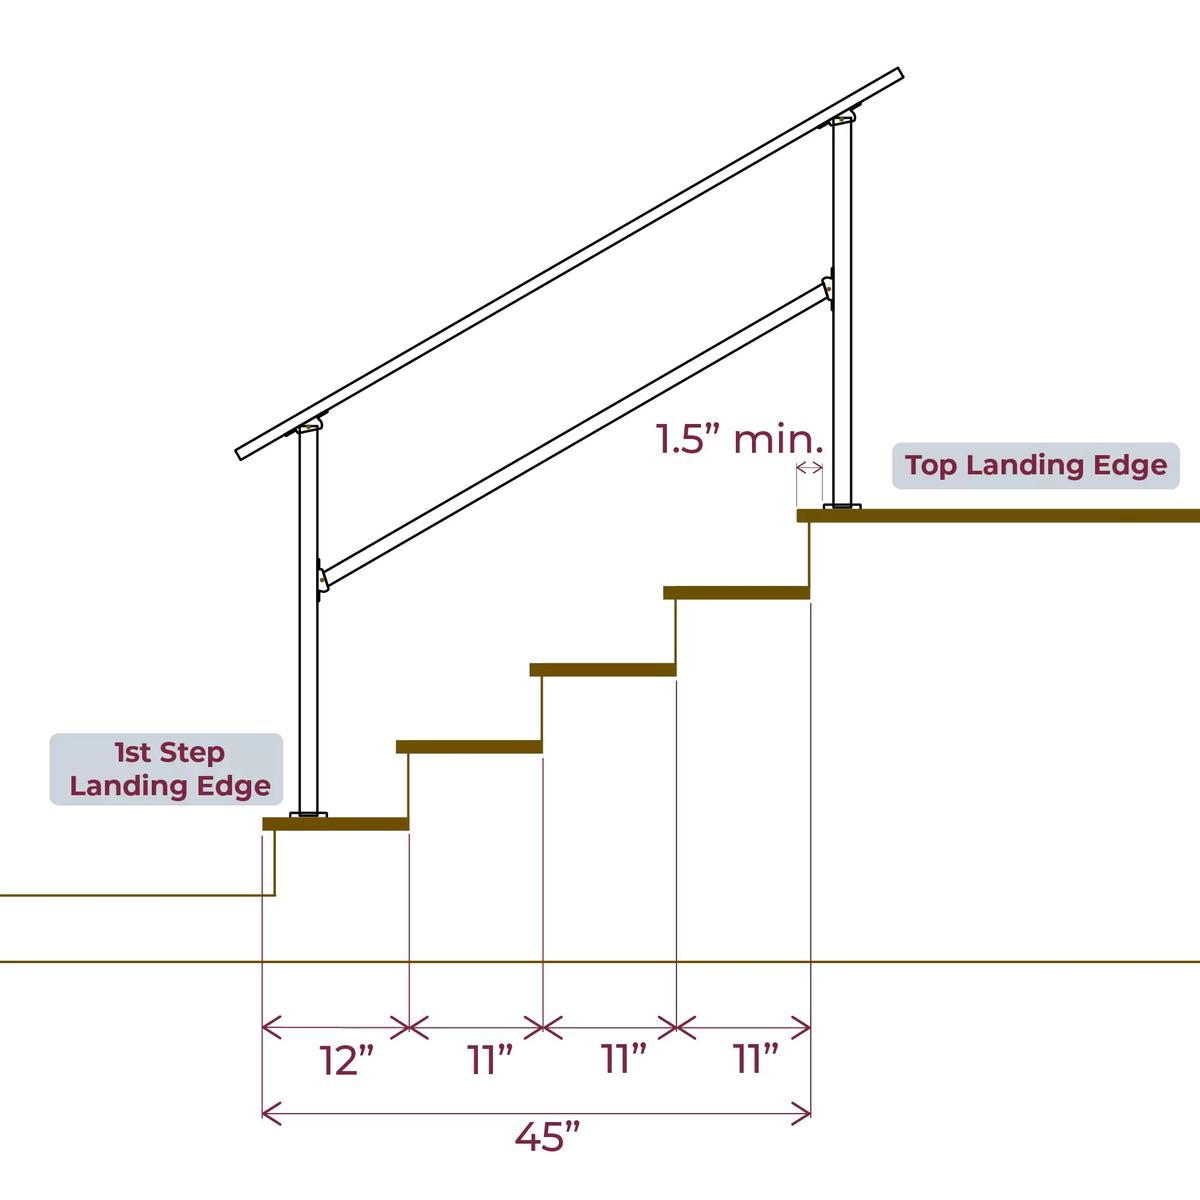
For stairs with nosing, the tread depth is equal to the run of each step plus the nosing depth.
We will need to get the tread depth of the first landing, and then get the sum of the runs for all succeeding step landings.
Our instructions assume uniform measurements for each step.
Step 1: Measure the nosing of the first step landing
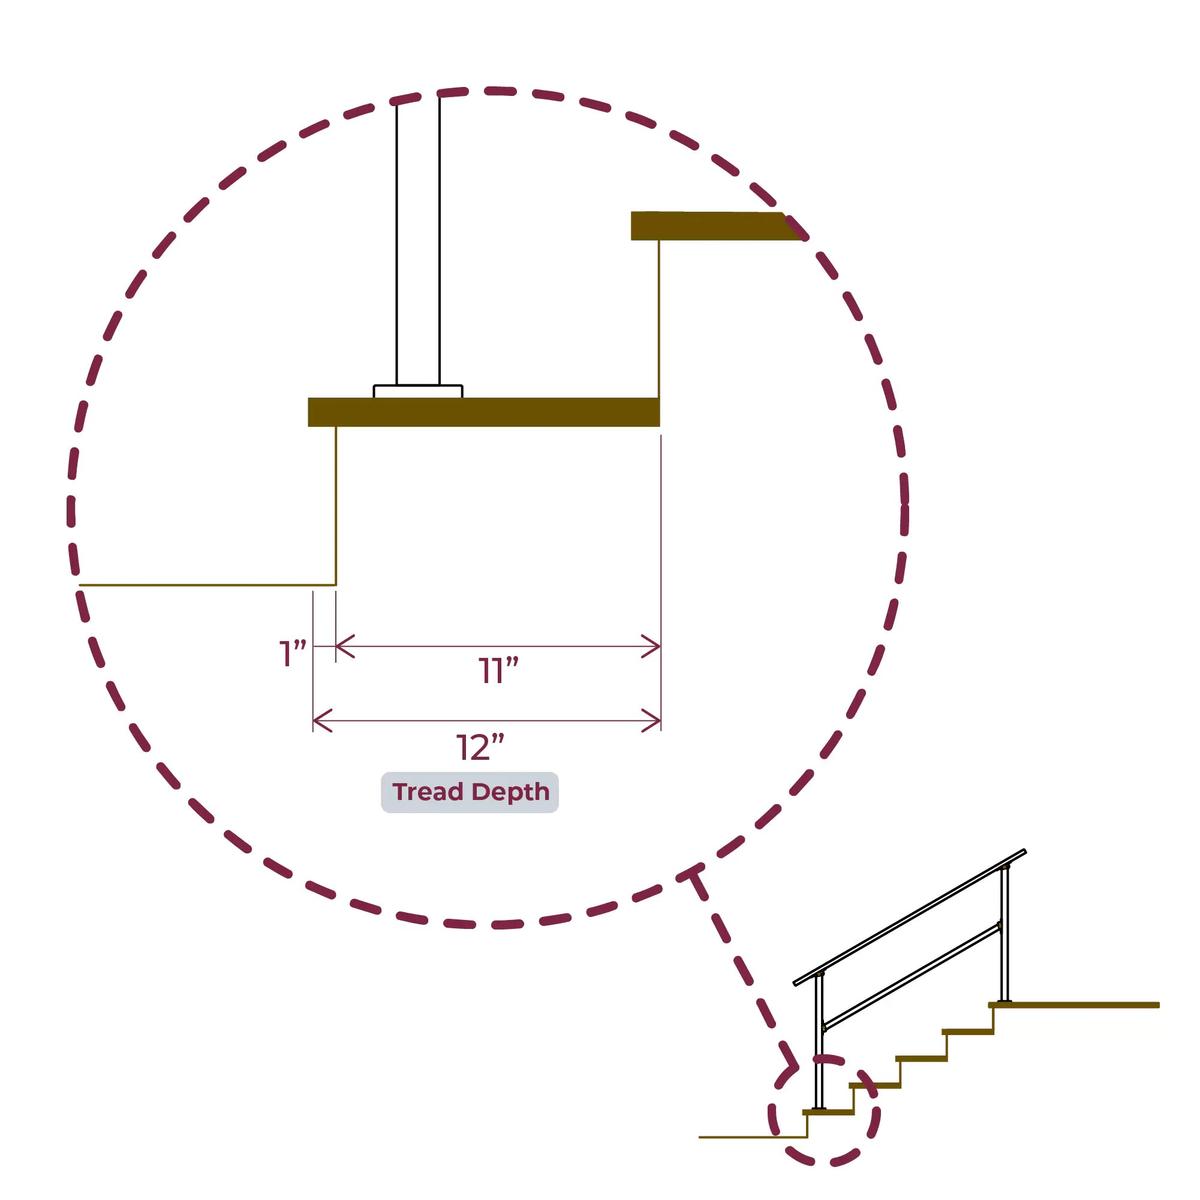
Step 2: Get the tread depth of the first step landing (include the nosing in the measurement)
Step 3: Measure the tread depth of the second step landing
Step 4: Subtract the nosing from Step 1 from the measurement you got in Step 3. This is the run for this step landing.
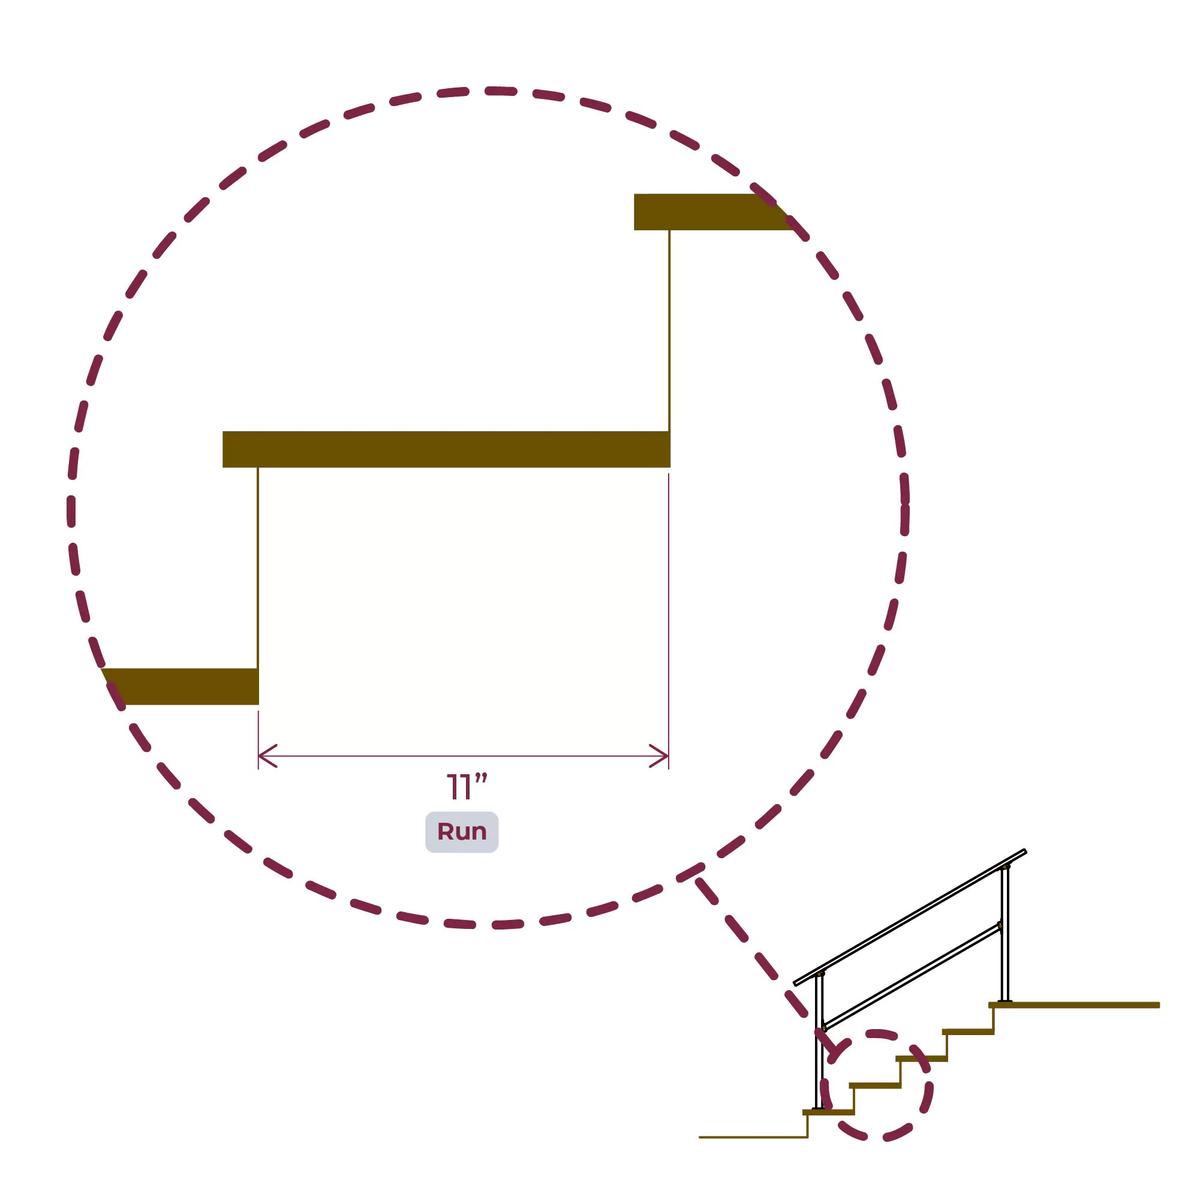
Step 5: Repeat Steps 3 and 4 until you have the run for each succeeding step landing
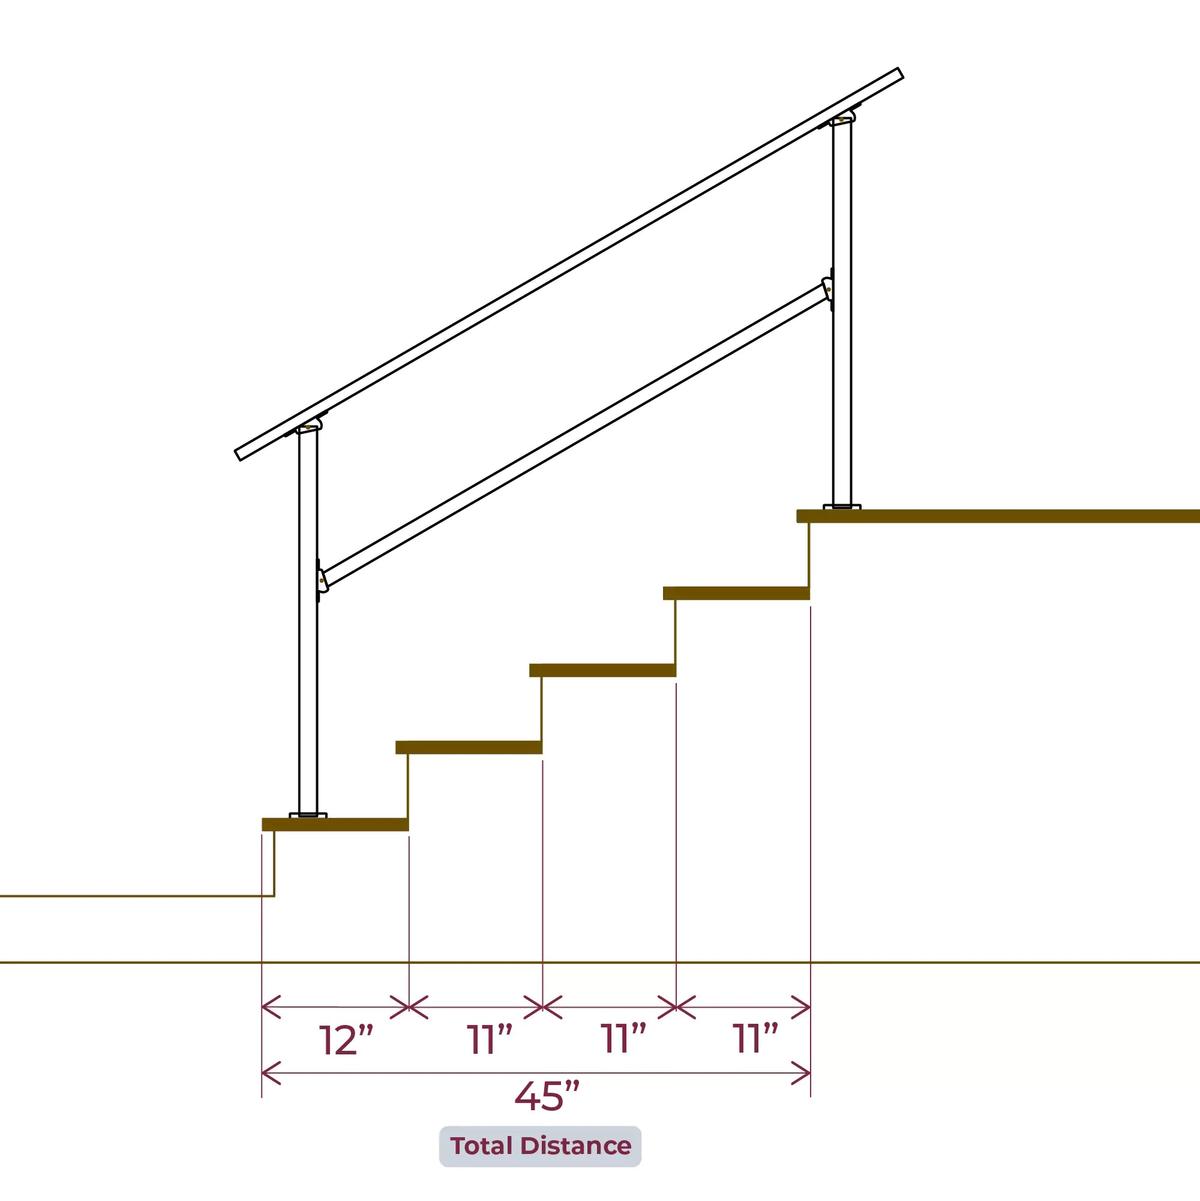
Step 6: Add the tread depth of the first step landing (from Step 2) to the sum of the runs of the second step landing onwards (Step 4 and 5)
In this example, the first step is 12 inches deep and the succeeding steps are 11 inches deep. Together, the total distance is 45 inches or 3.75 feet.
Resolving clearance issues
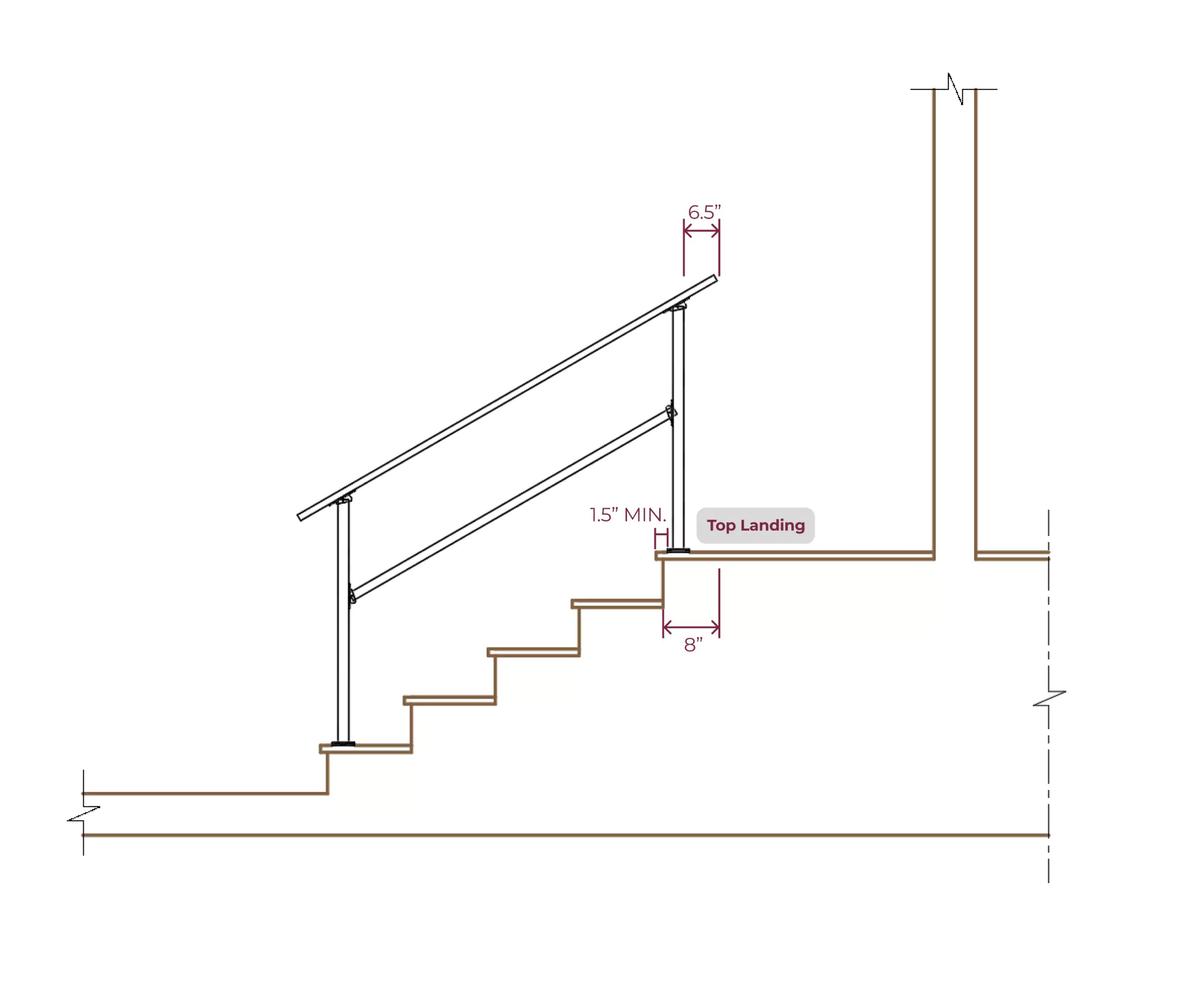
Your top landing needs to have at least 8 inches of free space in order for the top rail to comfortably fit end-to-end without further adjustments.
If your top landing does not have enough clearance, the next section outlines some possible solutions for you.
Clearance workarounds
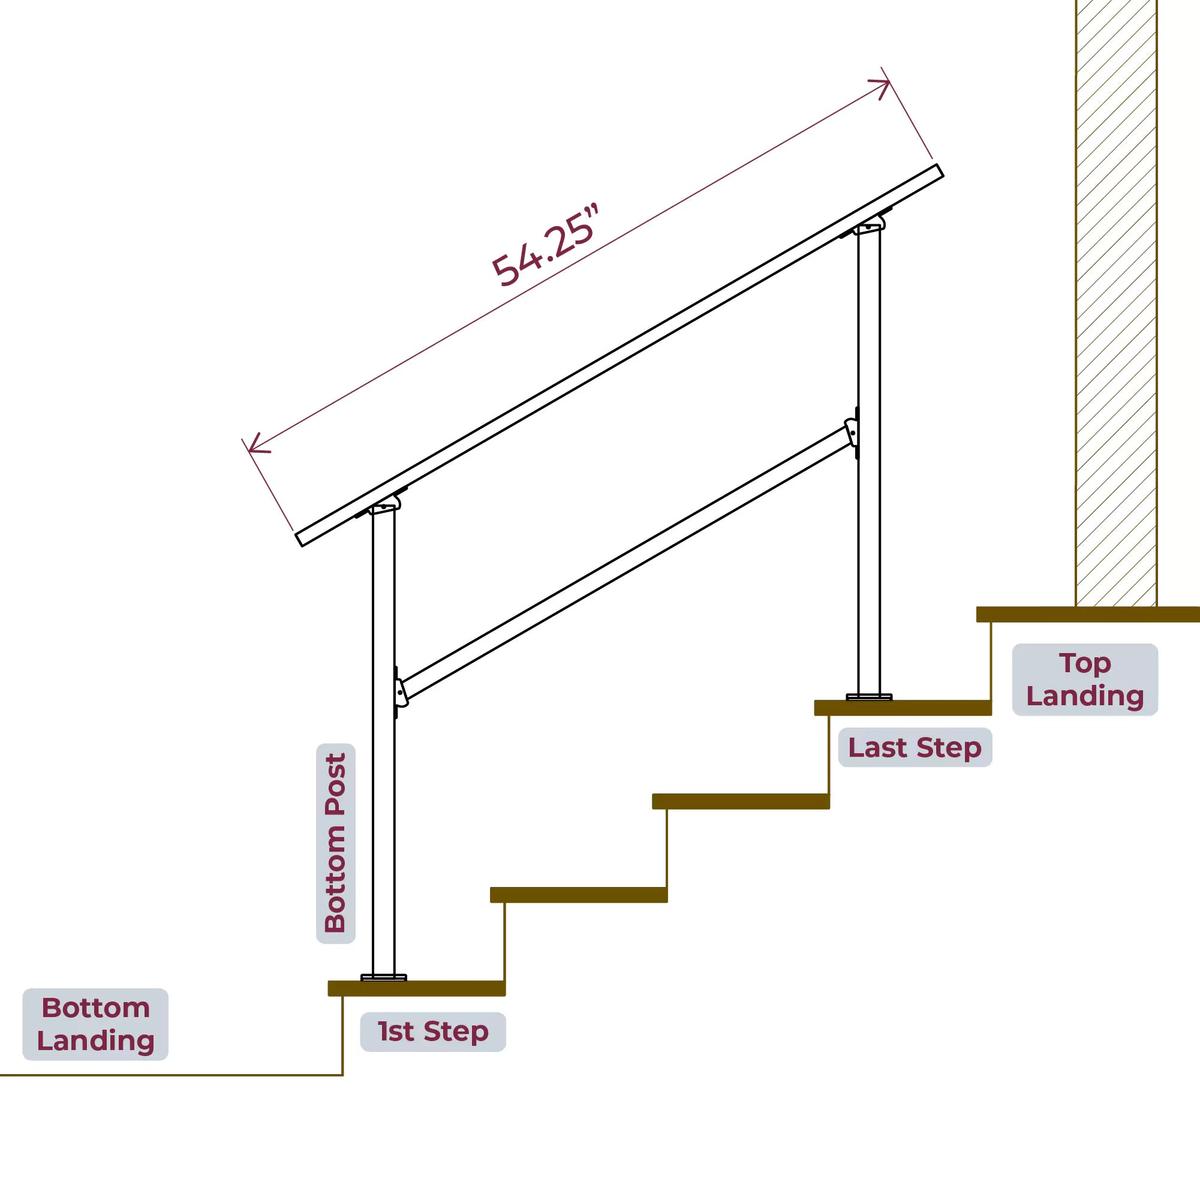
Option 1
Size down to a shorter variant (e.g., the 4 Step Kit).
Look
Function
Time & Effort
Pros
Easy. No modifications
Cons
Doesn’t cover entire length of stairs
Post baseplate potentially too close to step’s edge
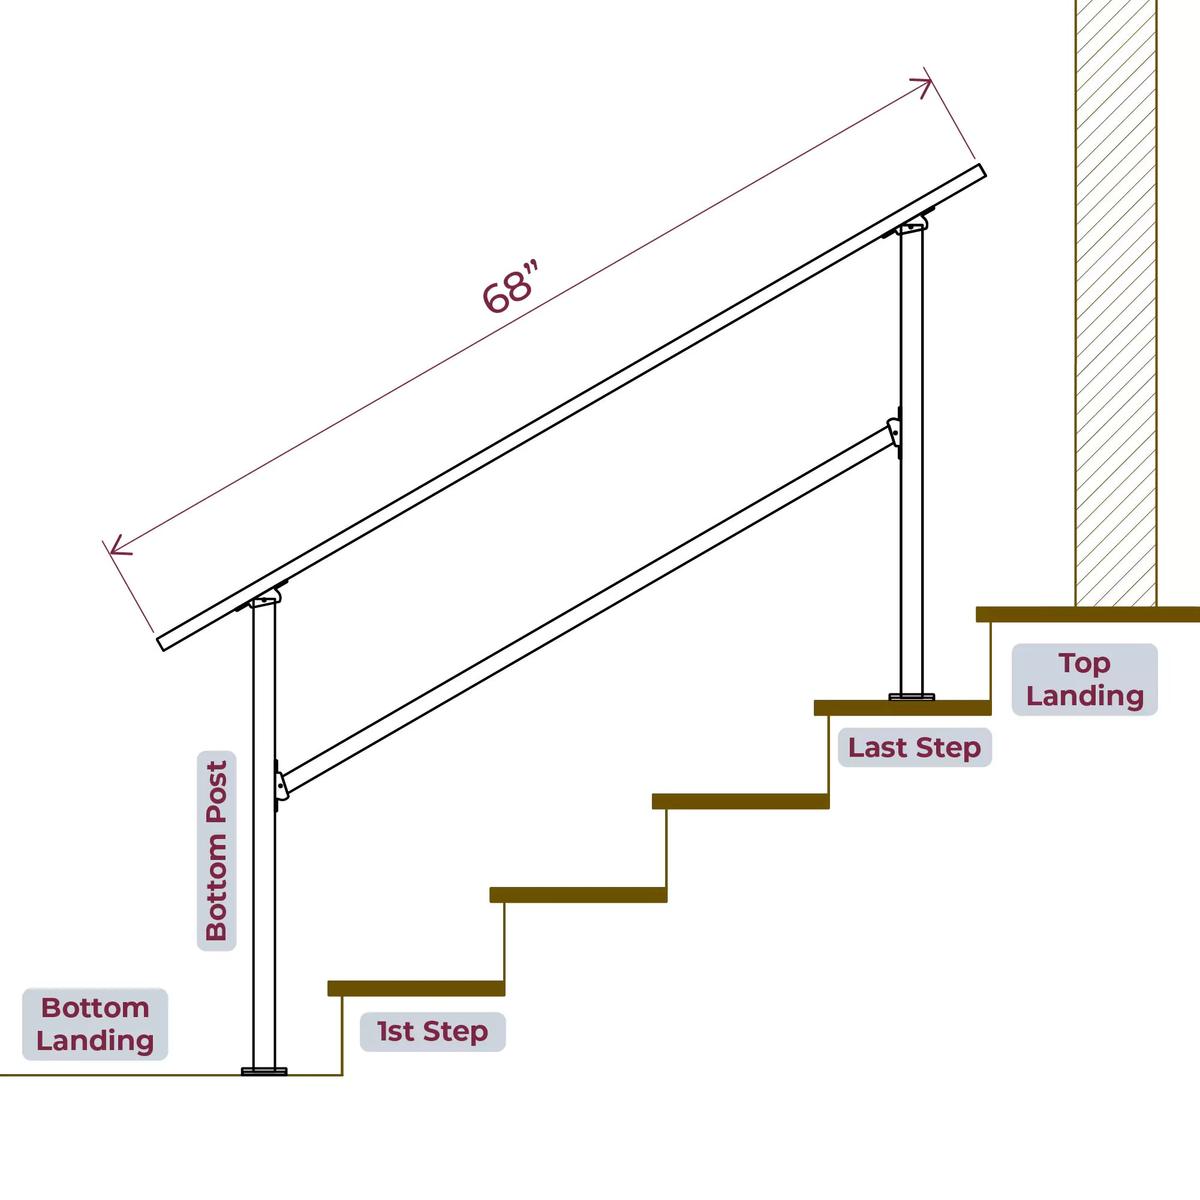
Option 2
Move the whole rail kit down one step to bottom landing
Look
Function
Time & Effort
Pros
Easy. No modifications
Cons
Lower post extrudes
Doesn’t cover entire length of stairs
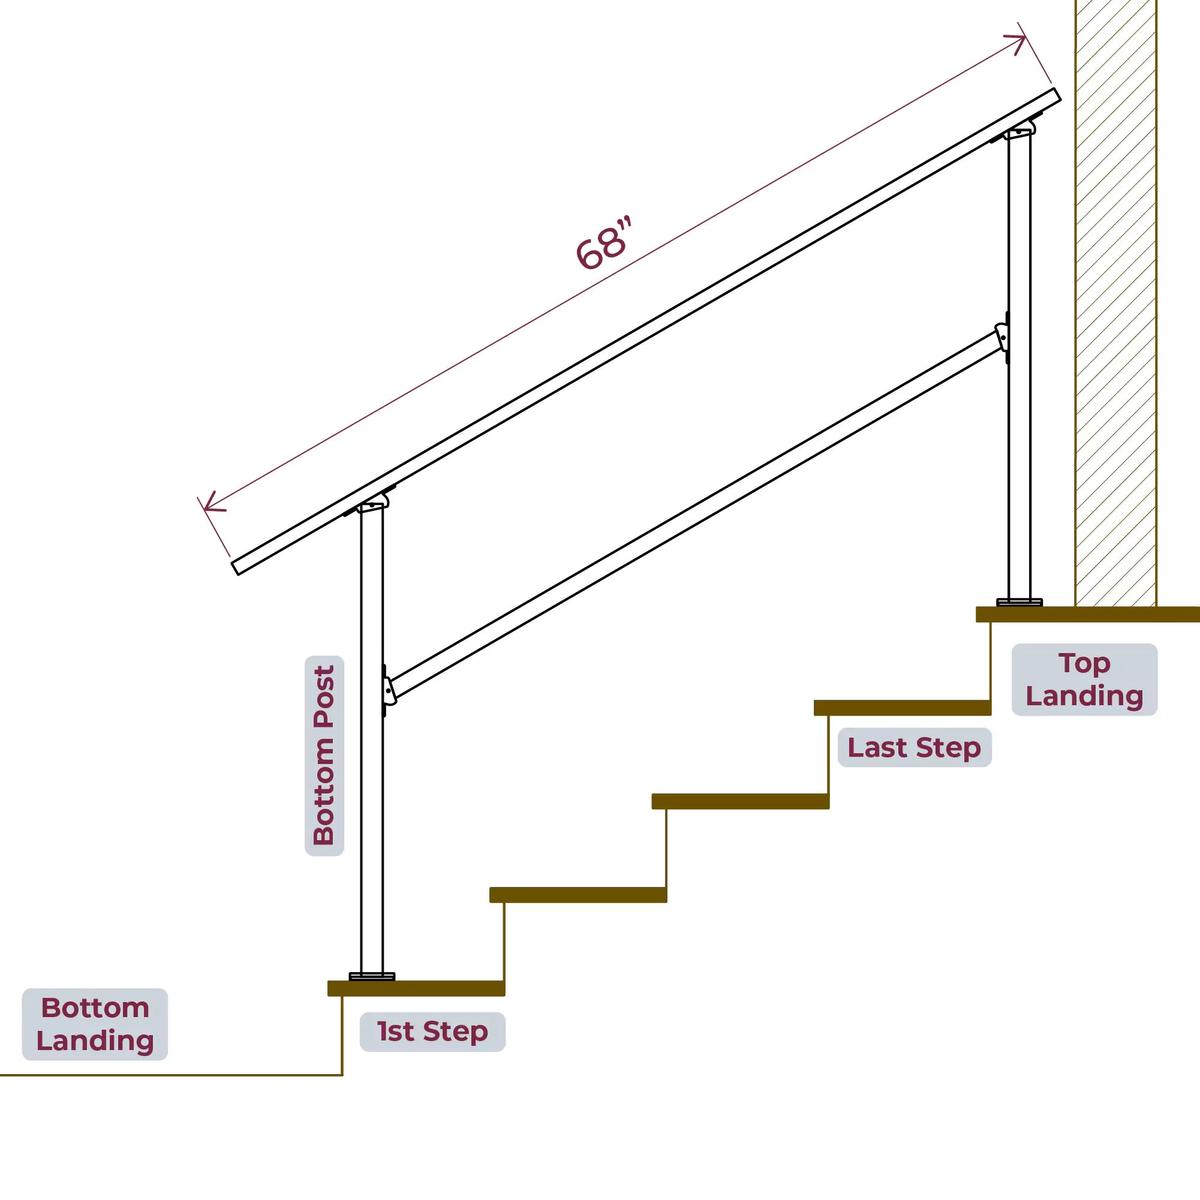
Option 3
Position top rail further down instead of centered
Look
Function
Time & Effort
Pros
Top rail covers entire length until door
No cutting needed
Cons
Top rail extrudes at bottom
Requires self-drill holes
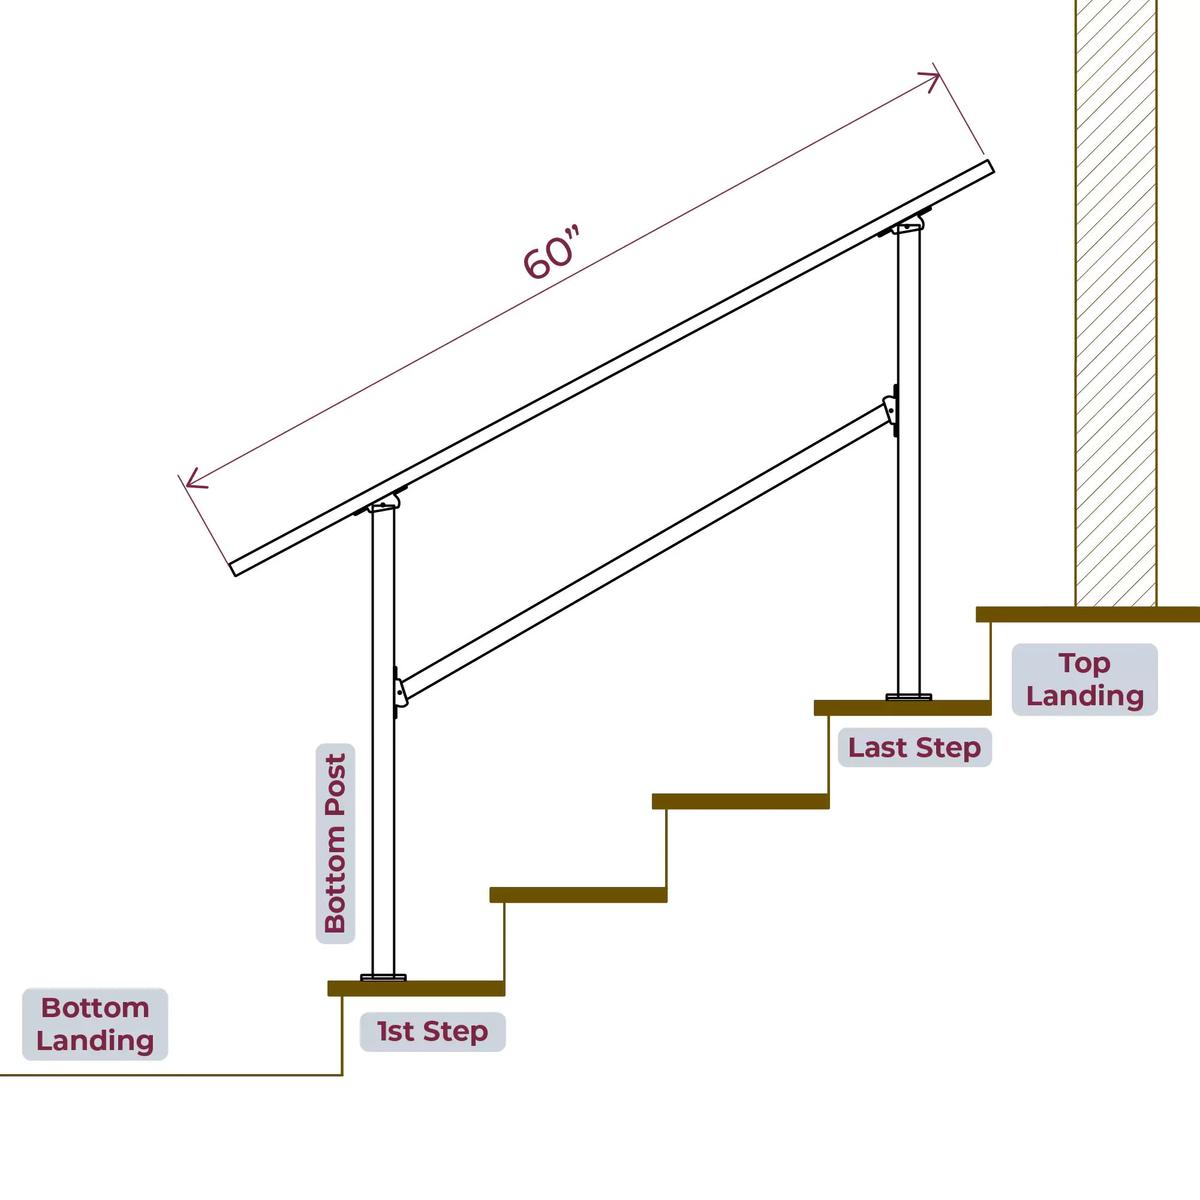
Option 4
Move upper post down and cut top & middle rail.
Look
Function
Time & Effort
Pros
Perfect fit
Cons
2 cuts necessary
Requires self-drill holes
Engineered to perfection
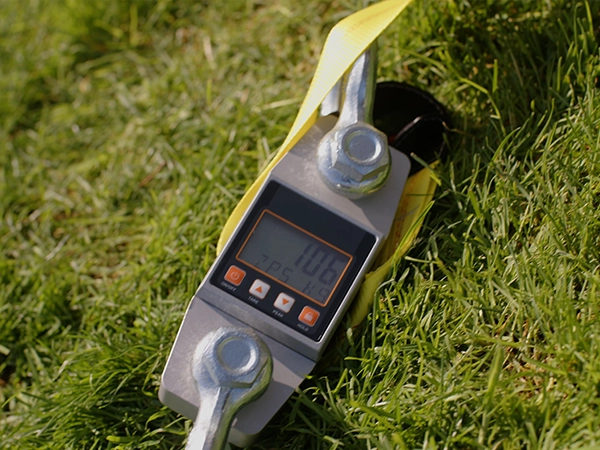 ×
× Built to last
All CRFR products are designed to withstand heavy use. Our posts are tested and certified with a load capacity of see published calculation (106kg).
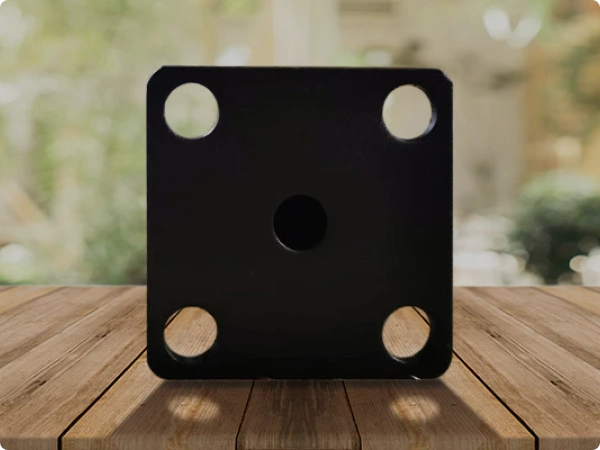
Thoughtfully designed to last longer
Our posts were engineered to prevent water collection at the base. The bottom hole allows proper water drainage and prevents long-term rust build-up.
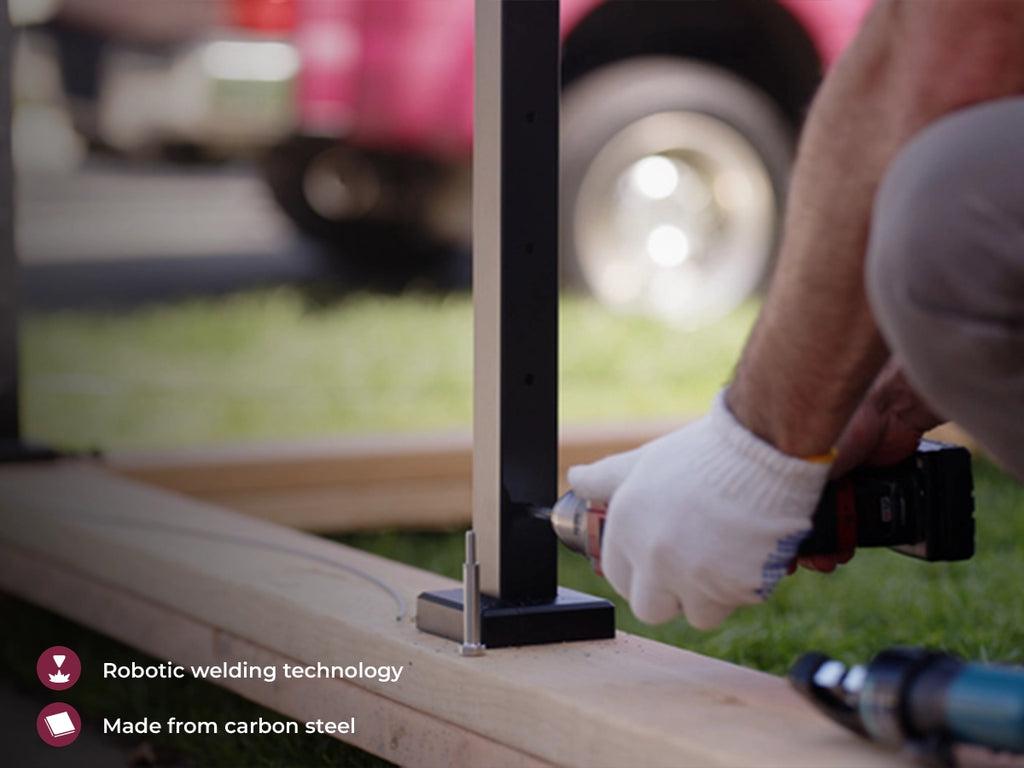
High-quality, safe railings all the time
Our automated process ensures consistent proper deep penetration welds. By using the latest welding technology, we maintain high quality control for safe and durable products.
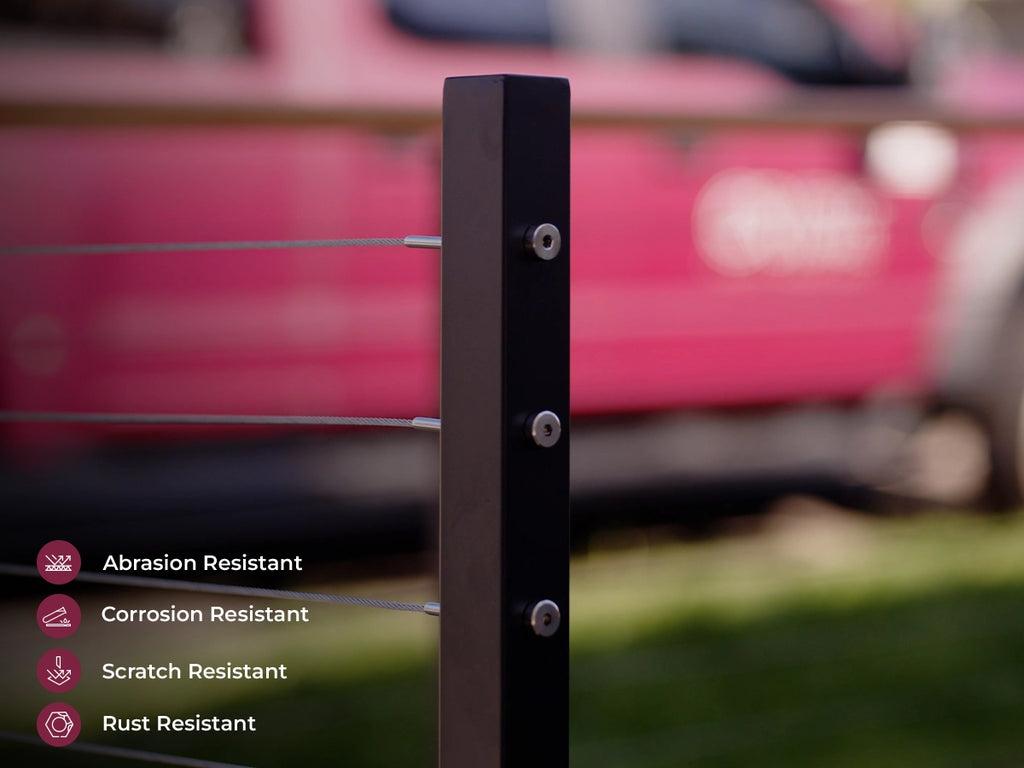
Weather and rust resistant
All our products undergo a 5-stage coating process finished with 60-70μm powder coating. This ensures that our posts don’t peel, chip or flake from the weather, and resist rust.
Made by CR Fence & Rail, America’s #1 selling handrail
Our Top Mount Cable Rail Posts are our most versatile cable rail product. It's available in residential and commercial heights, and depending on the type can be compatible with straights, corners, or stairs.
Complete your railing setup with Stainless Steel Cable Reels and Top Rails.
Designed for DIY use
Our kits come with complete instructions, with each part and tool labeled. If anything is unclear, our industry-leading support team is ready to answer any questions via call or chat.
MODULAR & CUSTOMIZABLE
This Top Mount Cable Rail Post is compatible with the following products for the perfect fit:
- Other Top Mount Cable Rail Posts
- Stair Handrail Kit (when used with Top Rail)
- Horizontal Handrail Kit (when used with Top Rail)
 ×
× 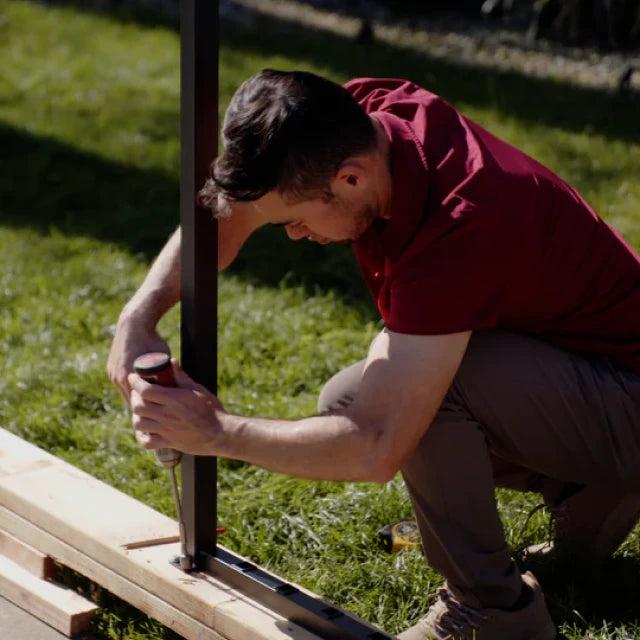 ×
× As demonstrated by our CEO
From installing the posts to attaching the fence channels, our CEO Richard covers all the steps on how to set-up your system easily and efficiently.
Download Assembly GuideGet exactly what you need for your home
Not sure what’ll need to kit your space? Answer a few questions and get specific product recommendations and detailed instructions for your layout.
Get a QuoteVerified easy from happy customers
Loading reviews... See all reviewsGet a Quote in 30 Minutes(6am-6pm PST)
On strength claims: we hold no ICC-ES evaluation report or Intertek CCRR for these systems. Our load cases, material yields and the full arithmetic behind every span figure are published, with a live calculator, on our Engineering & Code Compliance page.