


10-year warranty

Modular, scalable design

International Building Code (IBC) compliant*

90-day return policy
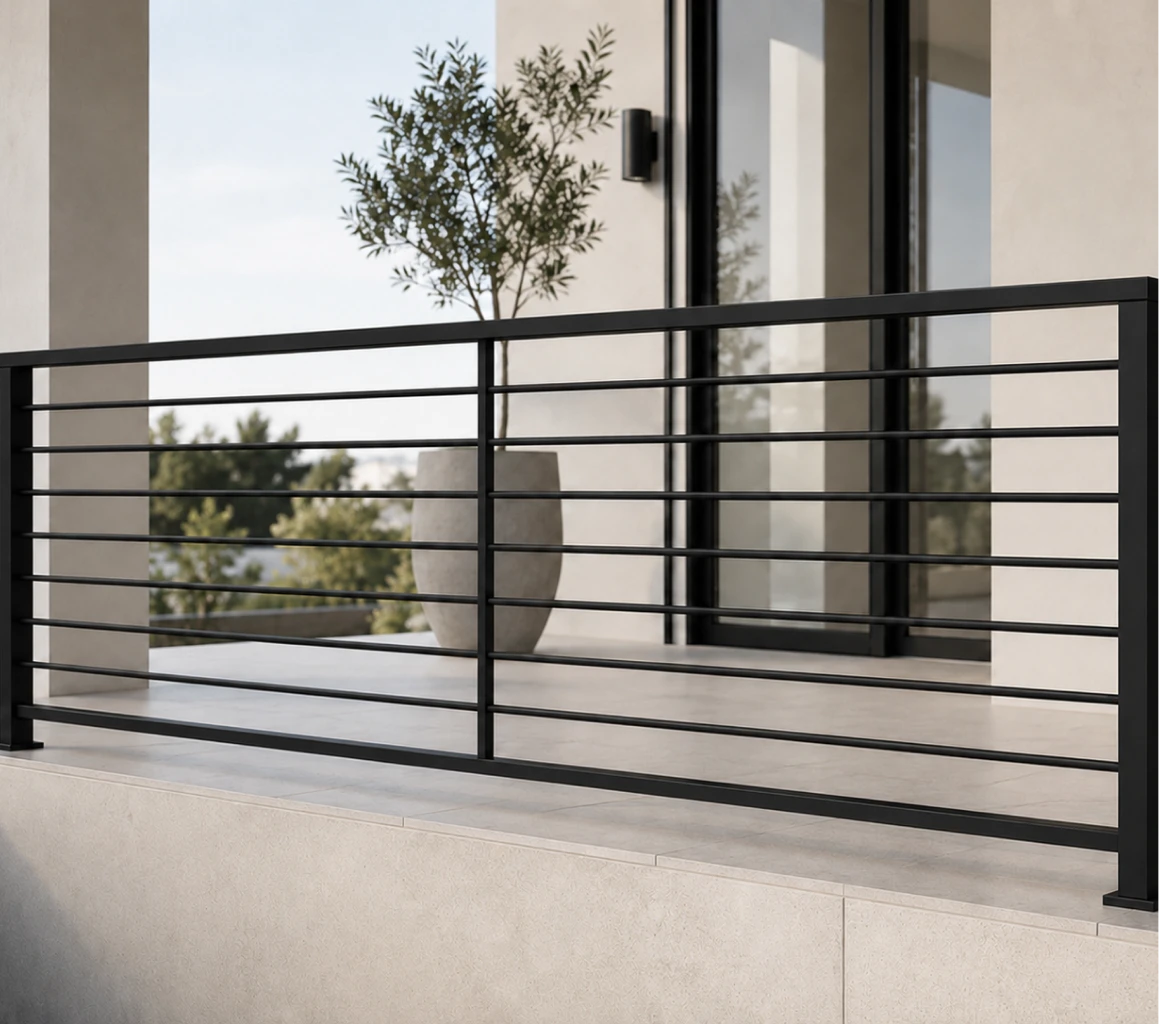
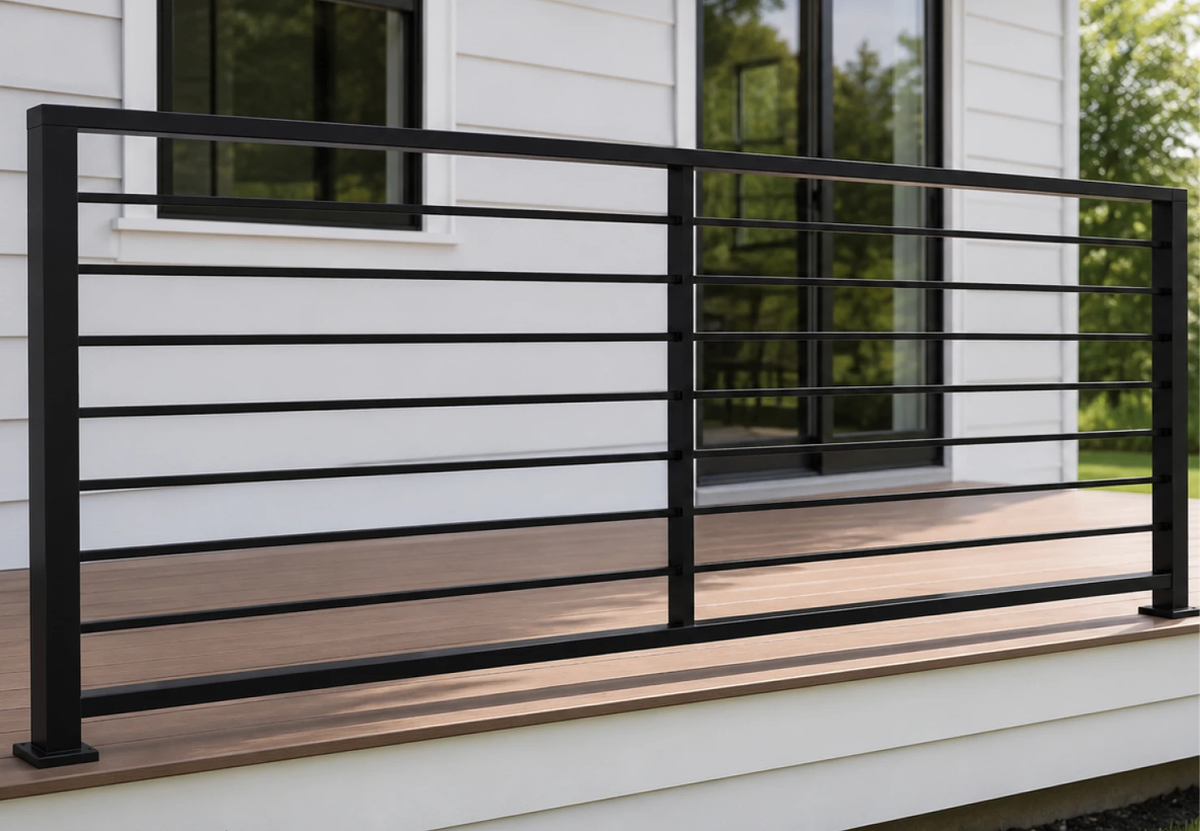
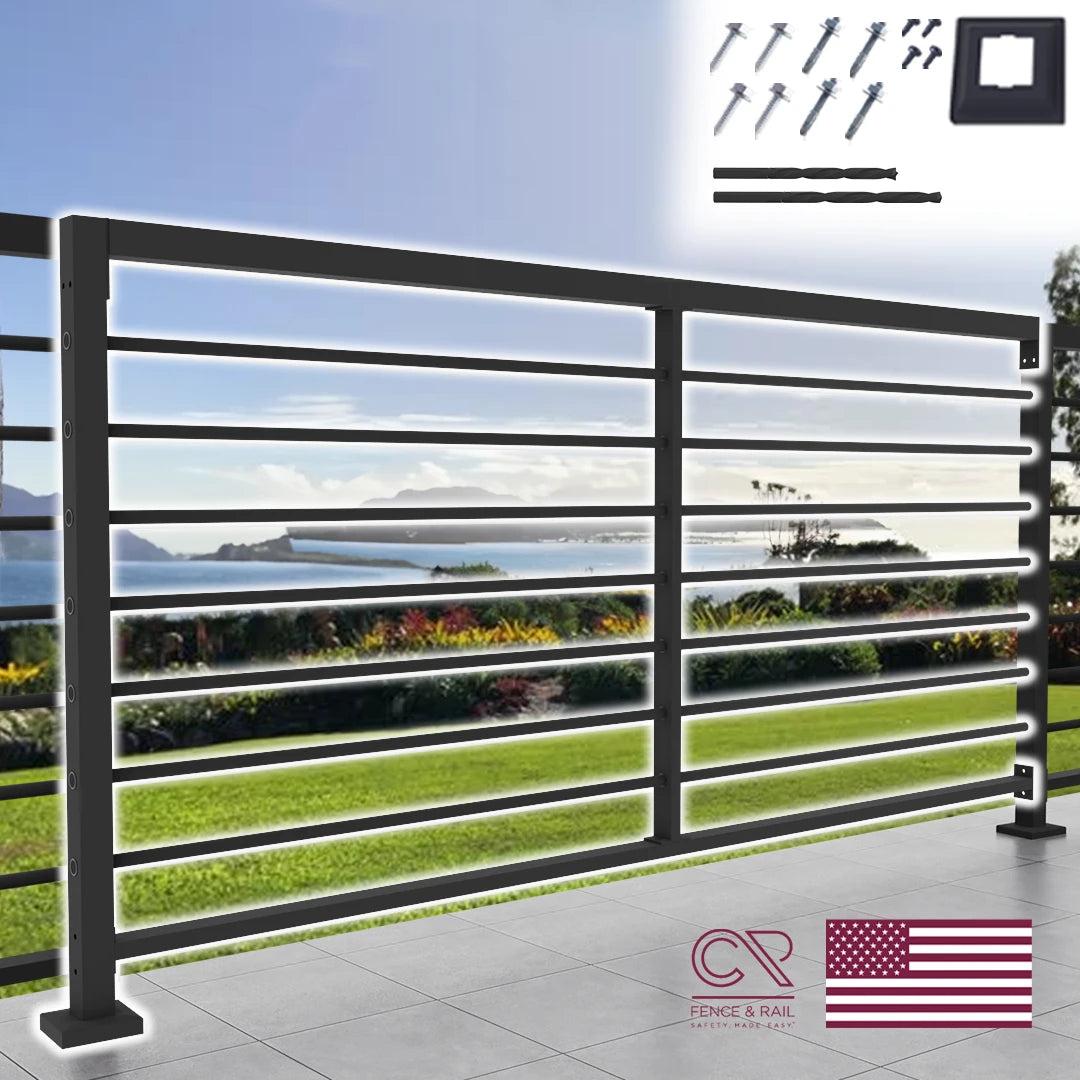
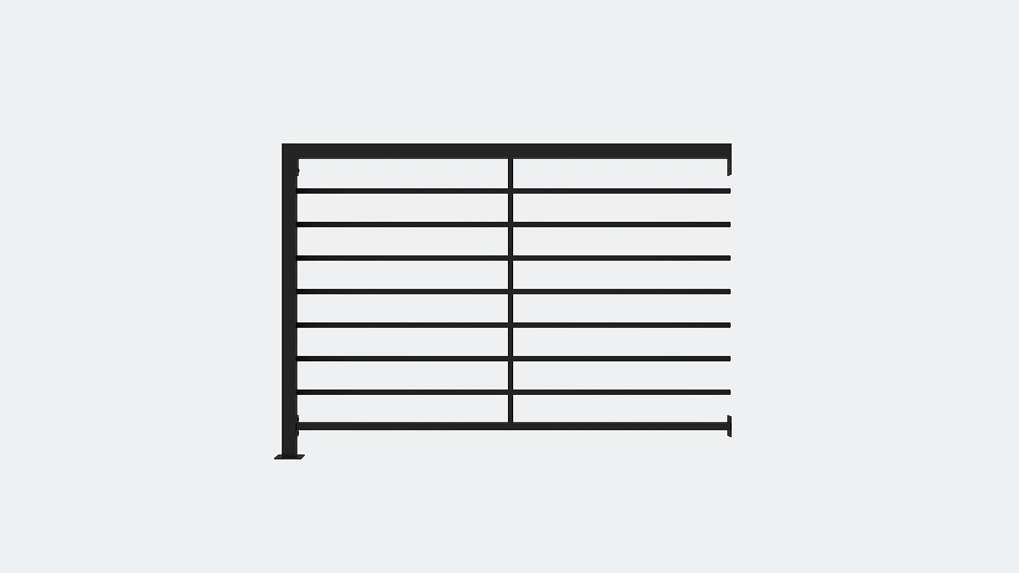
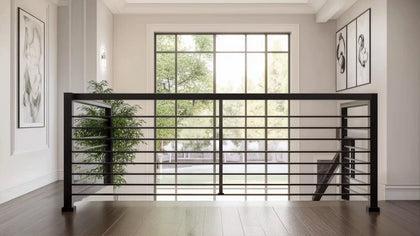
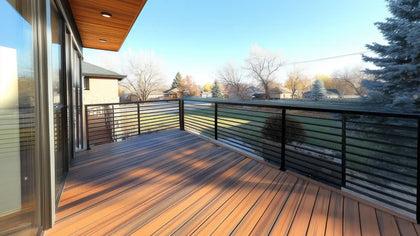
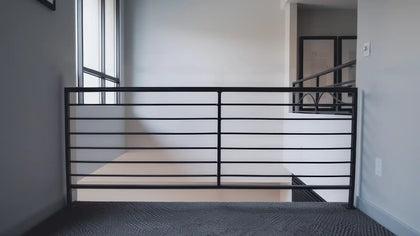
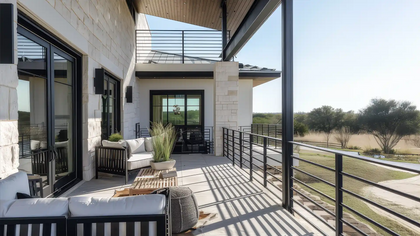
6' Contemporary Horizontal Guard Rail Kit (V4)
Complete System:
×
 ×
×  ×
× 
 ×
× 
Complete System:
×  × ×
× ×  ×
×  × Get a Custom Quote
 Adding product to your cart
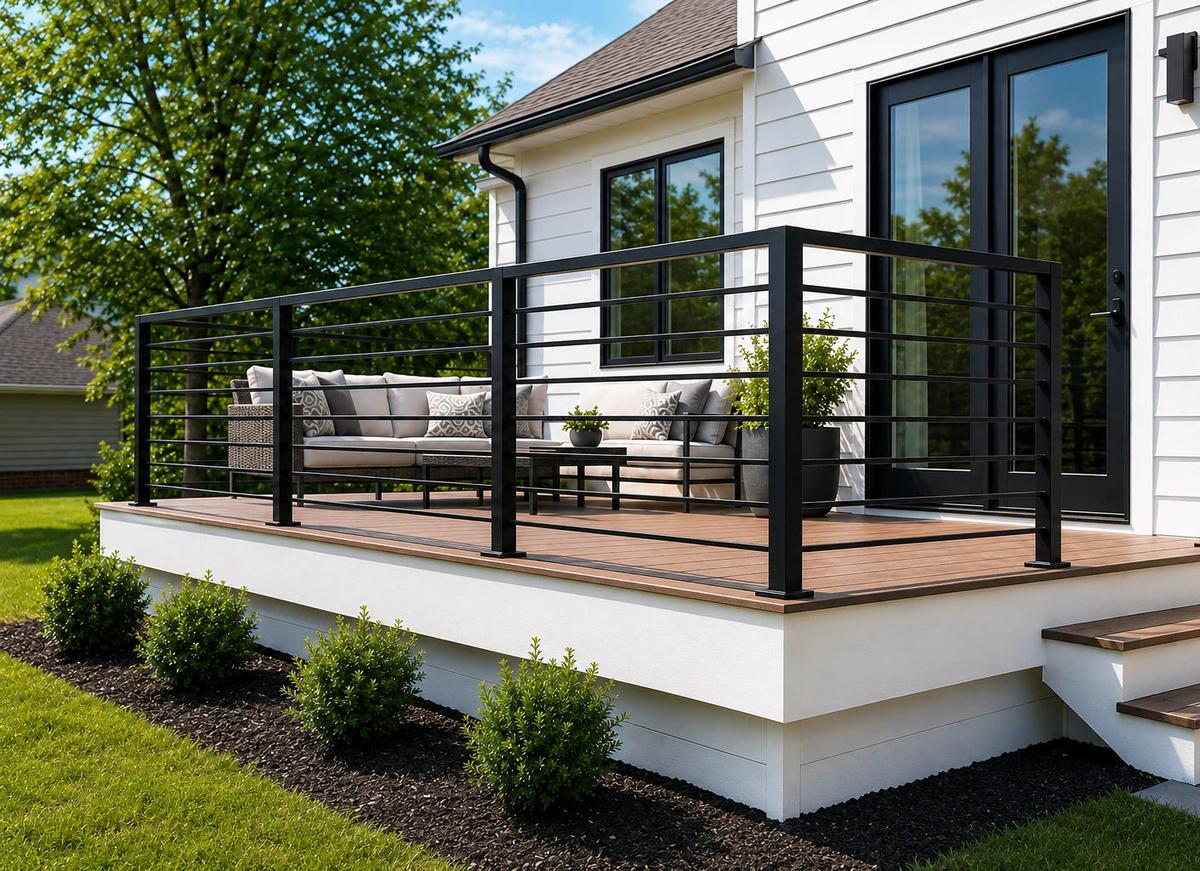
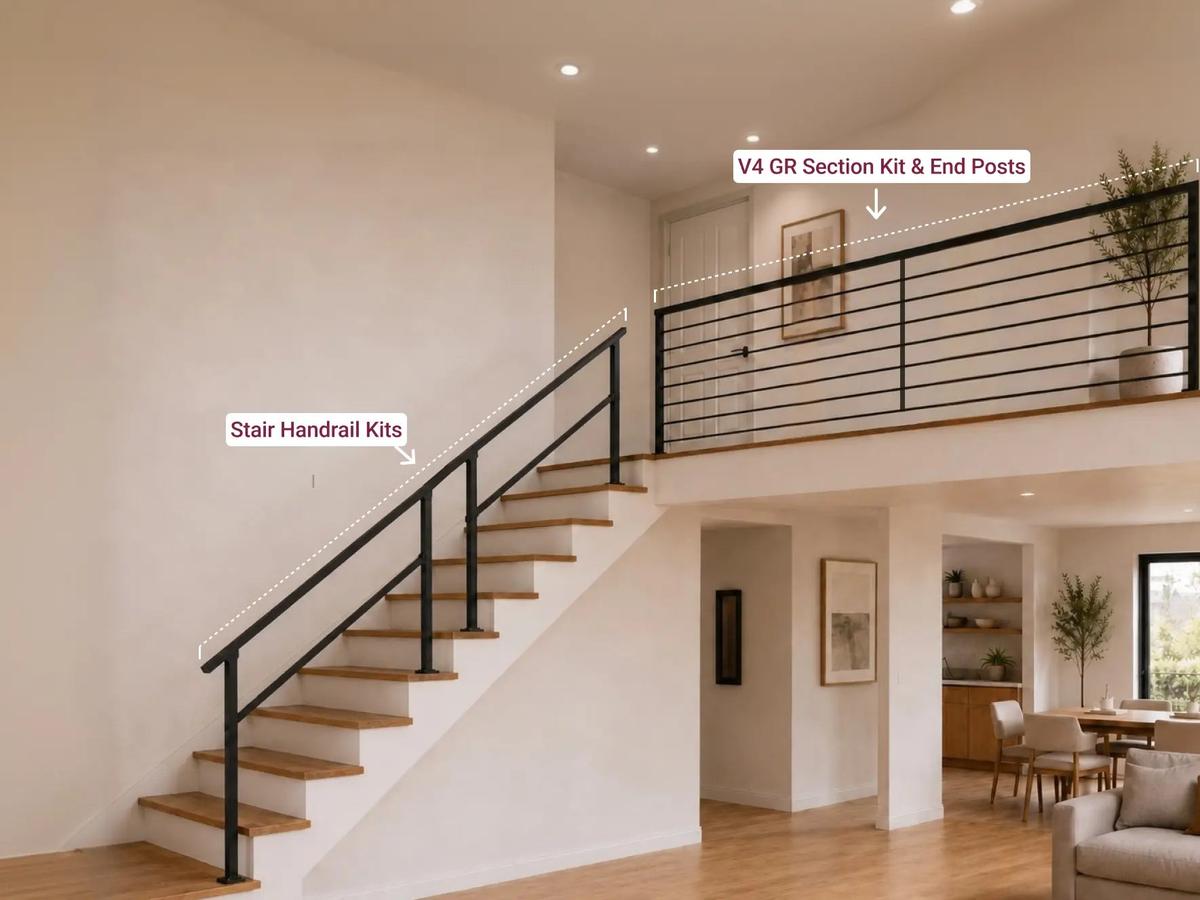
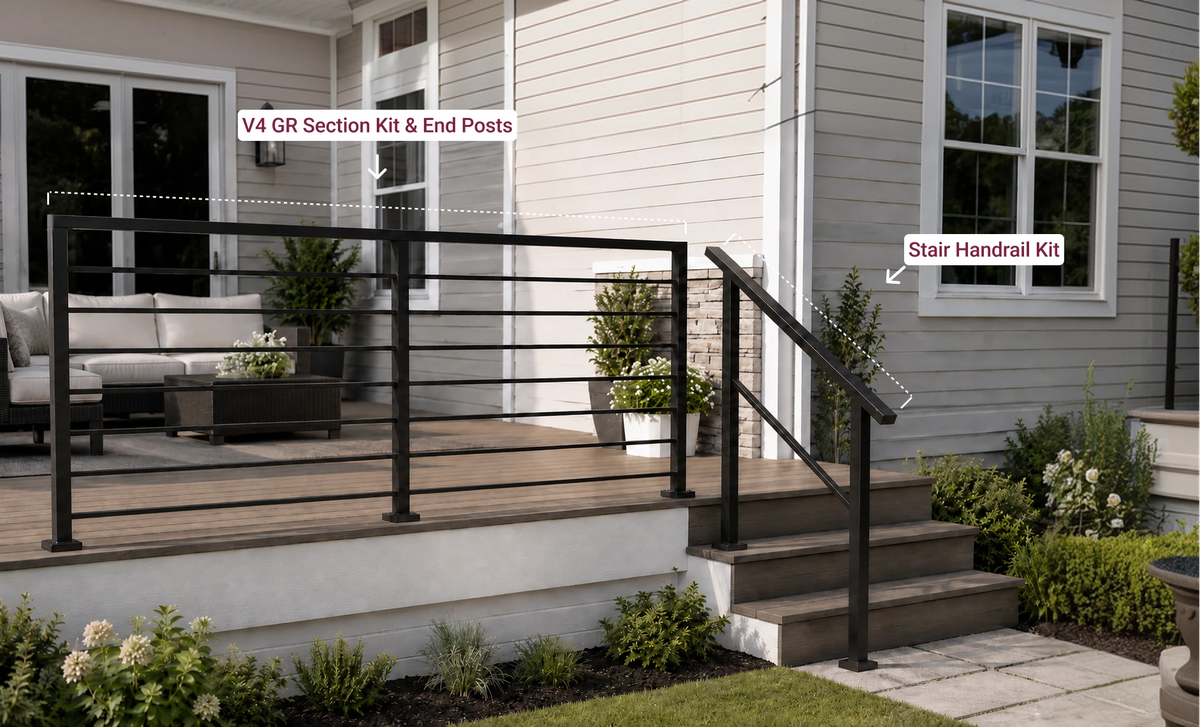
The Baluster Guard Rail Kit merges uncompromising safety with distinguished design. This kit is ideal for enhancing the security and visual appeal of elevated areas such as decks, balconies, and staircases with safety standards while providing a significant upgrade to your property’s aesthetics.
Build Your Railing System, Easily
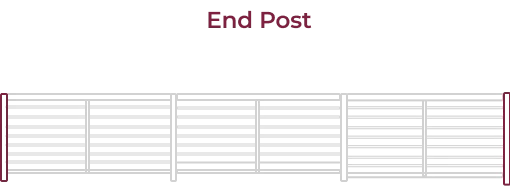
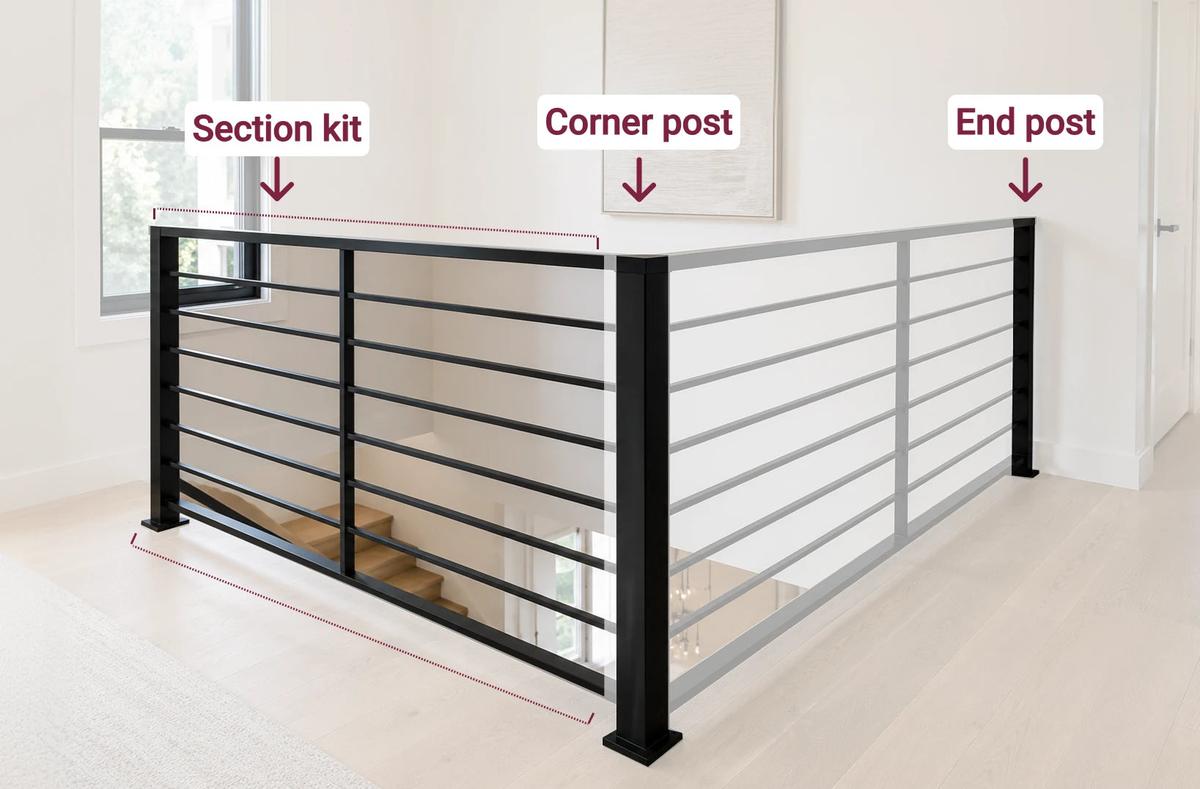
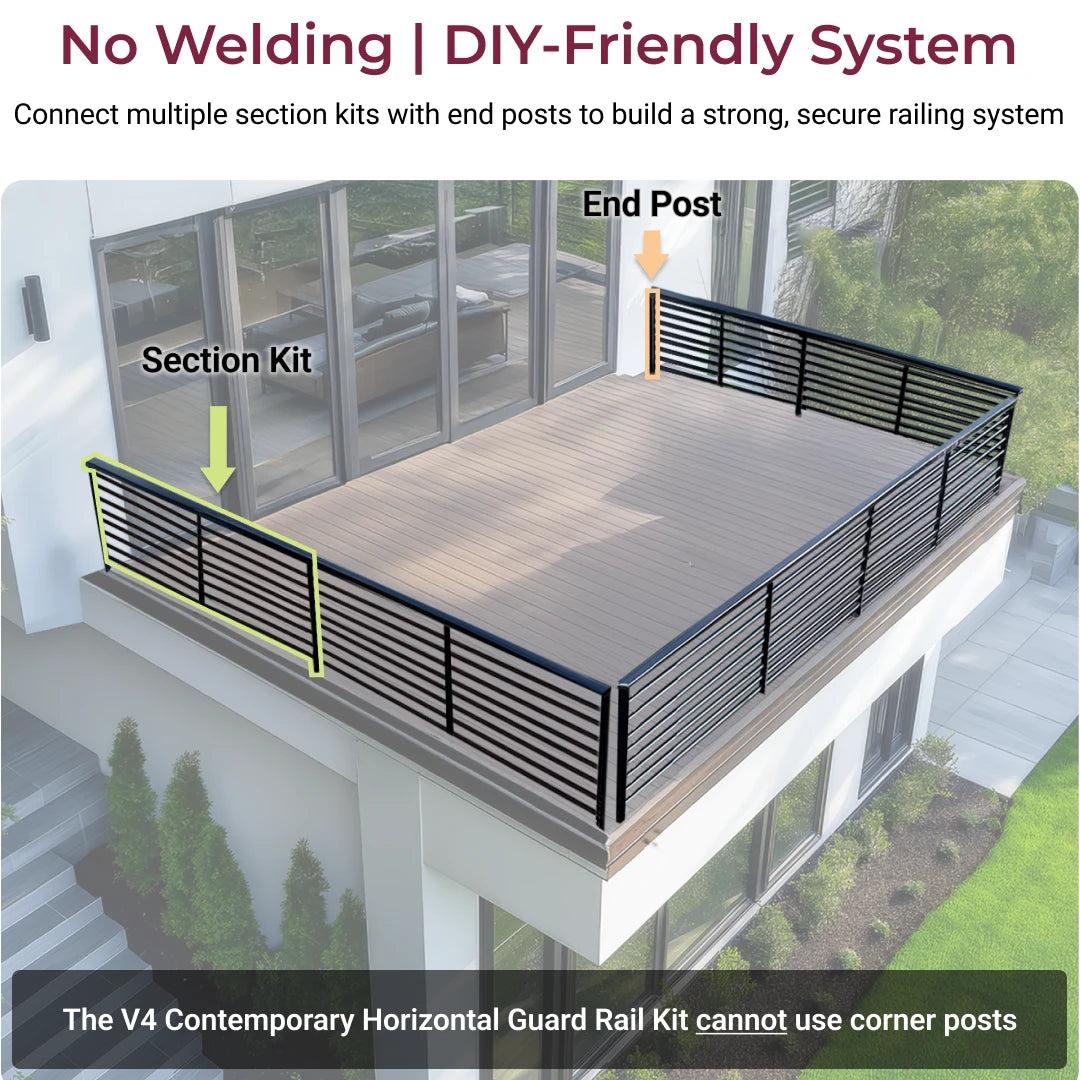
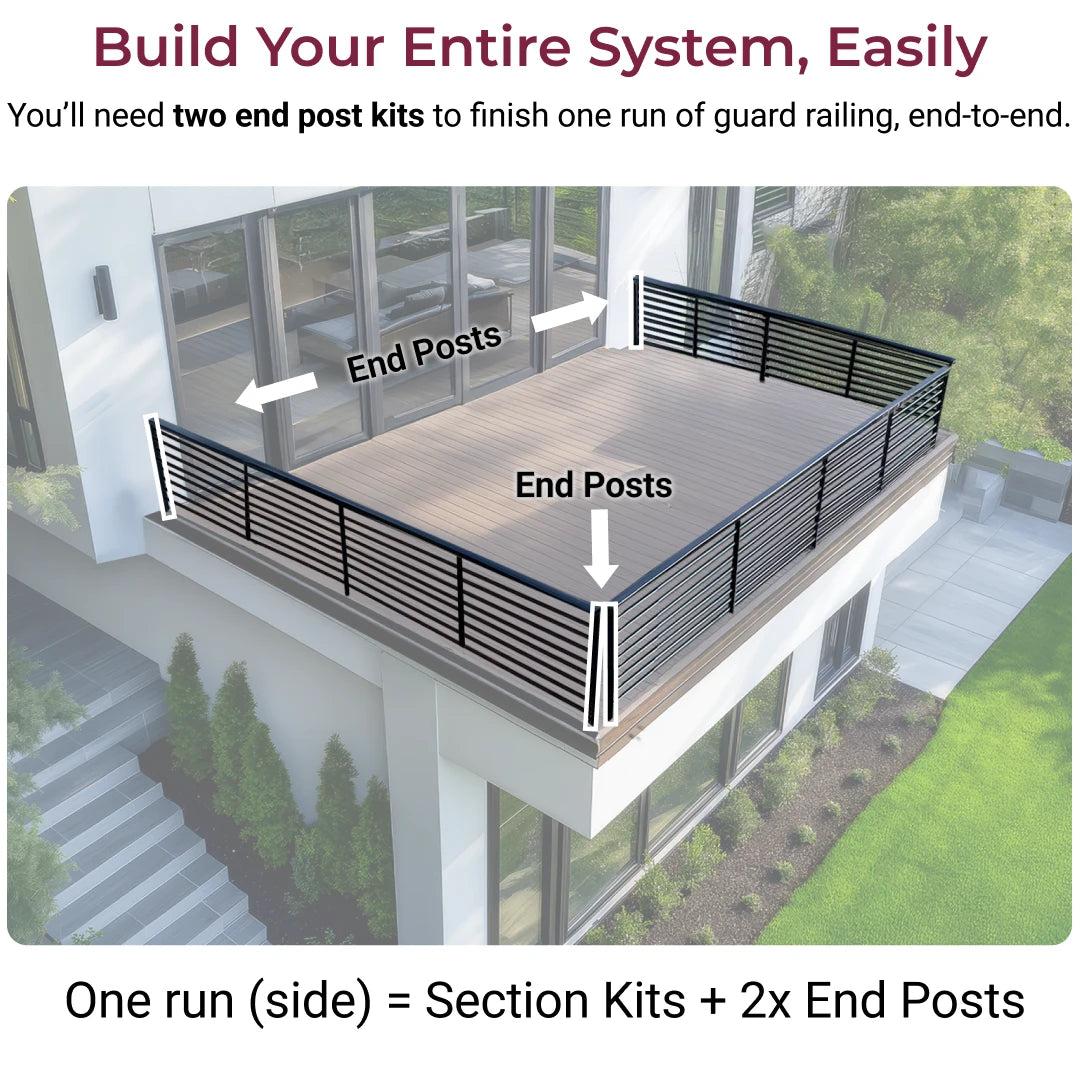
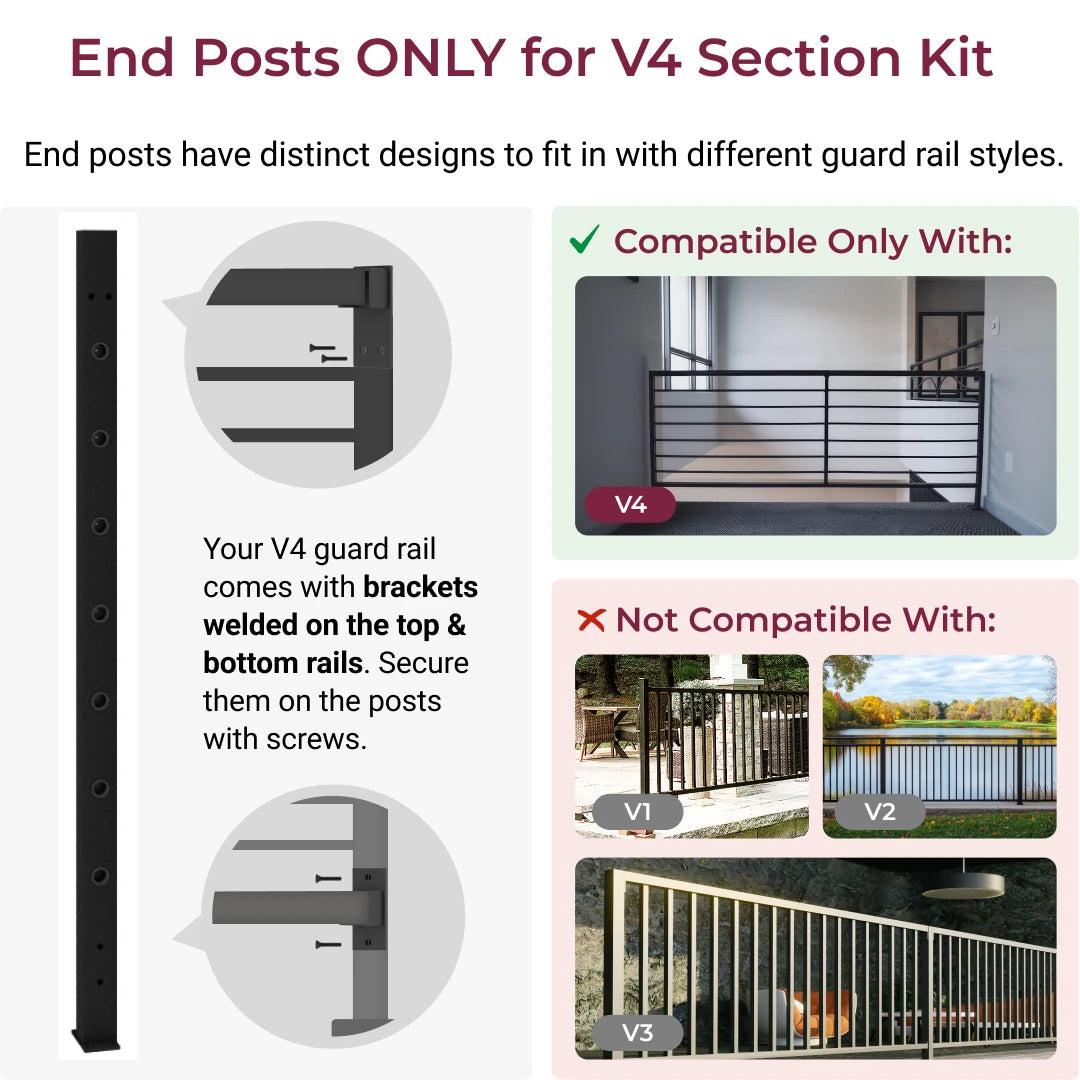
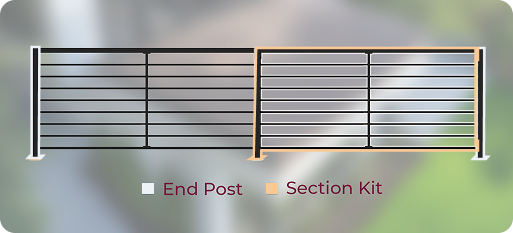
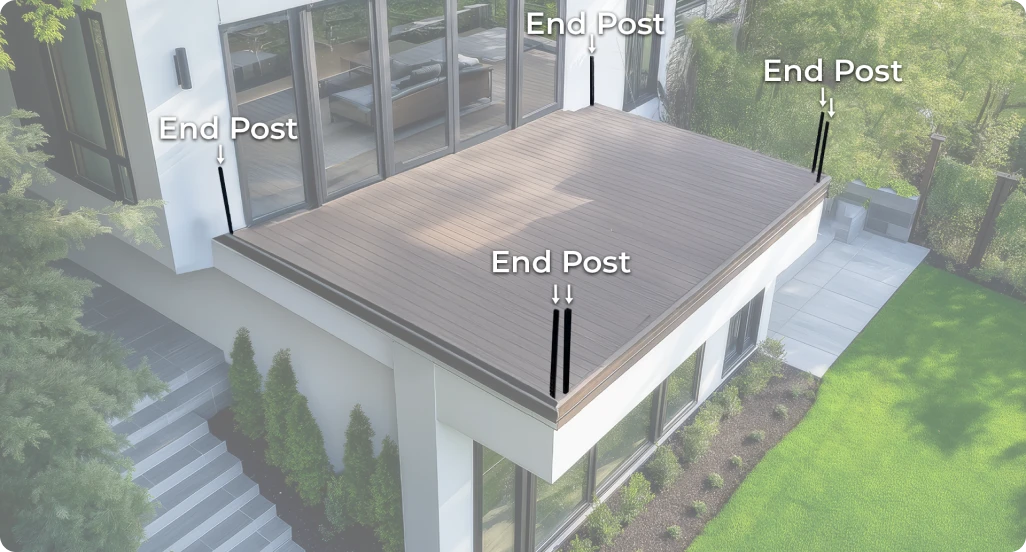
You’ll need two end posts per side
To mark and build the starting and ending points of your guard railing system, begin with end posts. Attach multiple section kits between two end posts to build a complete system.
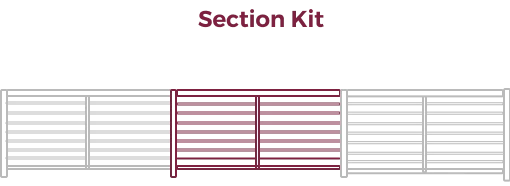
Buy section kits to complete your system
The section kits give you everything you need to complete your railing system with ease. Each section kit gets you one line post and a set of panels that connect easily between your end posts.

At CR Fence & Rail, we believe that safety should never be a luxury—it’s something every family deserves. As a family-owned American company, we’re not just selling products; we’re helping protect what matters most to you.
For over two decades, we’ve built a reputation for delivering quality products that are easy to install.

Meet the founder:
Our story began with Richard, who found it extremely challenging to install a sturdy, reliable railing for his mother. After realizing how tough it was to find a railing that was both strong and easy to install outdoors, Richard knew there had to be a better way.
That’s why he founded CR Fence & Rail – so those like him know that they're choosing peace of mind, knowing their family is protected with the best.
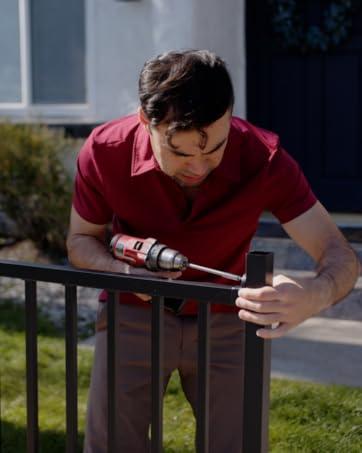
We’re helping you take your loved ones’ safety in your hands; We’re helping you do-it-yourself.

At CR Fence & Rail, we strongly believe that the work we do has meaning, and so do the relationships we build along the way.
Over the past two decades, we’ve been a reliable, certified provider of railing & fencing solutions for both residential and commercial needs across the United States. We’ve sold 100,000+ products and served customers across the nation, all while staying true to our core principles of safety and quality.
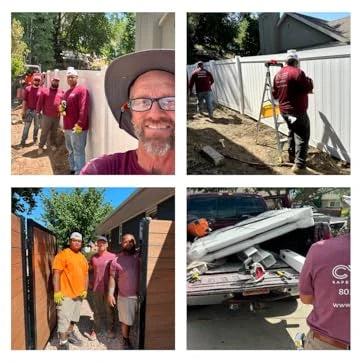
From our internal team dynamics to our interactions with you, we’re committed to creating connections that matter, for the long haul.
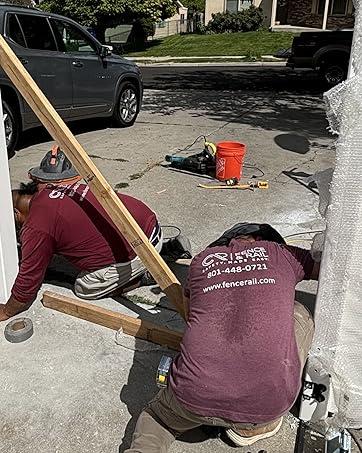
15,000+ satisfied customers have trusted us to deliver on our promise.
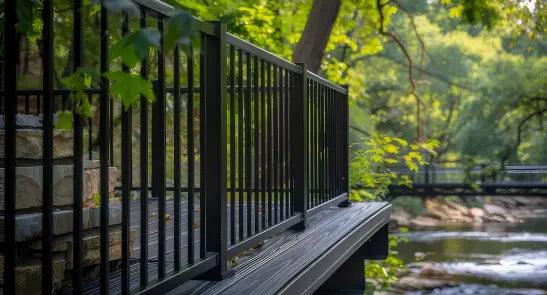
Unmatched Precision, Elegance, and Durability
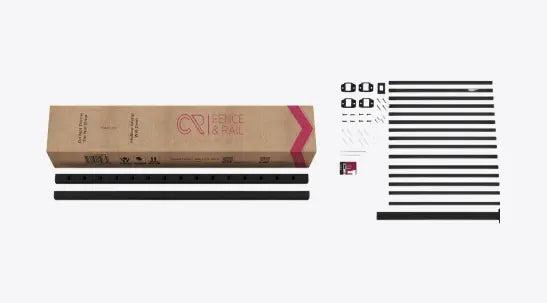
Everything You Need, in One Box
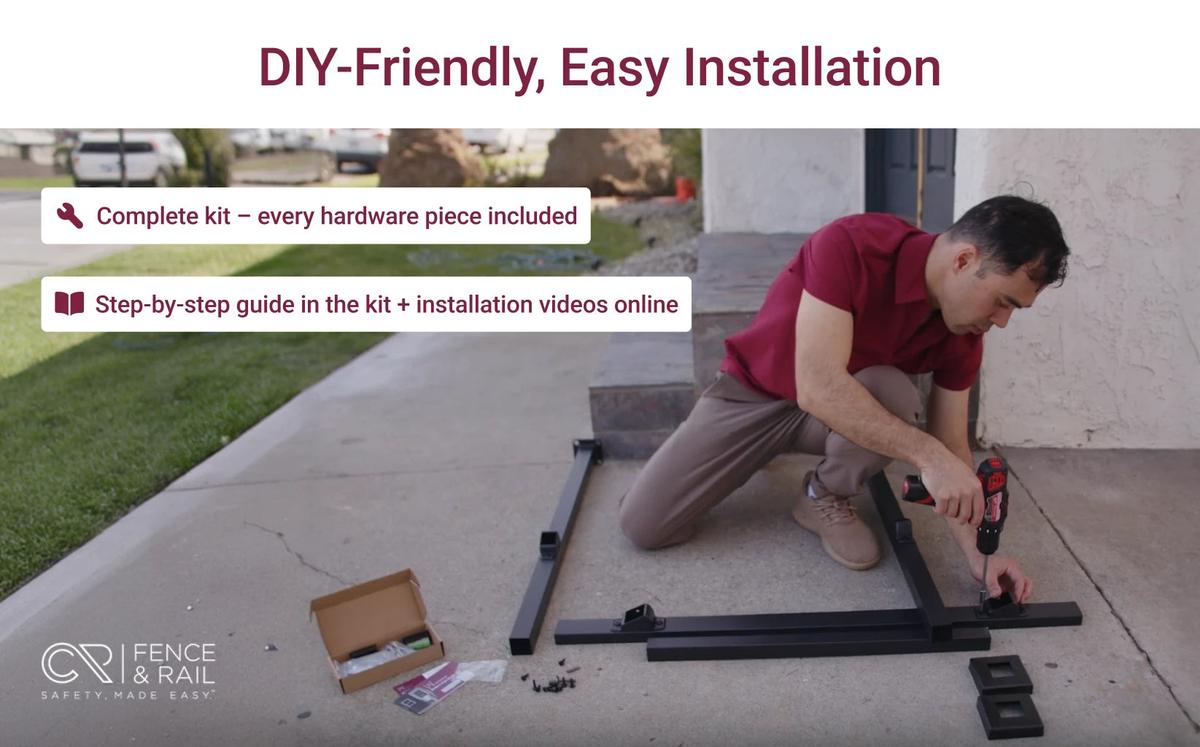
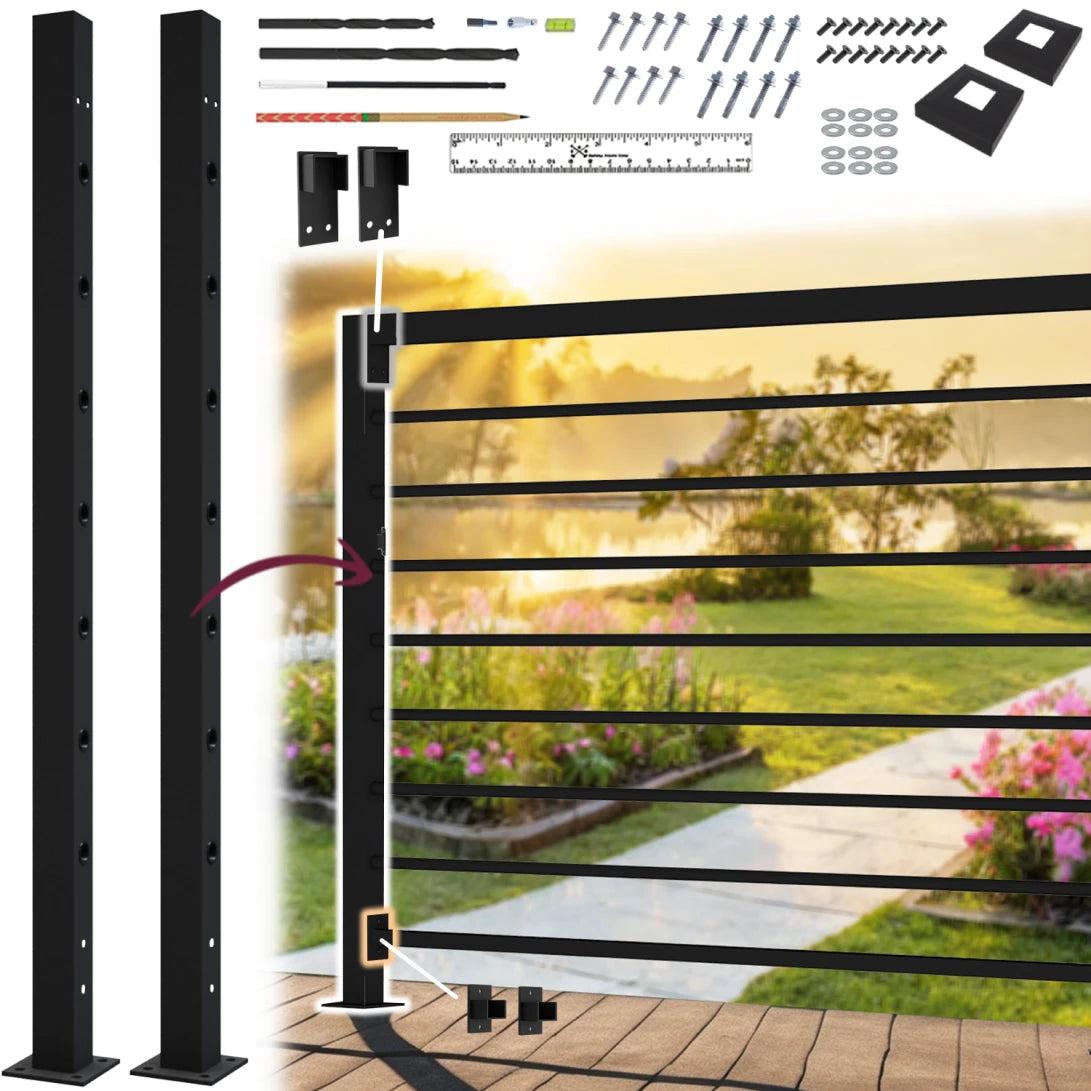
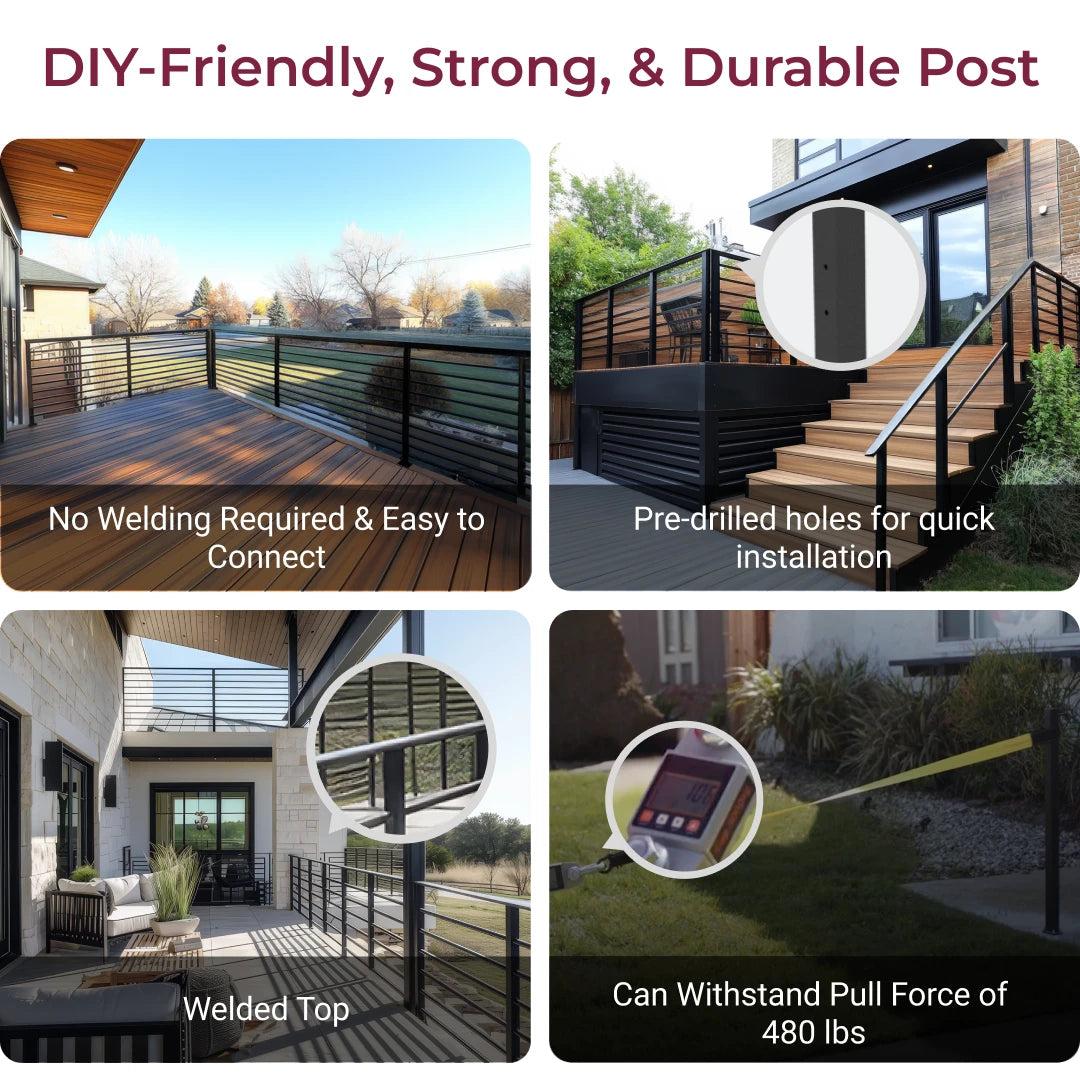
No more endless trips to the hardware store! Our kit comes with pre-cut balusters, posts, upper & lower rails, and all the hardware you’d require. All you need is a power drill and a hammer, and you're ready to go the moment your kit is delivered.
 ×
× Simple, Step-by-Step Installation
We've designed our kit for ease of use, with a clear instruction guide, assembly support, and resources for a seamless installation. Even if you've never picked up a power drill, you'll be surprised at how quickly and easily you can install a horizontal guard rail.
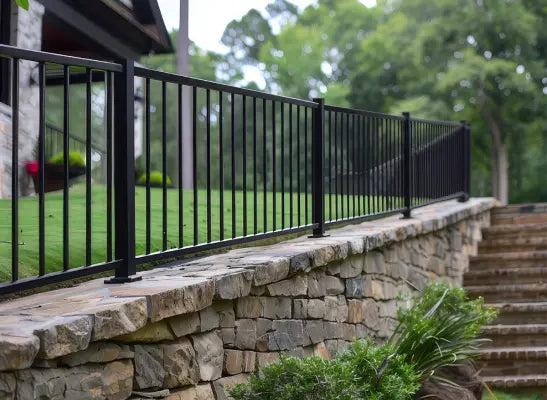
Enhanced Durability & Strength
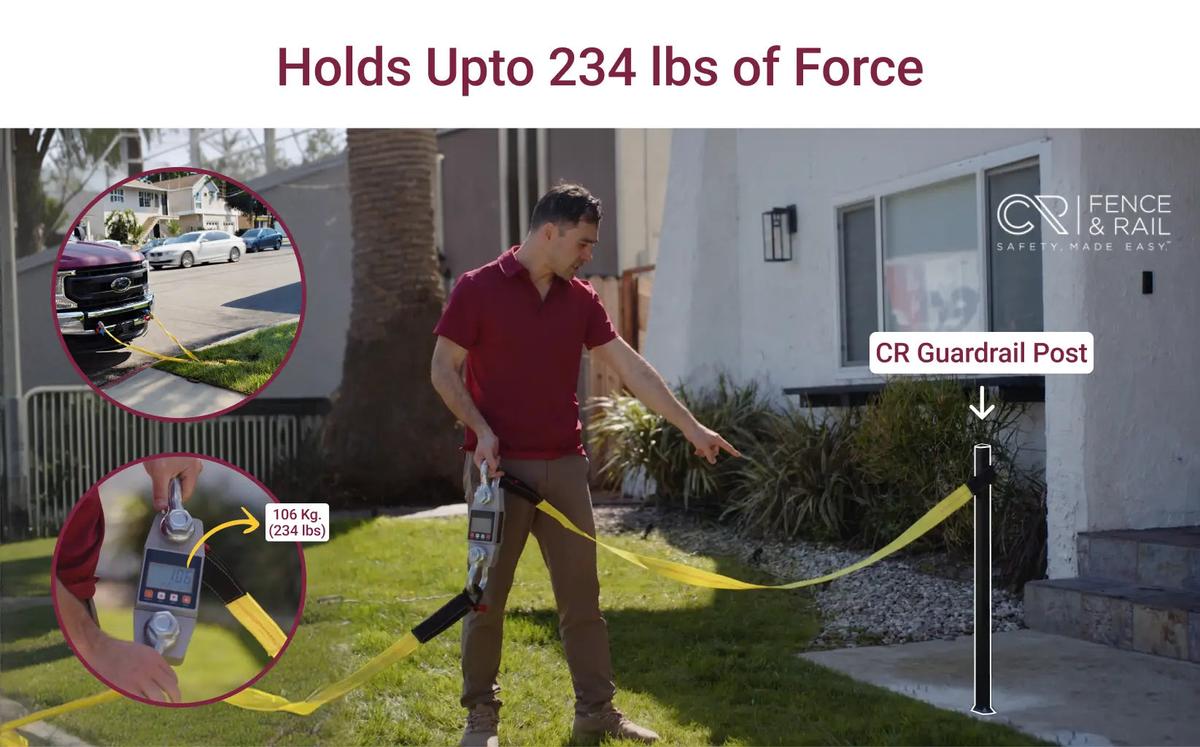
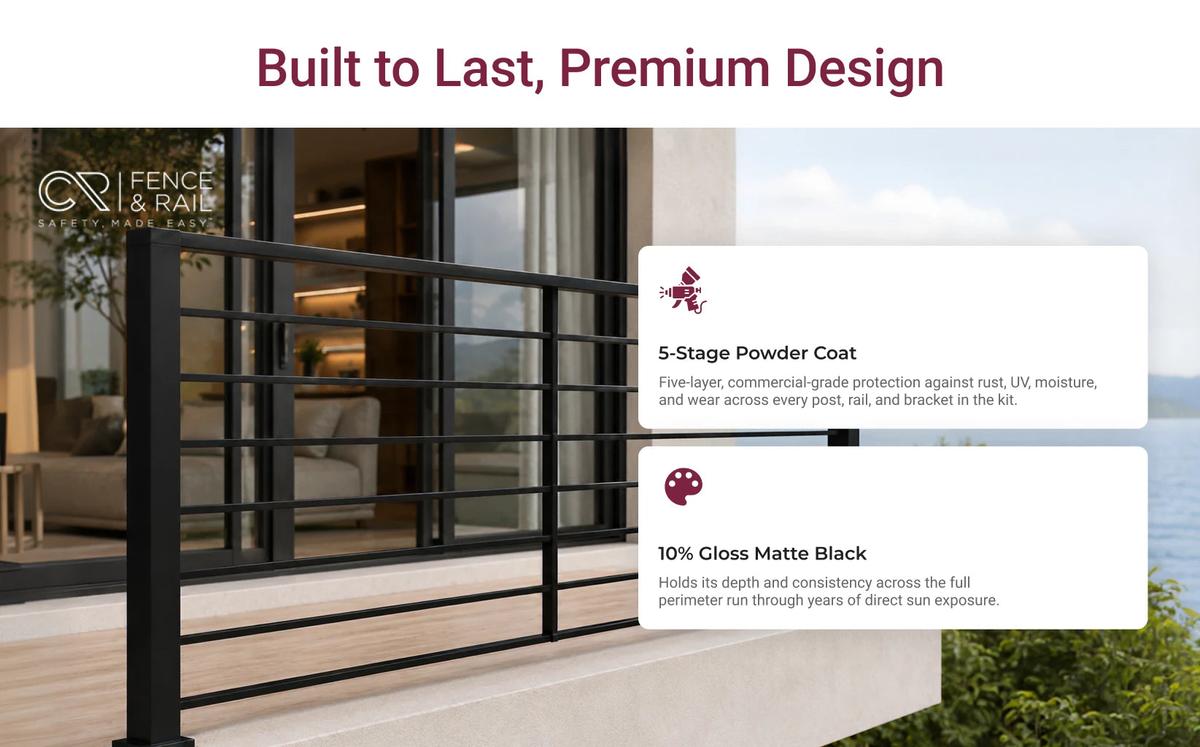
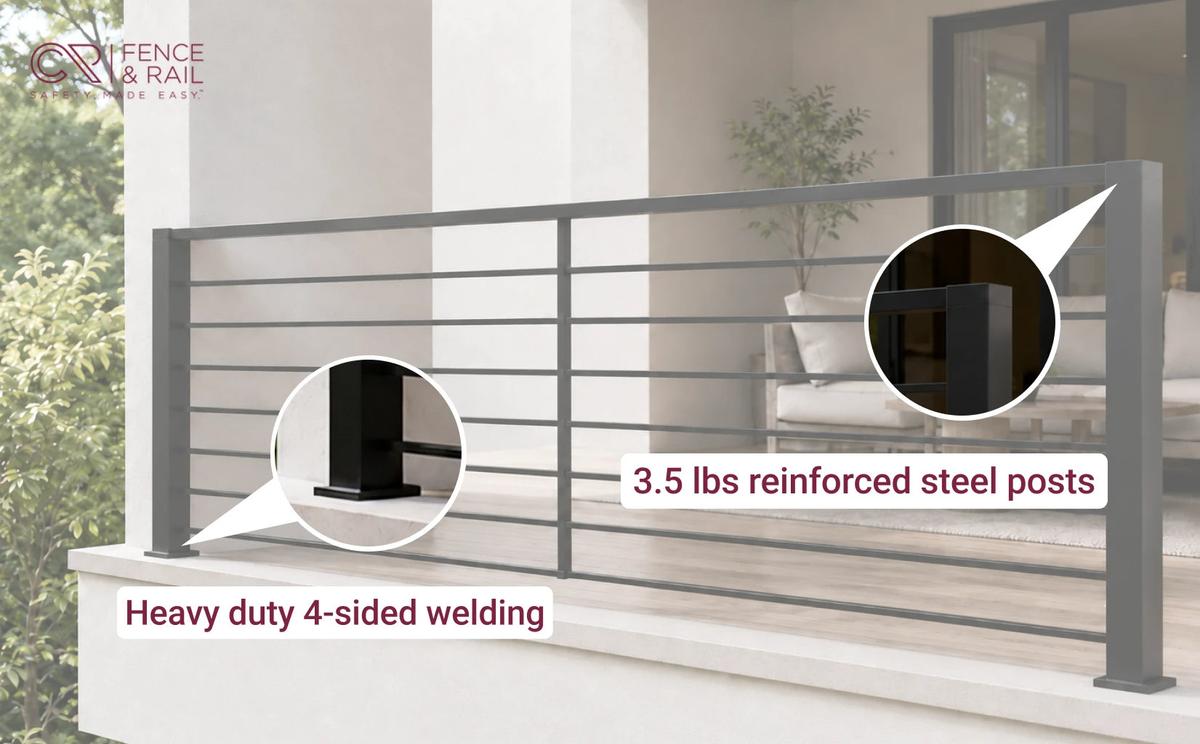
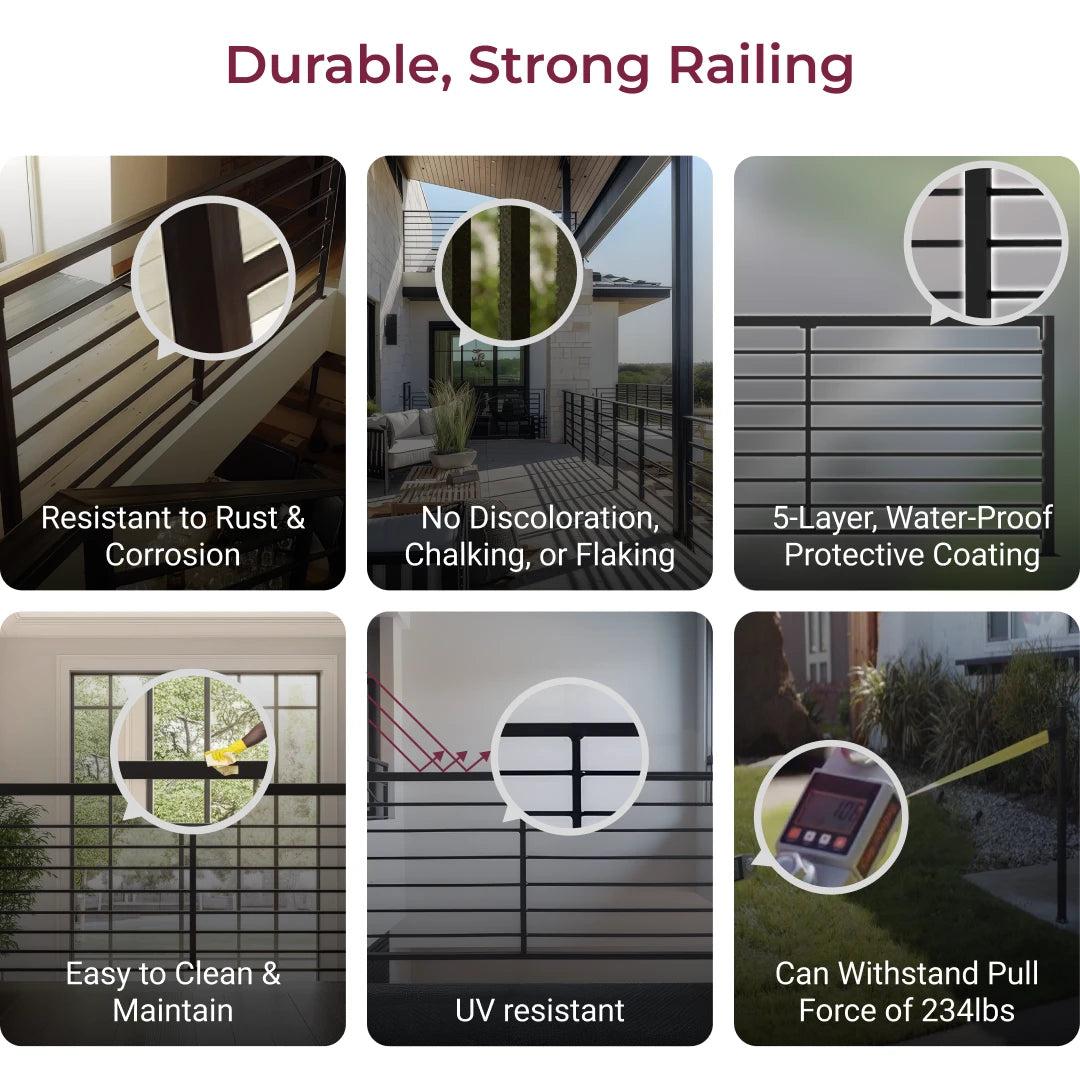
Our railing posts are crafted from high-quality materials that can withstand immense force & weather conditions. The posts are treated with a 5-layer weatherproof coating, ensuring your new railings don’t just look good—they stand strong against UV rays, rust, and corrosion for years.
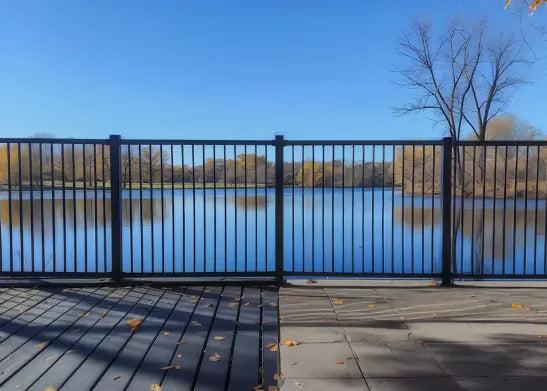
Safety with Aesthetics
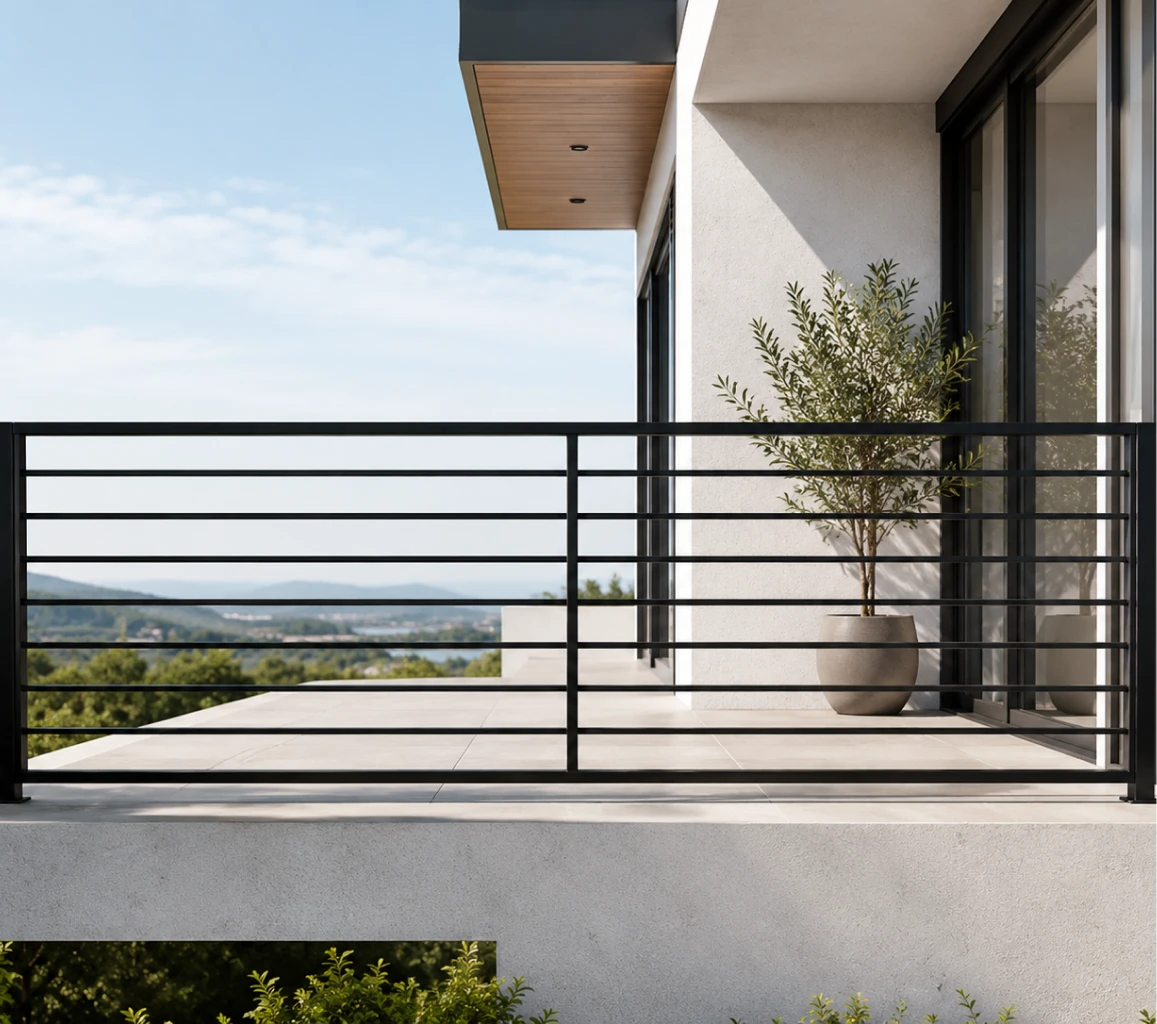
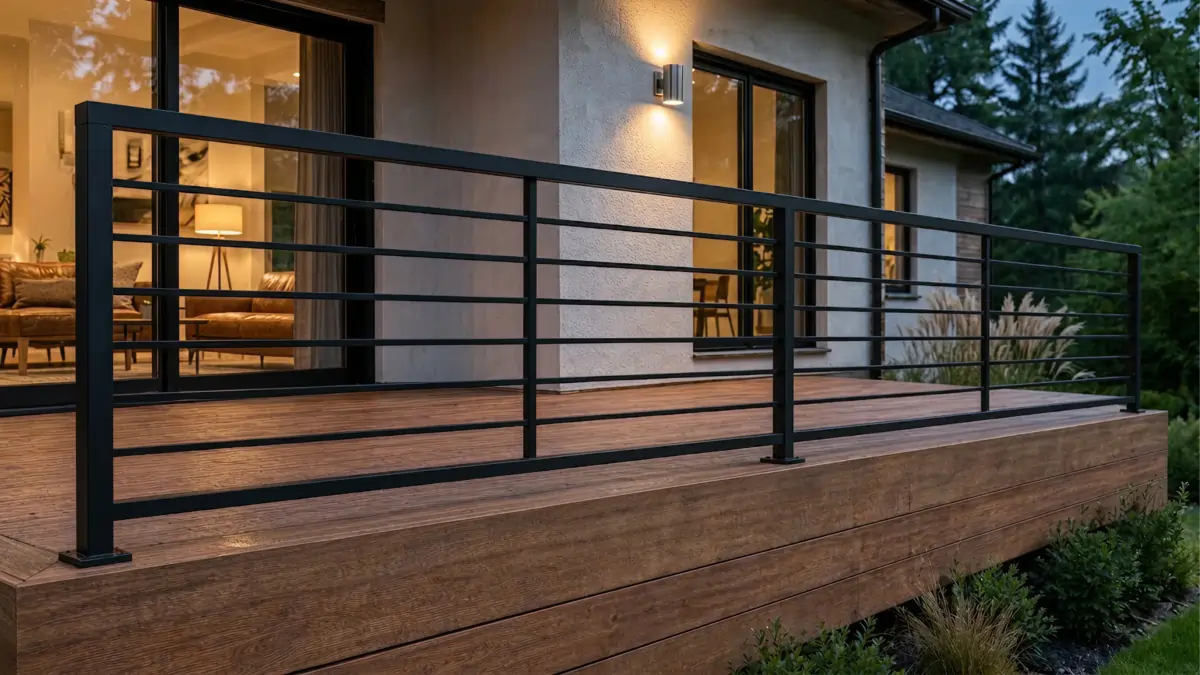
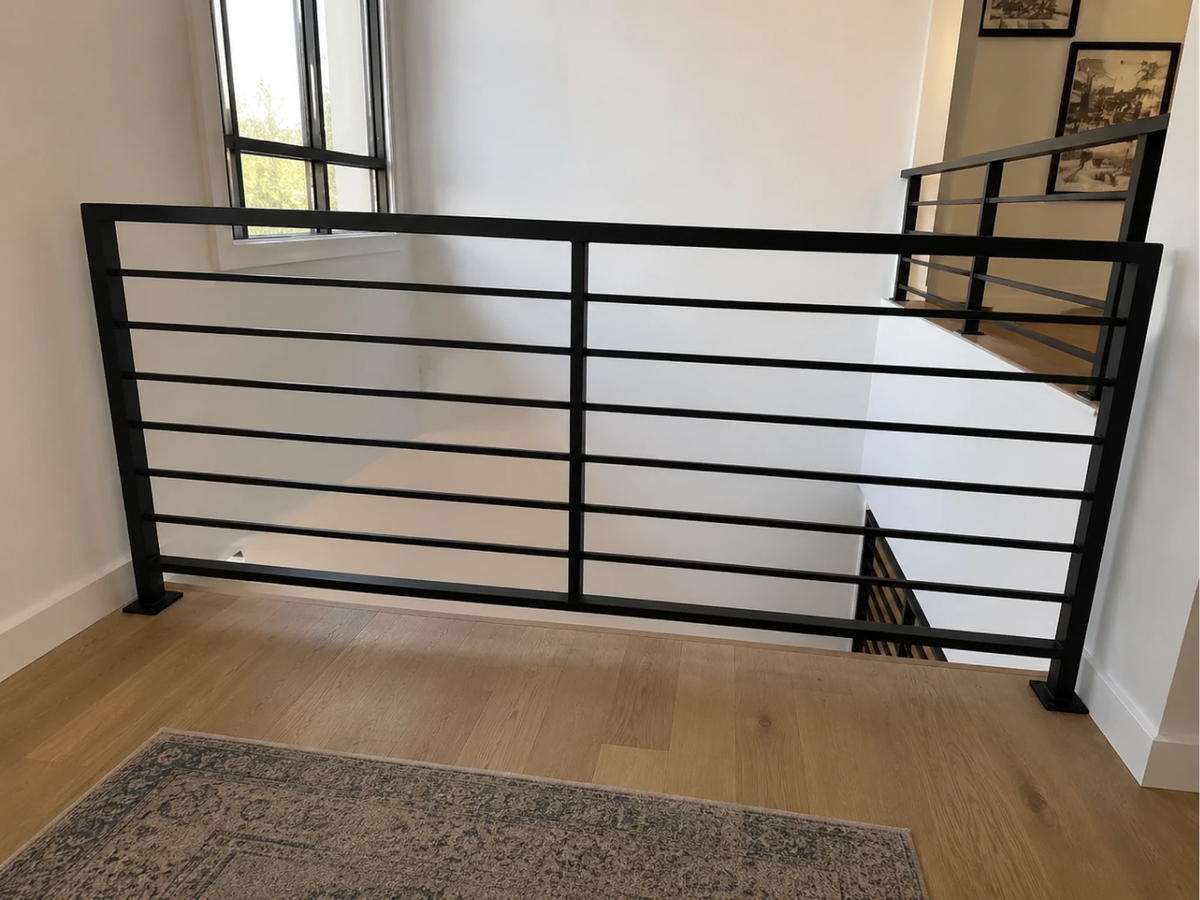
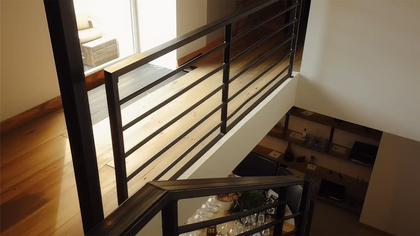
The minimal, clean design of the guard rail provides safety without compromising your style. Whether you’re securing a deck, staircase, or balcony, this railing system maintains an elegant look while keeping your loved ones safe.
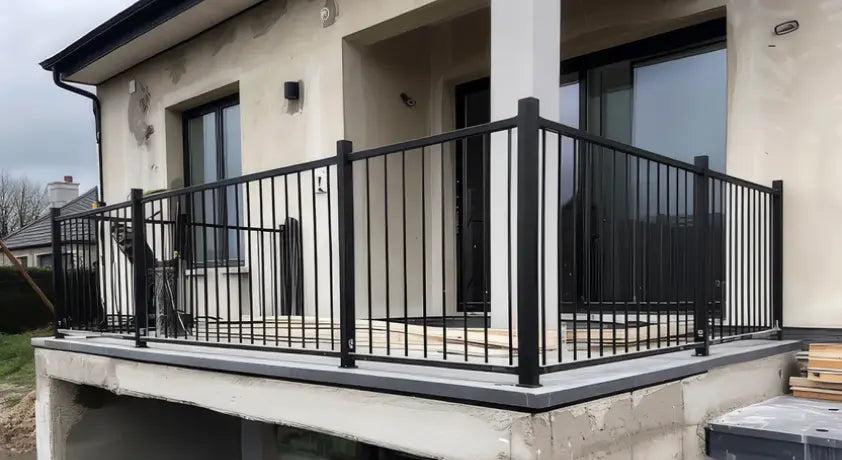
Sleek, Modular Design
As your space evolves, so should your railing system. The modular design of our posts allows you to expand and customize your railing as your needs change. You can add more sections for new spaces or reconfigure existing ones, providing endless possibilities for customization.

Complete Support at Every Step
If you’re worried about getting stuck, our customer support team is just a call or chat away, ready to assist you with any questions or concerns during installation. Plus, with our 90-day money-back guarantee and 10-year warranty, you can feel secure in your purchase.
Build Your Railing System NowGuard Rail Measurements
Download Technical Sheet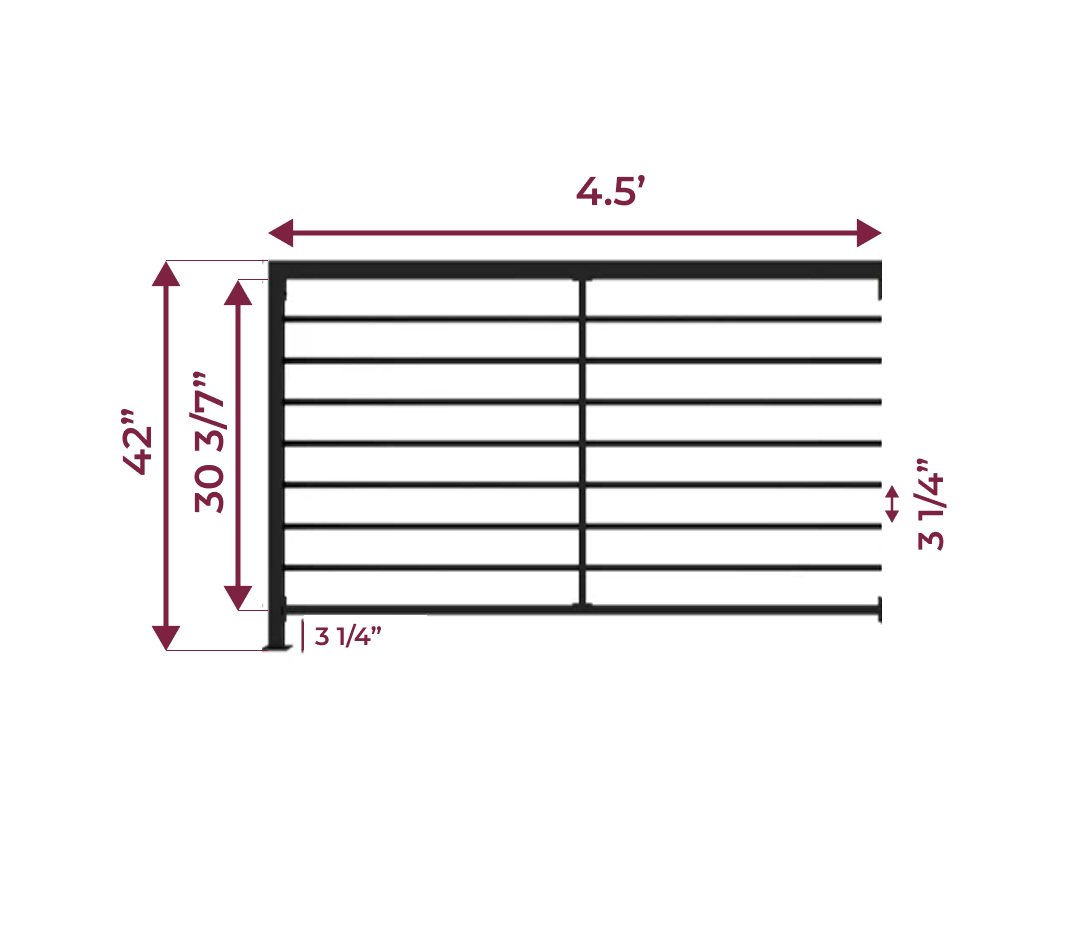
4.5’ Contemporary Horizontal Guard Rail
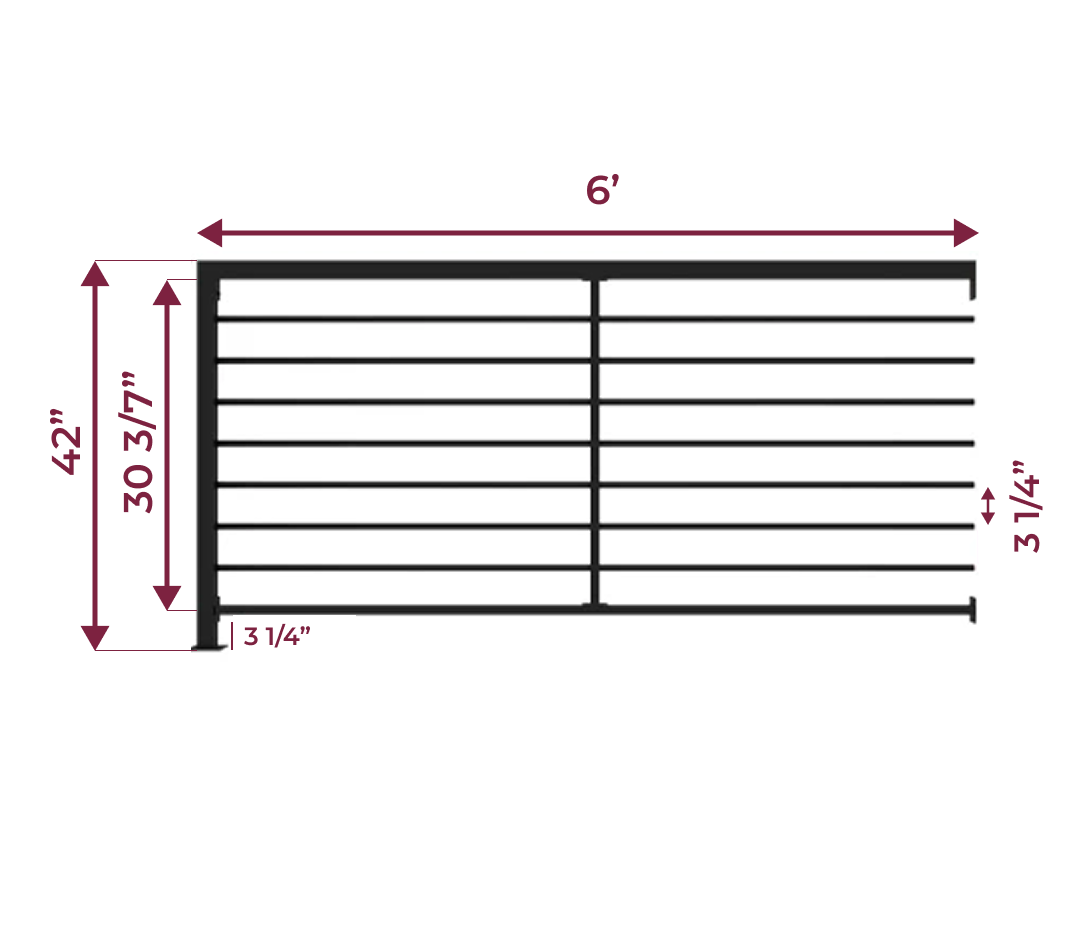
6.5’ Contemporary Horizontal Guard Rail
Order Right & Install Your Railing, Easily
Phase 1: What To Buy
Step 1 - End Posts & Section Kits
You’ll need to buy section kits to complete your railing system.
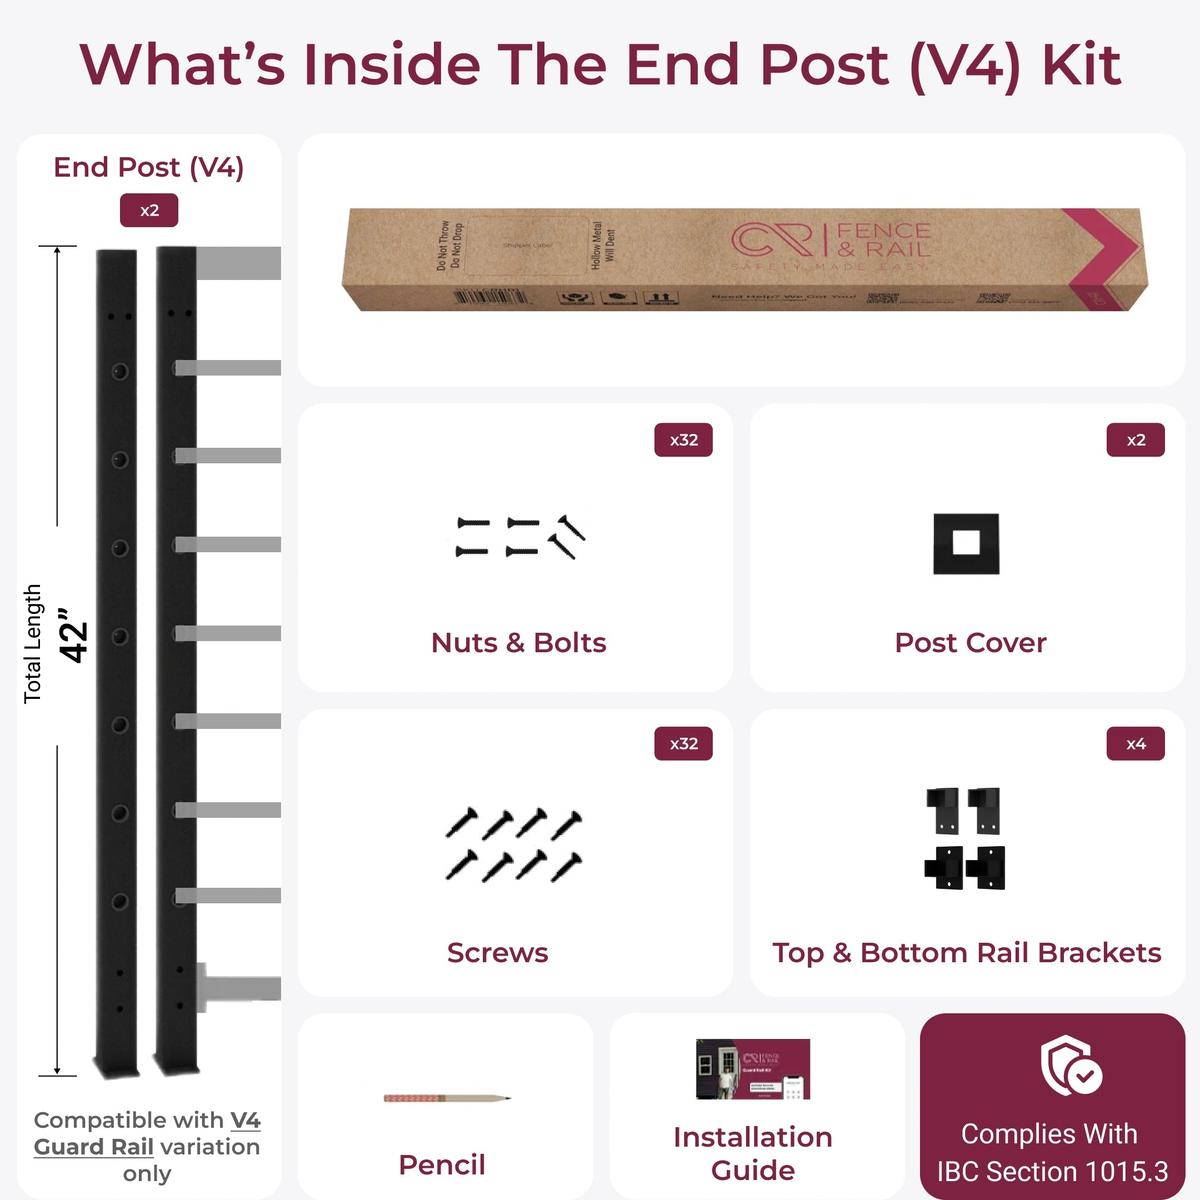
Your end post kit contains -
- 1 end post
- Metal Base Plate Cover
- Project tools & hardware
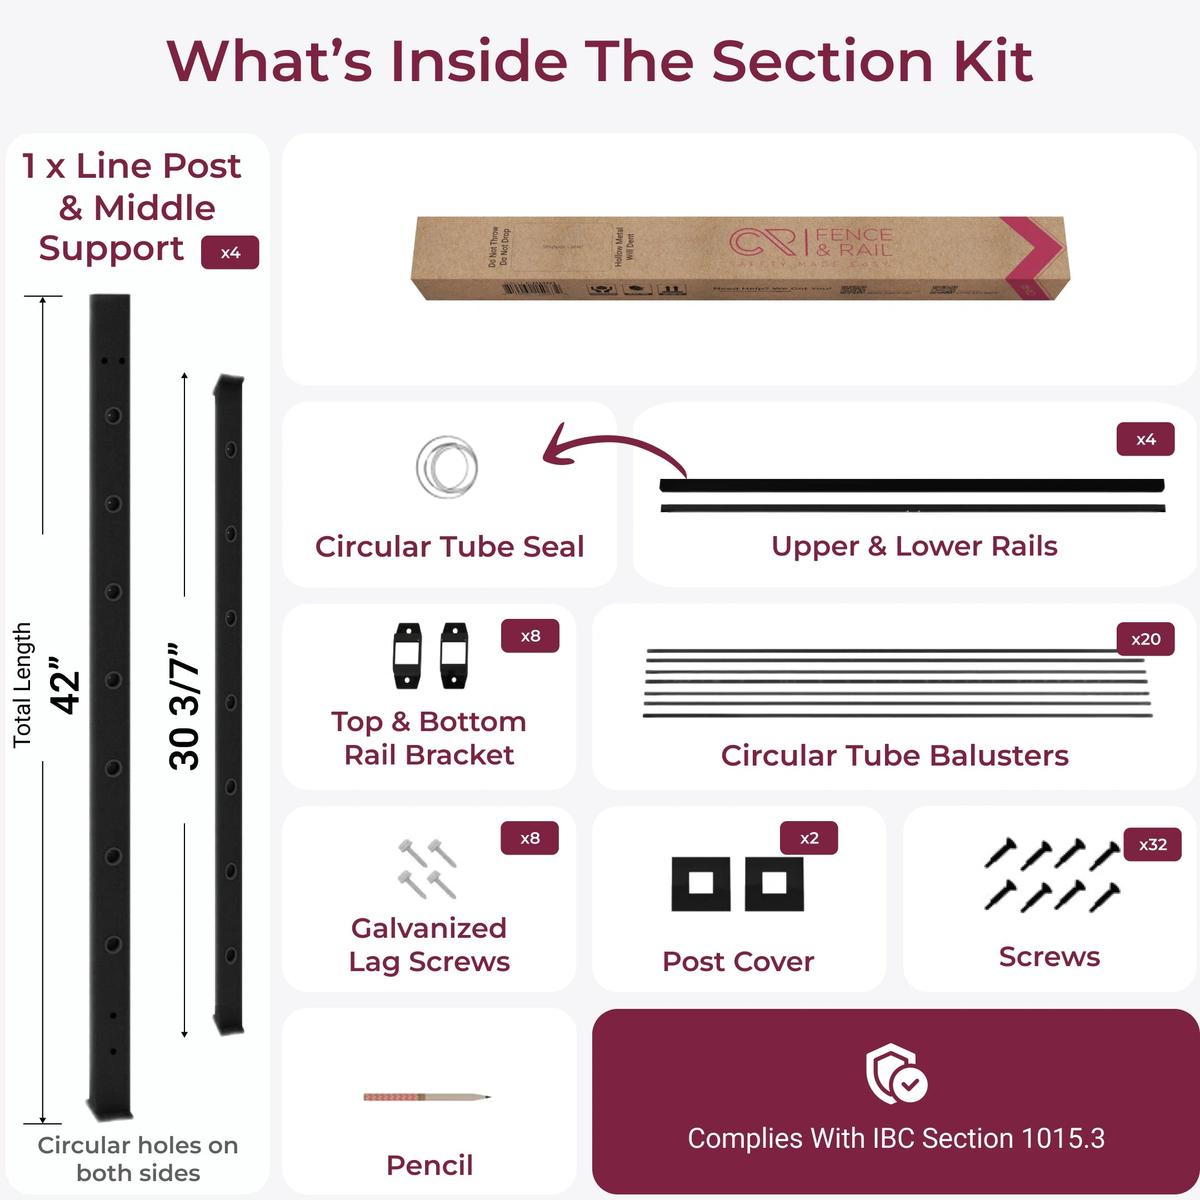
A section kit consists of -
- 1 line post
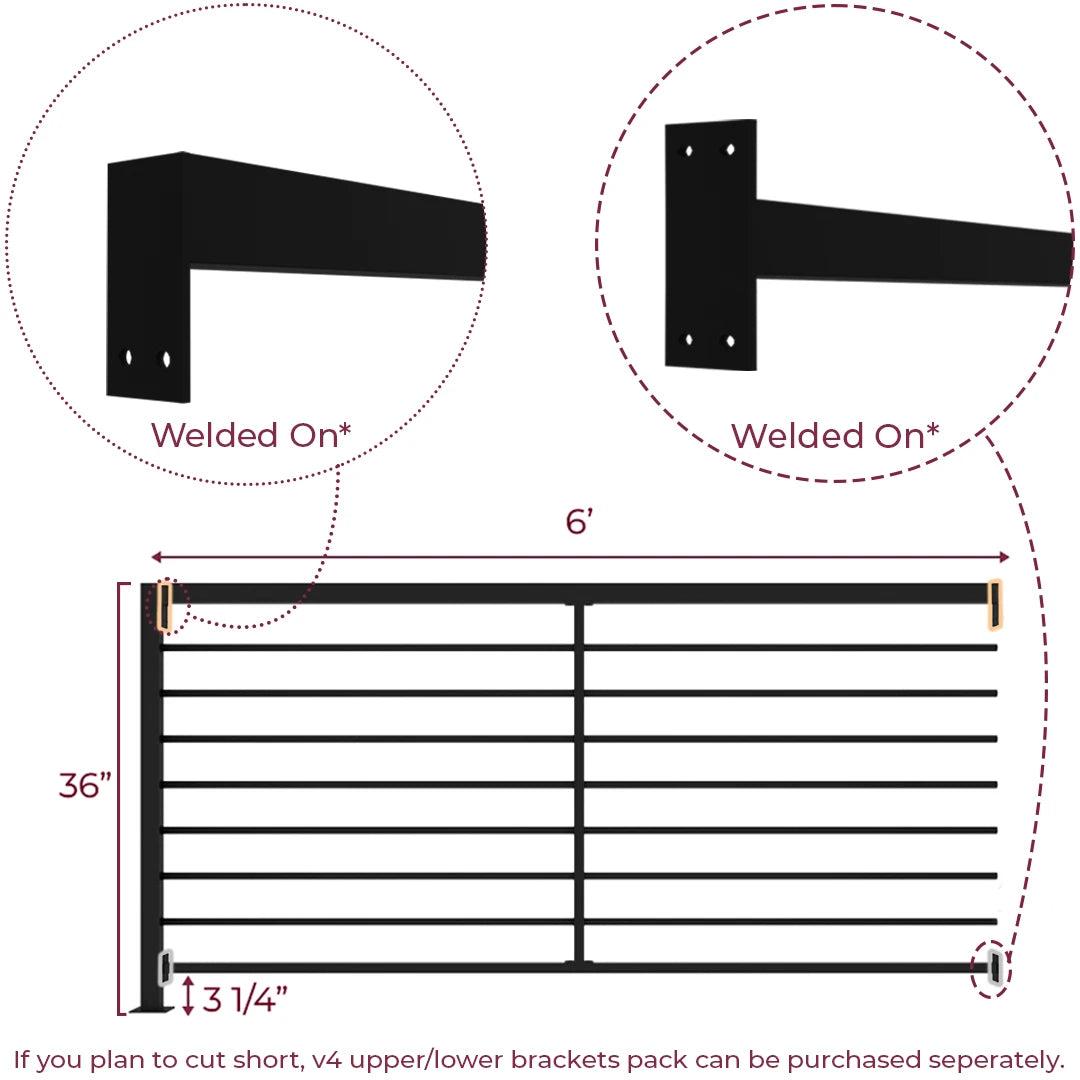
- 1 upper rail (bolt-on brackets)
- 1 lower rail
- Horizontal balusters + Support Bar
- Masonry & drill bits, lag screws, wedge anchors, brackets
- Metal Base Plate Cover
- Project tools & hardware
End posts are installed at the starting and end points of your railing system. Ideally, you’ll need two, or more in case you plan on installing it in sections.
You’ll need 2 end posts, per run.
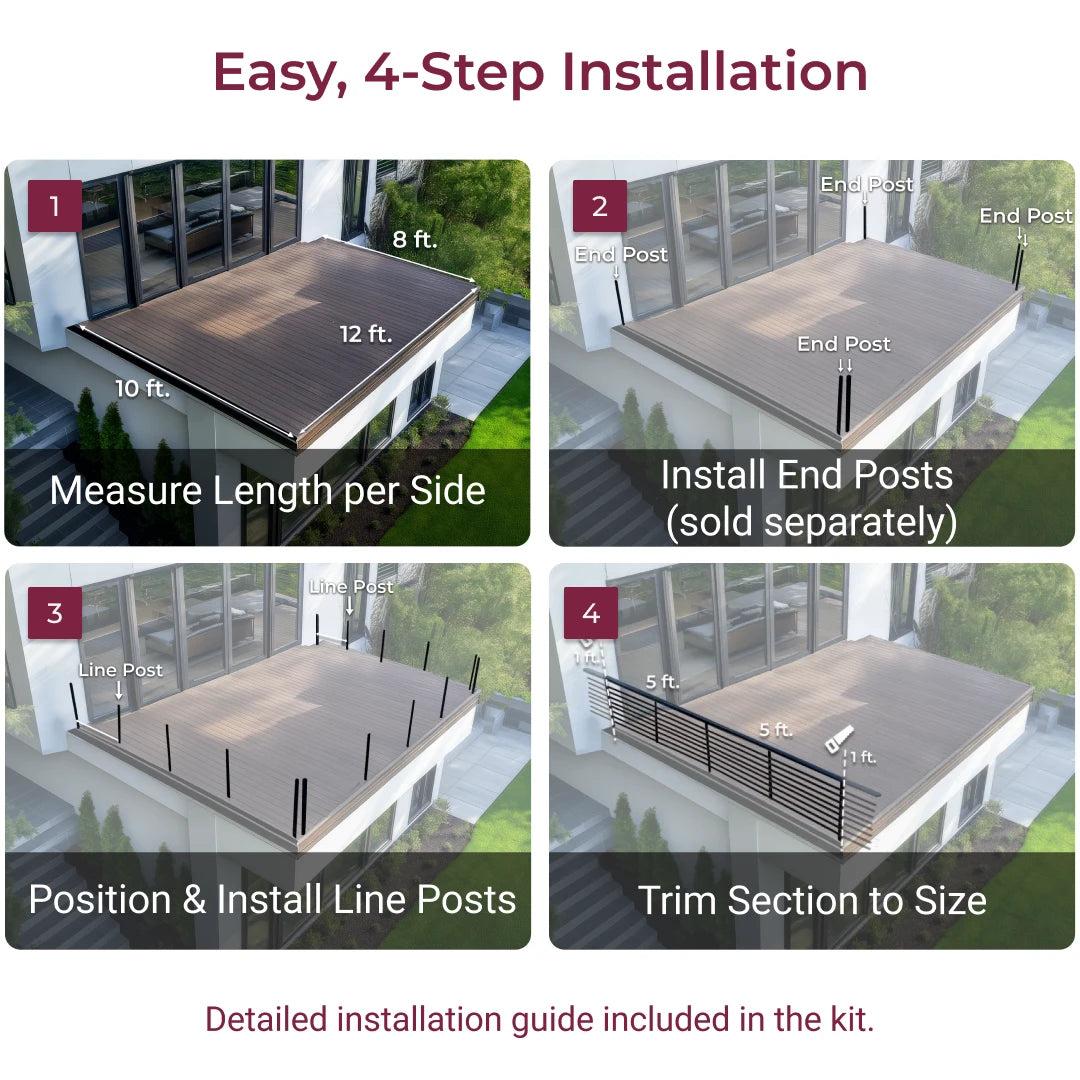
Step 2 - Measure Your Space
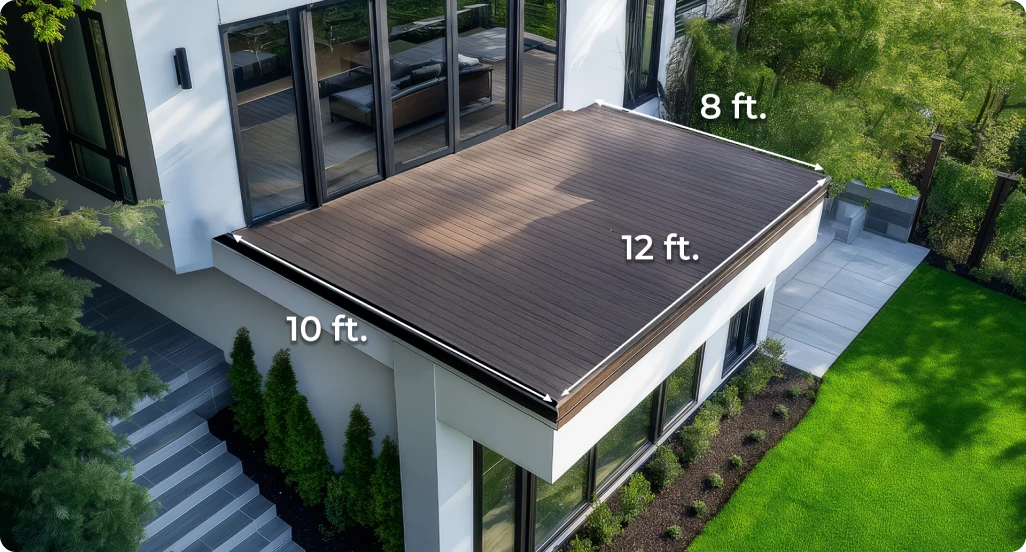
Use a tape measure to estimate the total length of the area where you want to install the guard rail. For instance, your dimensions are 12’, 8’, and 10’. Your total length becomes 30’.
Step 3 - Estimate the Number of Sections Needed
With the length of each run, determine how many section kits are needed.
To do that, divide the total length of your space by 6’ (unless you plan to use 4’ rails), and round up.
For instance, on the side that measures 12’, it’s 12/6 = 2 x 6’ kits.
Similarly, on the side that measures 8’, it’s 8/6 = 1.3 = 2 x 6’ kits.
In this case, you can also go with 2 x 4’ kits.
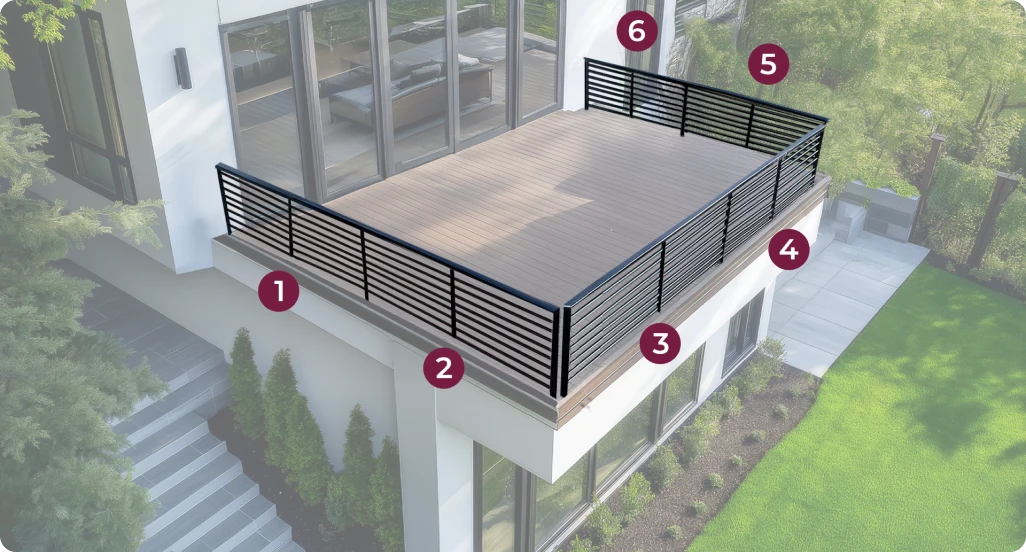
Step 4 - Buy Corner Posts (Optional)
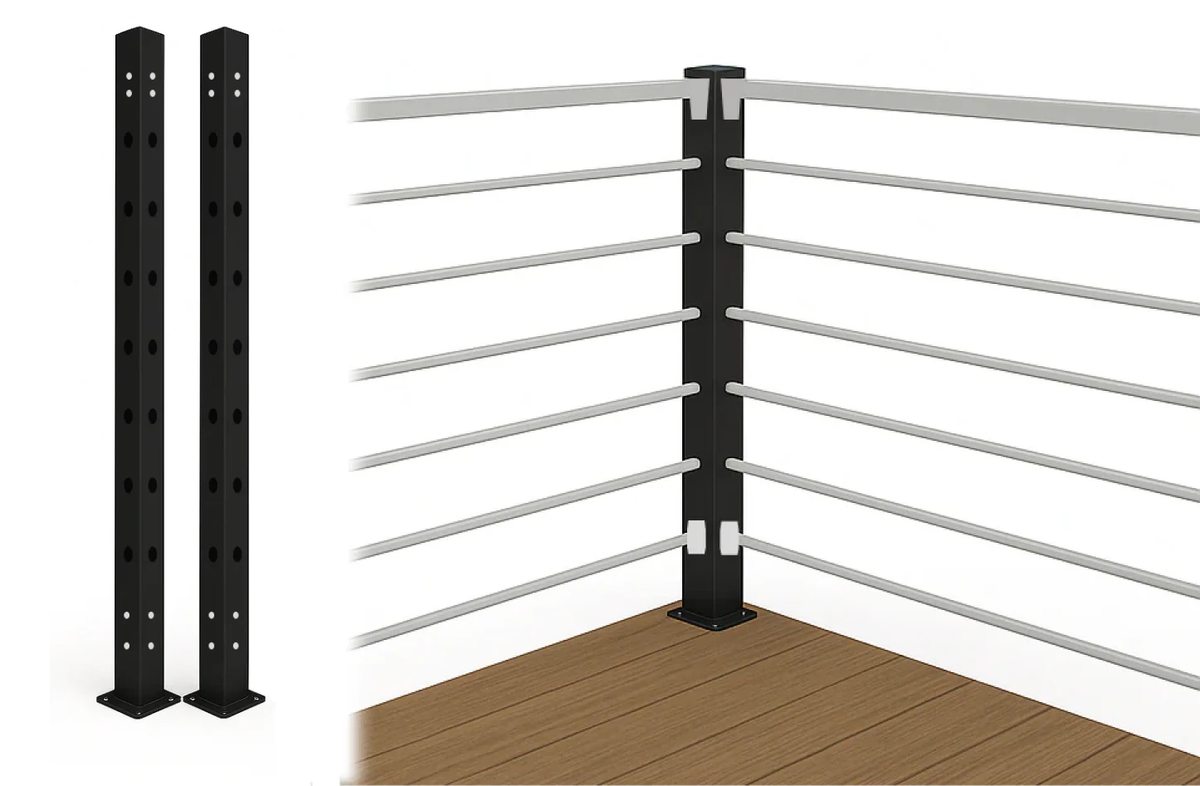
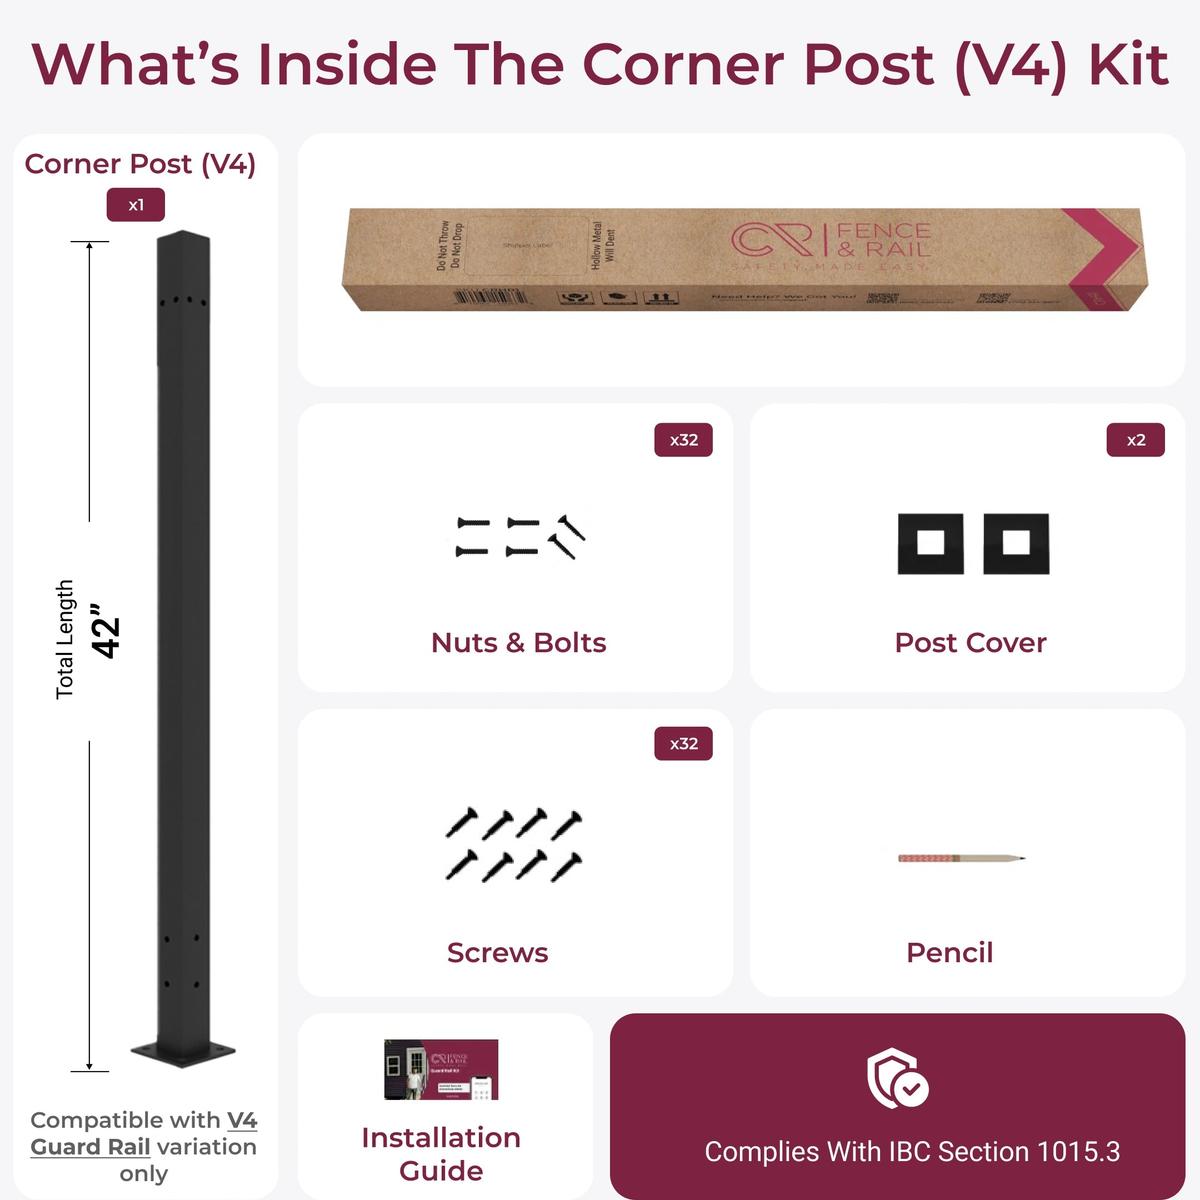
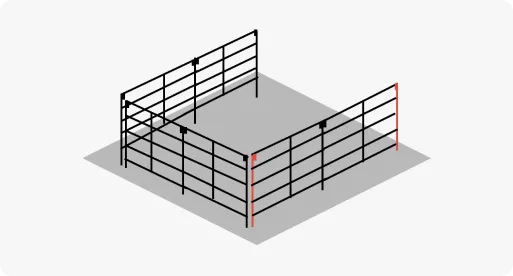
To account for any turns along the length of your railing system, you’ll need corner posts that are designed to connect the rail from two sides at a 90° angle.
Simply count the corners across the span of your railing to find the number of corner posts you’ll need to purchase.
Phase 2: Trim Railing Sections
You can trim the guard rail sections in either one of the two ways
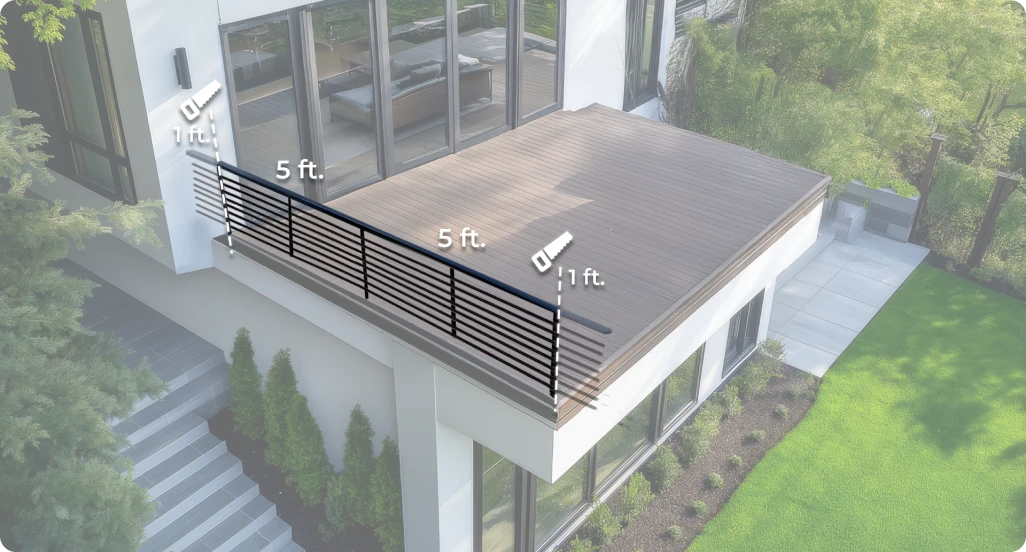
Option 1: Cut All Sections Equally (Best Look)
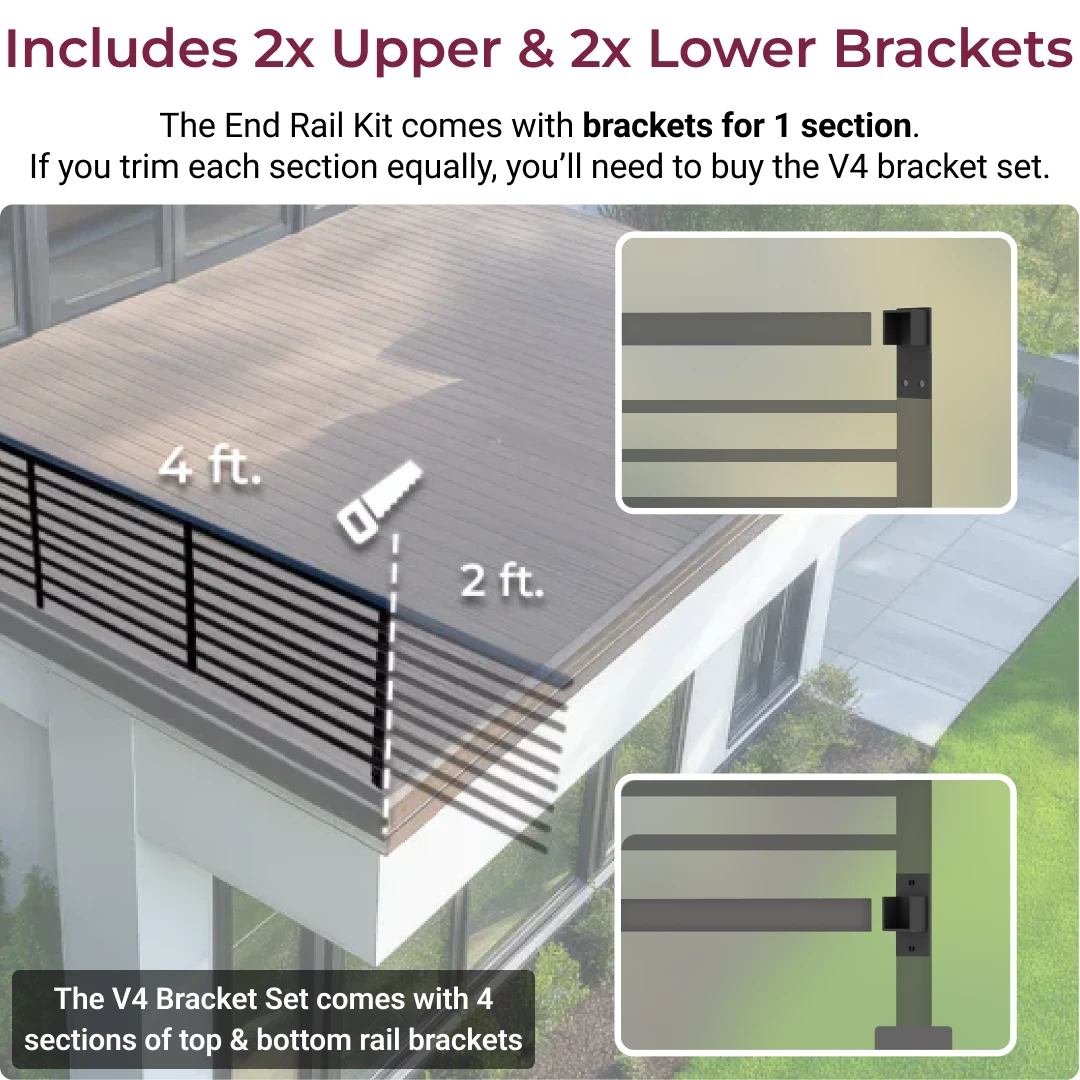
(Required buy additional Upper/Lower Brackets) in addition to the 2 sets of brackets included with the 2 End Posts Kit.
Measure the length of one run and then calculate the number of kits. If one side measures 10’, then:
10/6 = 1.6 = 2 x 6’ kits.
For your 6’ railing to fit evenly along the 10’ run, you’ll need to measure & cut off 1’ from the railing sections of both the kits.
| Appearance |  |
| Ease of Install | |
| Time Investment | |
| Extra Parts Needed | 2 Upper Rail & 2 Lower Rail Brackets Required per Section |
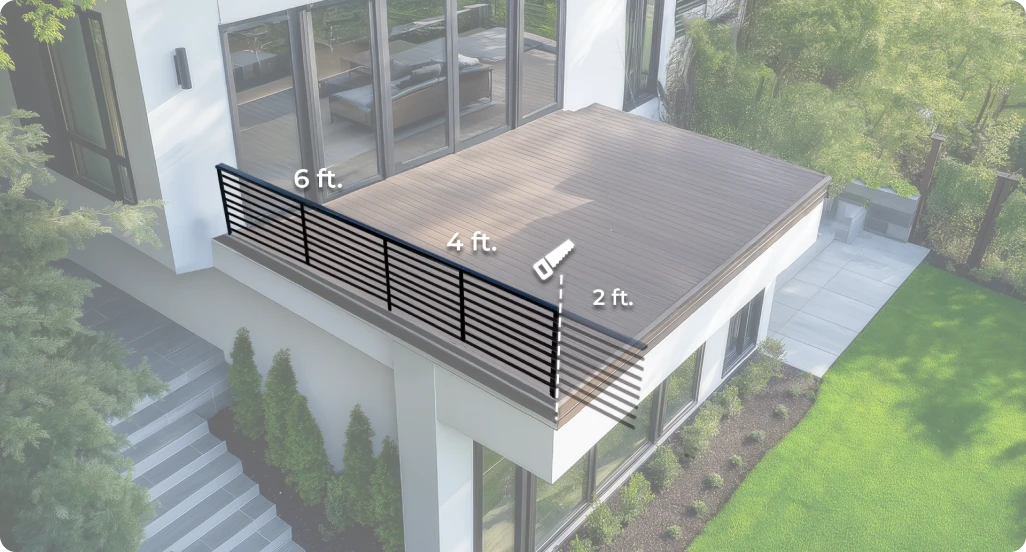
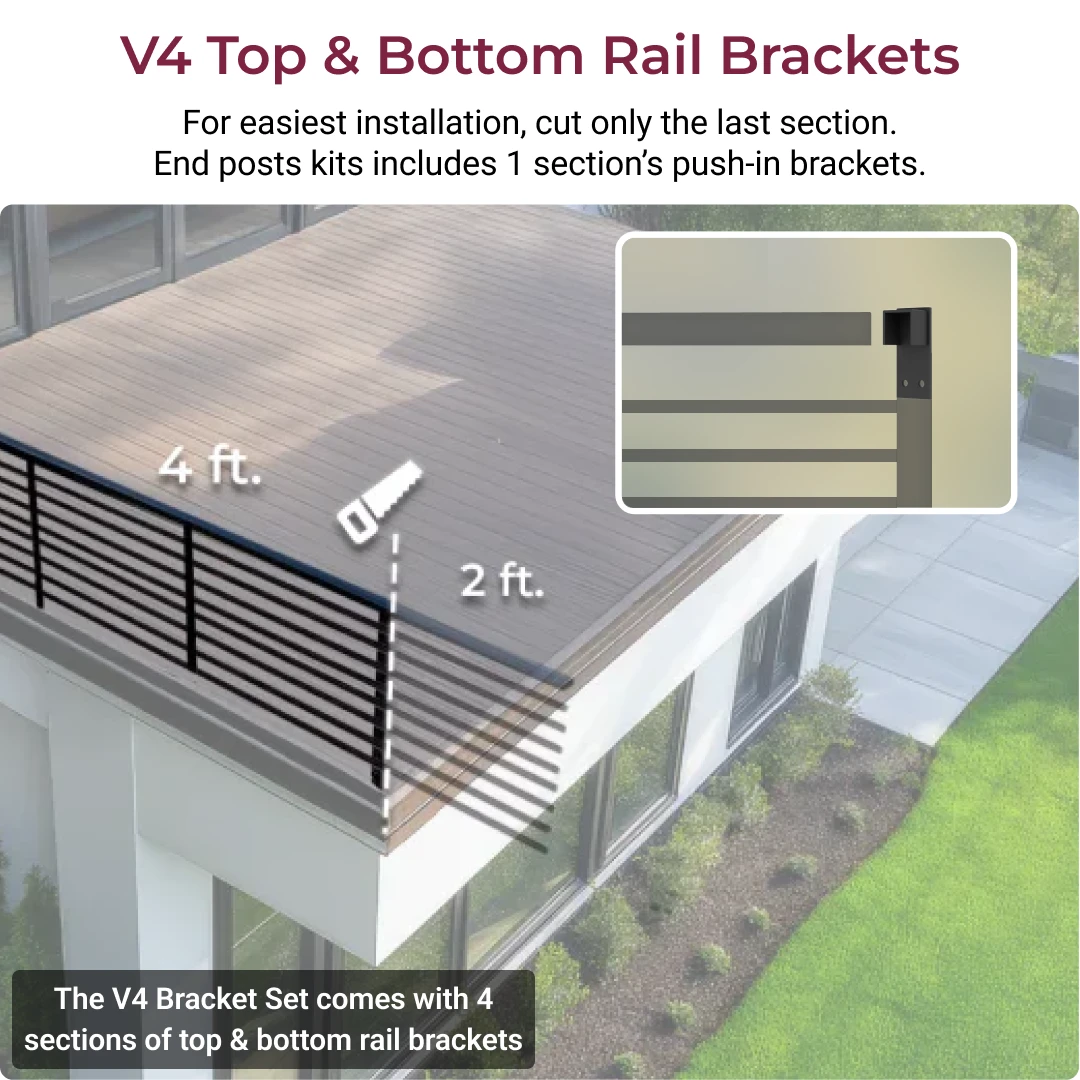
Option 2: Trim Only The Last Section (Easiest to Install)
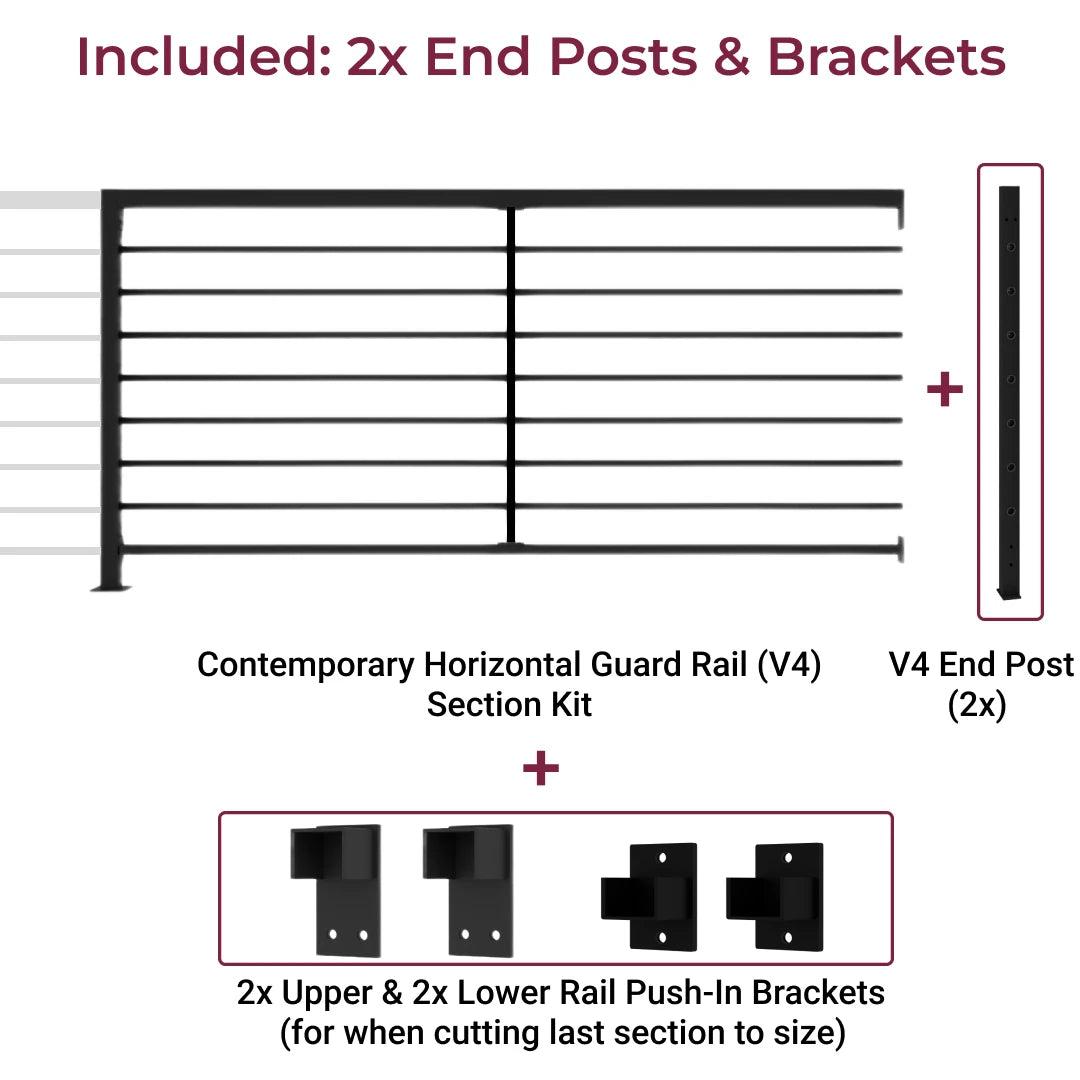
Included 2 sets of adjustable brackets in the 2 End Posts Kit.
(Required adjustable brackets are included in End & Corner Post.)
Measure the length of one run and then calculate the number of kits. If one side measures 10’, then:
10/6 = 1.6 = 2 x 6’ kits.
With this method, you’ll need to trim the railing from one kit only — cut off 2’ from one section. You’ll be left with an uneven 6’ + 4’ railing along the side.
| Appearance |  |
| Ease of Install | |
| Time Investment | |
| Extra Parts Needed | None. When purchasing the 2 End Posts Kit, included are 2 sets of ajdustable brackets for one section to be trimmed down to size. |
Phase 3: Install All Posts
Step 1 - Mark & Install End Posts
Position the first end post where you want your guard rail to start, and the second end post where you want the guard rail to end.
Then position corner posts on spots where your railing turns round a corner.
Ensure the posts are level and mark the spots for drilling. Use the anchors & mounting screws from your kit to secure the end posts to the ground.
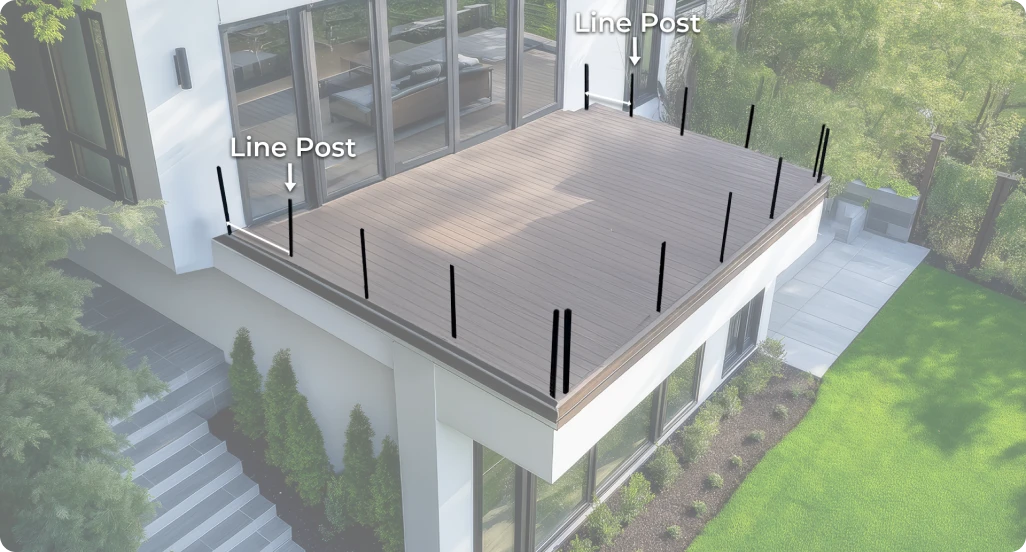
Step 2 - Evenly Space Out & Install All Posts
Measure the length of the rail section from your starting point and position subsequent line posts between the end & corner posts. Repeat, till you reach the end point.
Mark & drill holes into the ground. Then use the anchors & mounting screws to secure all your posts to the surface.
Phase 4: Install Railing Sections
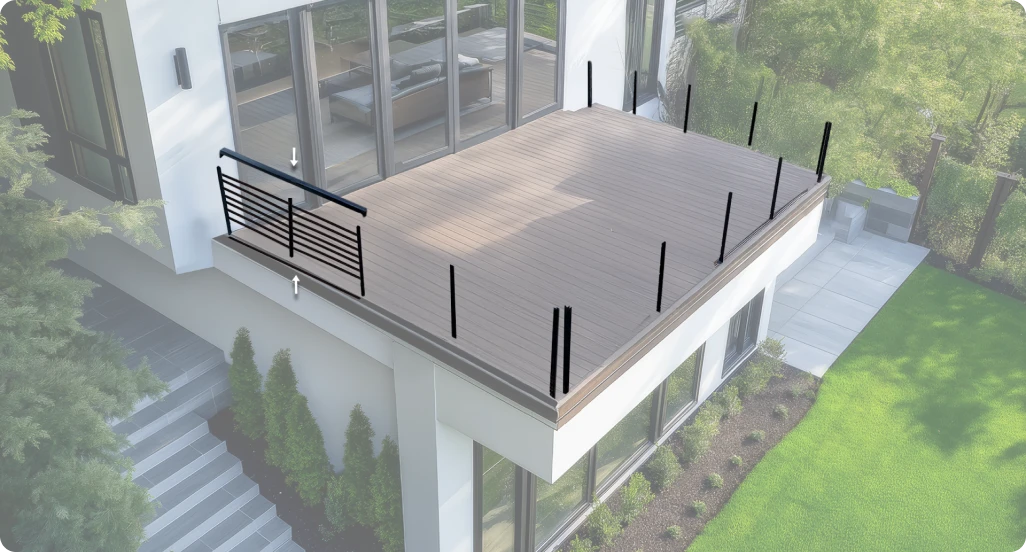
Step 1 - Attach Lower Rail, Balusters, & Upper Rail
Fix the lower rail from your section kit to the end post and connect it to the line post on the other end.
Slide the balusters into the lower rail. The pre-fitted square tube seals in the bottom rail will hold the balusters snug in place.
Insert the upper rail over the balusters and secure it between the two posts.
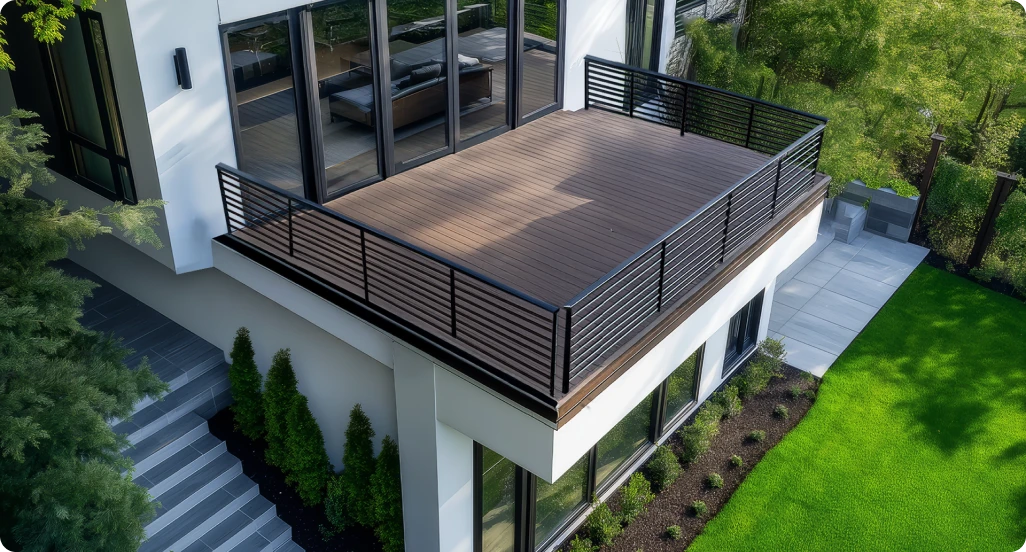
Step 2 - Repeat The Process
To ensure your guard rail adequately covers your entire space, simply repeat step 1 and complete your installation.

Confused?
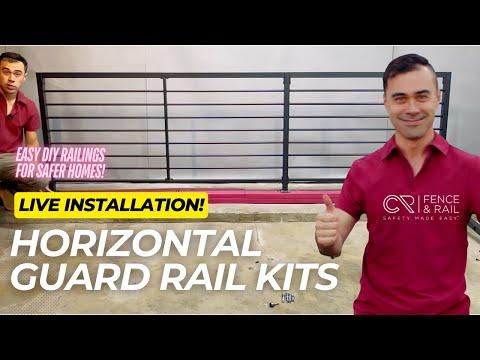
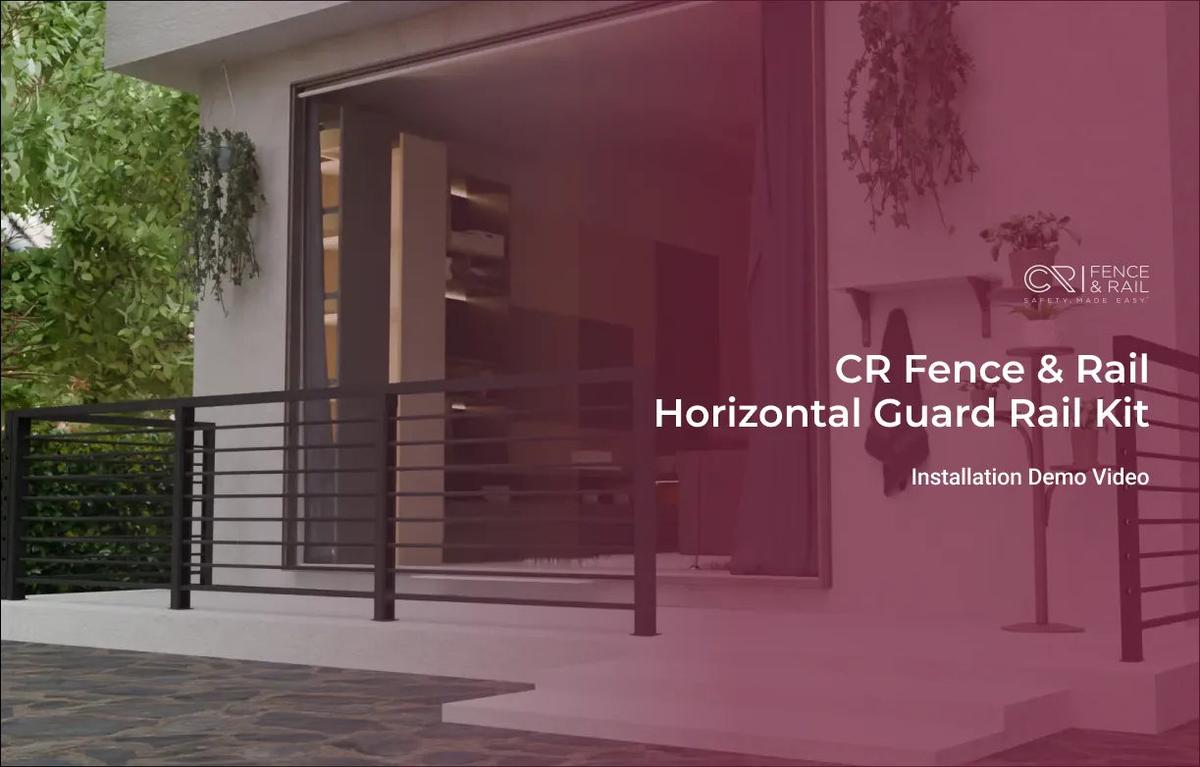
Watch the installation demo video below for step-by-step instructions for setting up your guard railing.
If you need help figuring out how many units to buy, we’re here to help! Let us plan your railing system.
Watch Installation Video
 Build Your Railing System Now
 See Other Guard Rail Styles
 Classic Series
Classic Guard Rail Kit (V1)
(Without Top Rail)
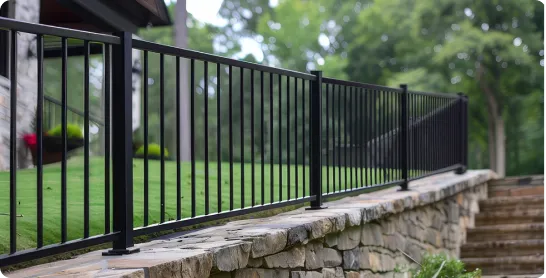
starts at $31/feet
 Contemporary Series
Vertical Guard Rail Kit (V3)
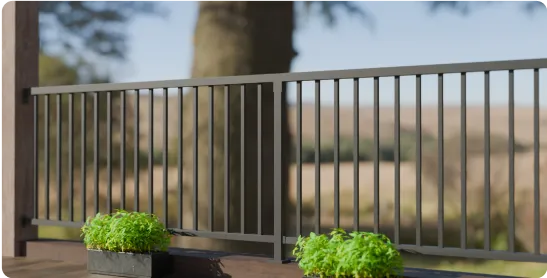
starts at $35/feet
Contemporary Series
Horizontal Guard Rail Kit (V4)
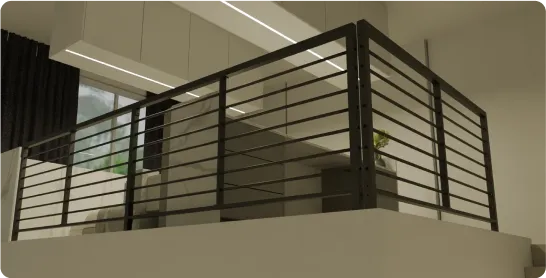
starts at $35/feet
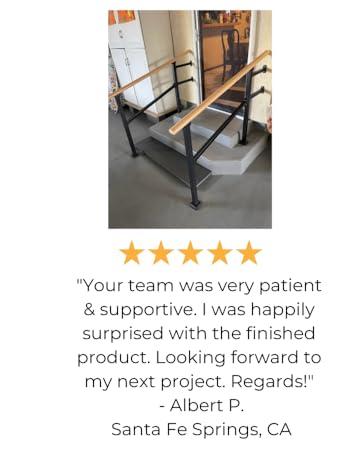
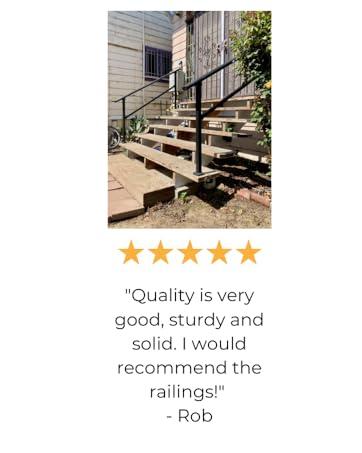
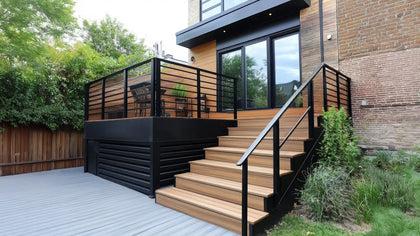
Safety, Made Easy For Our Happy Customers
FAQ
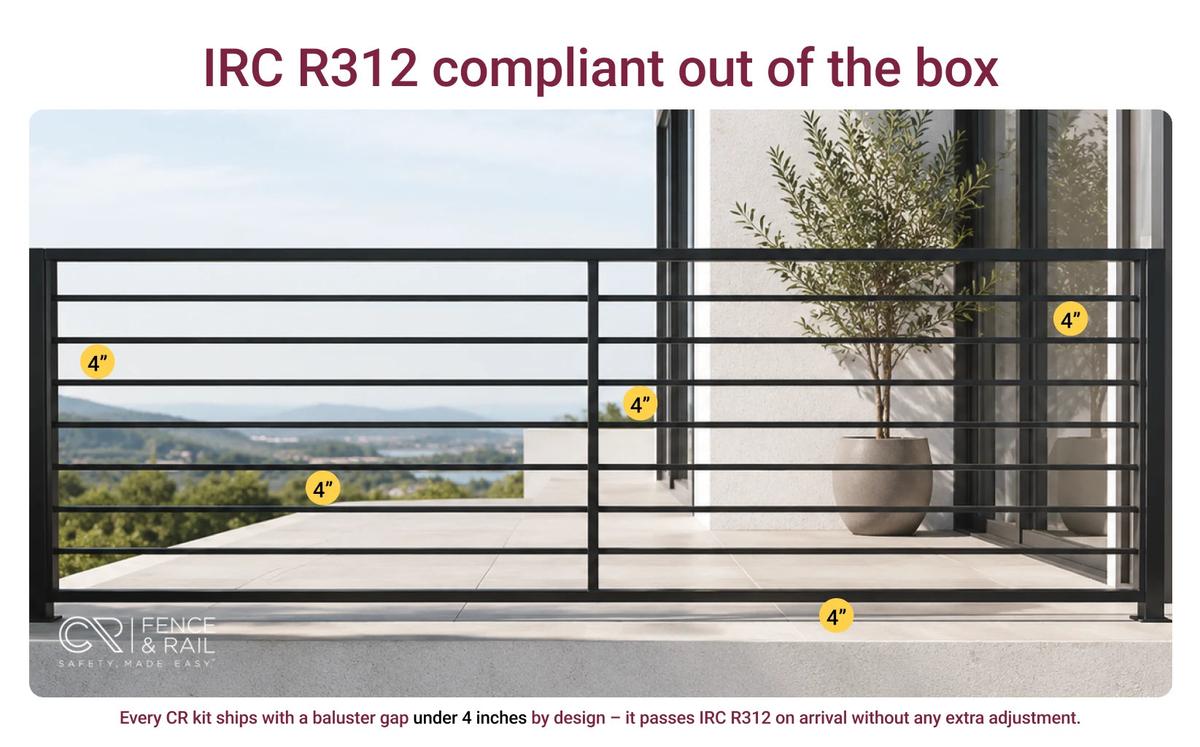
Does the guard rail kit comply with U.S. housing codes?Our systems are designed against the IBC and IRC guard requirements, and our full engineering is published on our Engineering & Code Compliance page. We hold no third-party evaluation report, and we say so there. Read more about housing codes and compliances here.
Can the guard rail post be cut to size?No, the guard rail posts cannot be cut to size as they are designed for optimal strength and safety. However, the sections of the railing can be cut to fit your specific installation requirements, allowing for flexibility while maintaining the integrity of the posts.
What is the clearance between the ground and the bottom rail?The vertical clearance between the ground and the bottom rail is approximately 3-3/4 inches, providing enough space for proper installation while maintaining safety and aesthetics.
Can this railing kit be painted?Absolutely! Our rails feature a tough, 5-layer black powder-coated finish that withstands extreme weather, preventing flaking, chipping, and fading. If you want to change the color, outdoor weather-resistant paint will adhere to the protective layer, allowing you to customize your railings while adding extra protection against the elements.
Can I return the extra leftover items from my kit after installation?No, we do not accept leftover items as returns, since we cannot repackage them and they will end up in a landfill.
Can a top rail be added to this design?Yes, you can add a top rail to this design! For added safety and a more finished look, simply opt for our Guard Rail Kit with the top rail variant. This allows you to upgrade your existing setup without hassle and create a continuous, polished appearance.
Do I require a handyman to install this kit?All our rail kits are designed to be easy to install by a single individual. As long as you’re comfortable with using simple power tools, you should be able to handle the job without any special assistance.
Can this guard rail be attached to a wall?Yes, the Guard Rail Kit can be attached to a wall. You can expand your railing system by connecting it to a wall or using an end post, making it flexible for different installation needs. The kit includes everything required for a secure attachment to either wood or concrete surfaces.
What if I’m not satisfied with the product?We want you to be completely satisfied with your purchase. If for any reason you’re not happy with the product, we offer a 90-day money-back guarantee. Simply reach out to our customer support team, and they will guide you through the return process to ensure a smooth experience.
Get a Quote in 30 Minutes(6am-6pm PST)
On strength claims: we hold no ICC-ES evaluation report or Intertek CCRR for these systems. Our load cases, material yields and the full arithmetic behind every span figure are published, with a live calculator, on our Engineering & Code Compliance page.
* What "IBC compliant" means here. Our guard systems are designed against the guard requirements in the IBC and the IRC — the 200 lb concentrated load applied in any direction, the 50 lb infill load, the 4 in sphere rule and the required guard heights. We hold no ICC-ES evaluation report and no Intertek CCRR, so this is our own engineering rather than a third-party rating, and your building official has the final say. The load cases, the material yields and the full arithmetic are published, with a live calculator, on our Engineering & Code Compliance page.