 Ships in 1-2 days
 365 days return
 We manufacture
 Average customer rating


6' Classic Guard Rail Kit (V1)


Build a Complete Guard Rail System
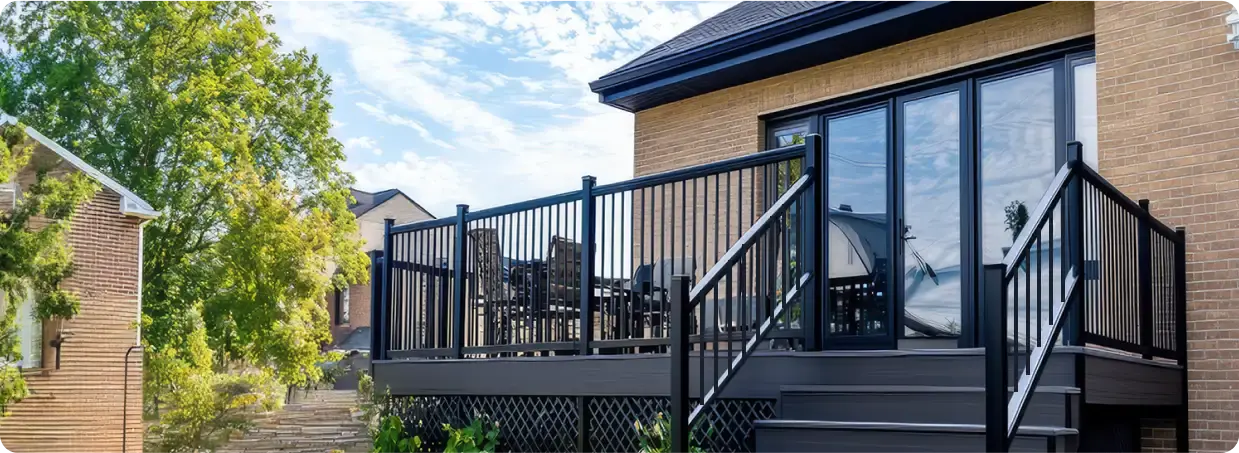
Safety, Made Easy For Our Happy Customers


What You’ll Need to Build Your Railing System

V1 Guard Rail

V1 Guard Rail Posts

V1 Stair Guard Rail

V1 Guard Rail Gate
Our business hours are between 9 am and 6pm (PST/UTC-8), Mondays to Sundays.
What Makes CR’s Guard Rails Reliable?

Meets IRC Section R312 Requirements
Our guard rails and hand rails comply with IRC Section R312 — ensuring a 4-inch sphere cannot pass through. Available in 36" and 42" heights for residential safety.

Meets IRC Table R301.5 Load Requirements
Built to last, our products meet the minimum uniformly distributed live load standards specified in IRC Table R301.5 — ensuring strength, stability, and long-term performance.

American Expertise You Can Trust
Our founders include a licensed architect and a real estate construction expert. You’re buying from people who understand safety and durability firsthand.

Post Strength & Durability
Tested to resist 234 lbs of force, each steel post is coated with 5 weatherproof layers for lasting protection from UV, rust, and corrosion.
Why Choose CR’s Guard Rail Over others?

High-Quality Anchors
CR’s anchors have the perfect height and thickness.
Competitors’ anchors are too short or too weak.

Heavy-Duty Welds
CR’s post has thick, strong welds on all 4 sides.
Competitors’ posts have questionable strength – welded on 2 sides only.

Thicker Metal, Stronger
CR posts are ~60%* more heavy duty
*CR's Post weighs 3.5lbs, whereas competitor posts are at ~2lbs.
Order Right & Install Your Railing, Easily
Step 1: Install Your Posts
Position end posts at the start and end of each run, and add corner posts at 90° turns.
Mark post locations, drill with the bits, and secure posts using the provided anchors and screws.
Check that each post is level before tightening.
Step 2: Assemble a Kit
Attach the lower rail between posts.
Slide balusters into the lower rail - pre-fitted seals keep them snug.
Secure upper rail with adjustable brackets.
Step 3: Connect Multiple Kits
Repeat the assembly process for each section kit.
Continue connecting kits seamlessly until your entire planned railing area is covered.
Trim Your Rail Sections for a Perfect Fit
Trimming is optional, but sometimes necessary to make sure your guard rail fits just right.

Option 1: Cut the last section only (gives an asymmetrical finish).

Option 2: Cut each section equally (gives a symmetrical finish).
Slideable brackets are already included in the kit. You won’t need to purchase separately.
Get a Quote in 30 Minutes(6am-6pm PST)
- Choosing a selection results in a full page refresh.
- Press the space key then arrow keys to make a selection.