10-year warranty
Modular, scalable design
International Building Code (IBC) compliant*
365-day return policy
Guard Rail Measurements
6’ Classic Guard Rail
Order Right & Install Your Railing, Easily
Phase 1: What To Buy
Step 1 - End Posts & Section Kits
You’ll need to buy section kits to complete your railing system.
Your end post kit contains -
- 1 end post
- Metal Base Plate Cover
- Project tools & hardware
A section kit consists of -
- 1 line post
- 1 upper rail
- 1 lower rail
- Vertical balusters
- Masonry & drill bits, lag screws, wedge anchors, brackets
- Metal Base Plate Cover
End posts are installed at the starting and end points of your railing system. Ideally, you’ll need two, or more in case you plan on installing it in sections.
You’ll need 2 end posts, per run.
Step 2 - Measure Your Space
Use a tape measure to estimate the total length of the area where you want to install the guard rail. For instance, your dimensions are 12’, 8’, and 10’. Your total length becomes 30’.
Step 3 - Estimate the Number of Sections Needed
With the length of each run, determine how many section kits are needed.
To do that, divide the total length of your space by 6’ (unless you plan to use 4’ rails), and round up.
For instance, on the side that measures 12’, it’s 12/6 = 2 x 6’ kits.
Similarly, on the side that measures 8’, it’s 8/6 = 1.3 = 2 x 6’ kits.
In this case, you can also go
with 2 x 4’ kits.
Step 4 - Buy Corner Posts (Optional)
To account for any turns along the length of your railing system, you’ll need corner posts that are designed to connect the rail from two sides at a 90° angle.
Simply count the corners across the span of your railing to find the number of corner posts you’ll need to purchase.
Phase 2: Trim Railing Sections
You can trim the guard rail sections in either one of the two ways
Option 1: Cut All Sections Equally (Best Look)
Measure the length of one run and then calculate the number of kits. If one side measures 10’, then:
10/6 = 1.6 = 2 x 6’ kits.
For your 6’ railing to fit evenly along the 10’ run, you’ll need to measure & cut off 1’ from the railing sections of both the kits.
Appearance | |
Ease of Install | |
Time Investment | |
Extra Parts Needed | None. Adjustable brackets are included with all V1 sections. |
Option 2: Trim Only The Last Section (Easiest to Install)
Measure the length of one run and then calculate the number of kits. If one side measures 10’, then:
10/6 = 1.6 = 2 x 6’ kits.
With this method, you’ll need to trim the railing from one kit only — cut off 2’ from one section. You’ll be left with an uneven 6’ + 4’ railing along the side.
Appearance | |
Ease of Install | |
Time Investment | |
Extra Parts Needed | None. Adjustable brackets are included with all V1 sections. |
Phase 3: Install All Posts
Step 1 - Mark & Install End Posts
Position the first end post where you want your guard rail to start, and the second end post where you want the guard rail to end.
Then position corner posts on spots where your railing turns round a corner.
Ensure the posts are level and mark the spots for drilling. Use the anchors & mounting screws from your kit to secure the end posts to the ground.
Step 2 - Evenly Space Out & Install All Posts
Measure the length of the rail section from your starting point and position subsequent line posts between the end & corner posts. Repeat, till you reach the end point.
Mark & drill holes into the ground. Then use the anchors & mounting screws to secure all your posts to the surface.
Phase 4: Install Railing Sections
Step 1 - Attach Lower Rail, Balusters, & Upper Rail
Fix the lower rail from your section kit to the end post and connect it to the line post on the other end.
Slide the balusters into the lower rail. The pre-fitted square tube seals in the bottom rail will hold the balusters snug in place.
Insert the upper rail over the balusters and secure it between the two posts.
Step 2 - Repeat The Process
To ensure your guard rail adequately covers your entire space, simply repeat step 1 and complete your installation.
Confused?
Watch the installation demo video below for step-by-step instructions for setting up your guard railing.
If you need help figuring out how many units to buy, we’re here to help! Let us plan your railing system.
What's Inside Your Kit
See Other Guard Rail Styles
FAQ
- Wood drill bit: 5/16” (M8) W x 3” (75mm) L
- Masonry drill bit: 5/16” (M8) W x 4-3/4” (120mm) L
- Wedge anchor: 5/16” (M8) W x 3-1/8” (80mm) L
- Lag screws: 5/16” (M8) W x 1.9/16” (40mm) L
When installing our posts on any type of flooring (e.g., composite wood) and it is too thin, you will need to purchase longer screws or anchors elsewhere in order for the products to be mounted properly on the inner floor.
We’ll provide all the fasteners you’ll need, including screws for attaching the posts to wood and plastic, as well as anchors for cement and masonry. The installation process will be easiest with a handheld power drill or hammer drill, and a set of screwdriver bits — but any set of screwdrivers will work in a pinch.
Most importantly, you’ll want to make sure you choose a post height that’s the right size for your installation scenario or as per building code. If in doubt, it’s best to err taller, because you can always cut down the rail to fit.
Absolutely! All our kits come powder-coated with a 5-layer black finish that’s made to withstand even the most extreme weather conditions. This protective layer defends against flaking, chipping, scratches, and color deterioration. Outdoor paint of any color will adhere to the protective layer — in fact, weather-resistant paint can even add an additional layer of defense against the elements, while customizing your rails to look exactly the way you want.
Our railing kits come with the necessary drill bits and wedge anchors to secure the posts onto any surface, be it wood, concrete, or brick. If you are planning on installing the posts on harder surfaces like granite, you will need a diamond drill bit (5/16" x 3.5")—which provide for free. Send us a message if you need one.
To make the installation process seamless, we’ve also included a depth-measuring pencil, washers, and a hex nut driver.
For more instructions on how you can install the railing posts, watch this video:
If you need more information about the types of drills you can use with our parts, refer to this:
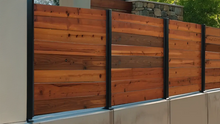
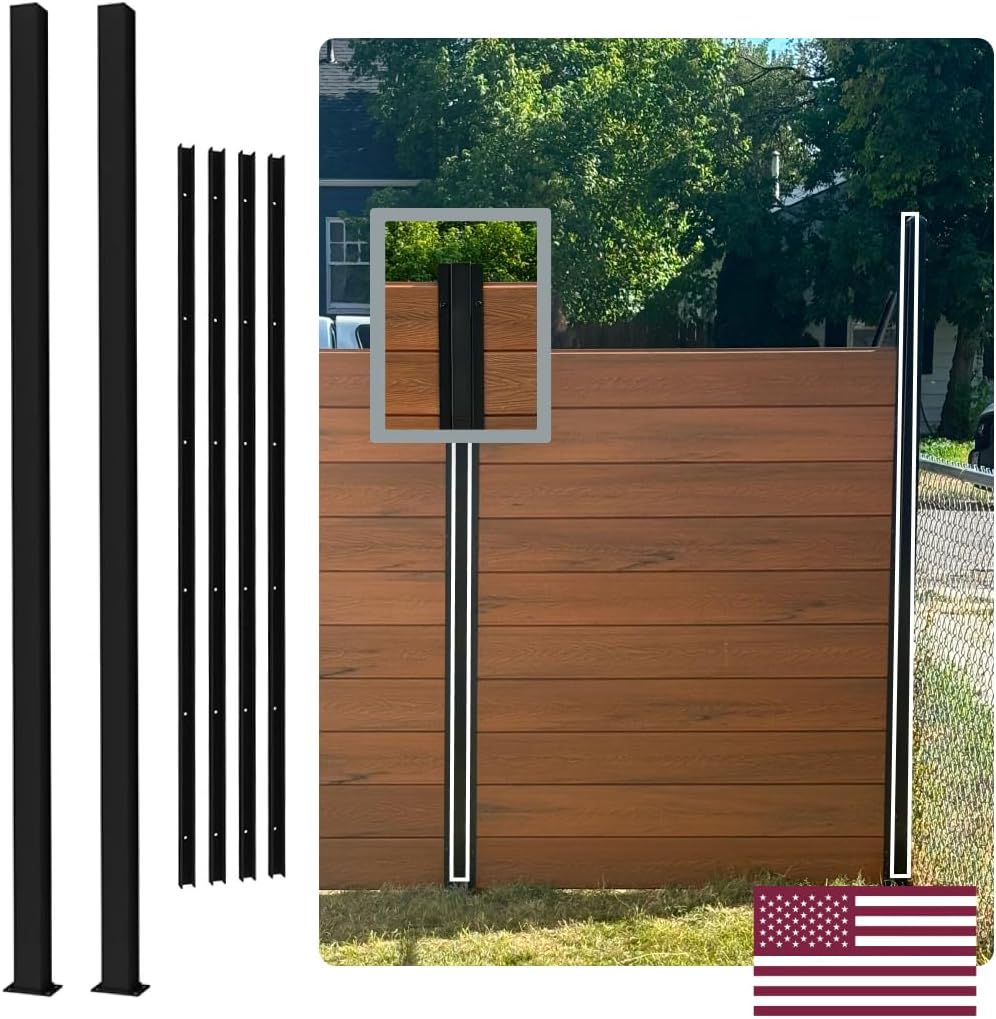
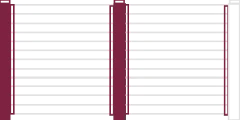
Our Fence Kits come with the screws, parts, plain posts, and the fence channels. However, they do not come with planks.
Cleaning your kits is easy! Our 5-layer weather-resistant coating already protects against most stains, and dirt is easy to clean off. Just wet a non-abrasive or microfiber cleaning cloth with water, and wipe the kits down to clear away any dust.
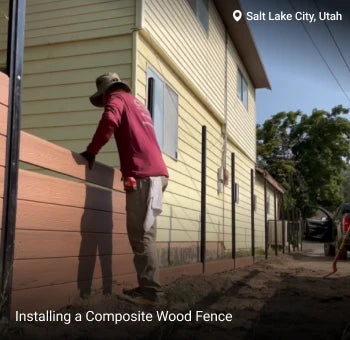
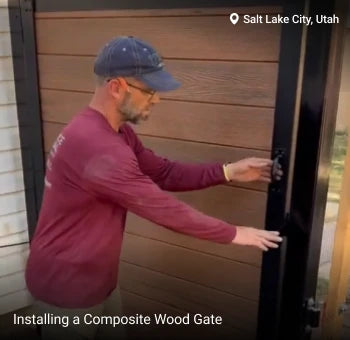
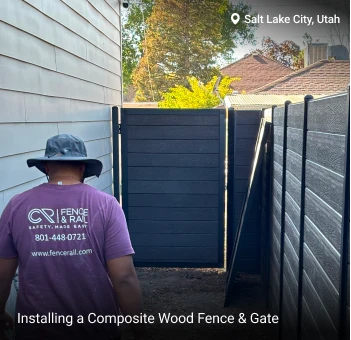
All our fences are designed to be easy to install in an hour or less. As long as you’re comfortable using simple power tools, you should be able to handle the job without any special assistance. In fact, more than 3,000 happy customers say their railings were remarkably fast and easy to install!