 Ships in 1-2 days
 365 days return
 We manufacture
 Average customer rating


Rated 4.7 by 1,803 DIY-ers

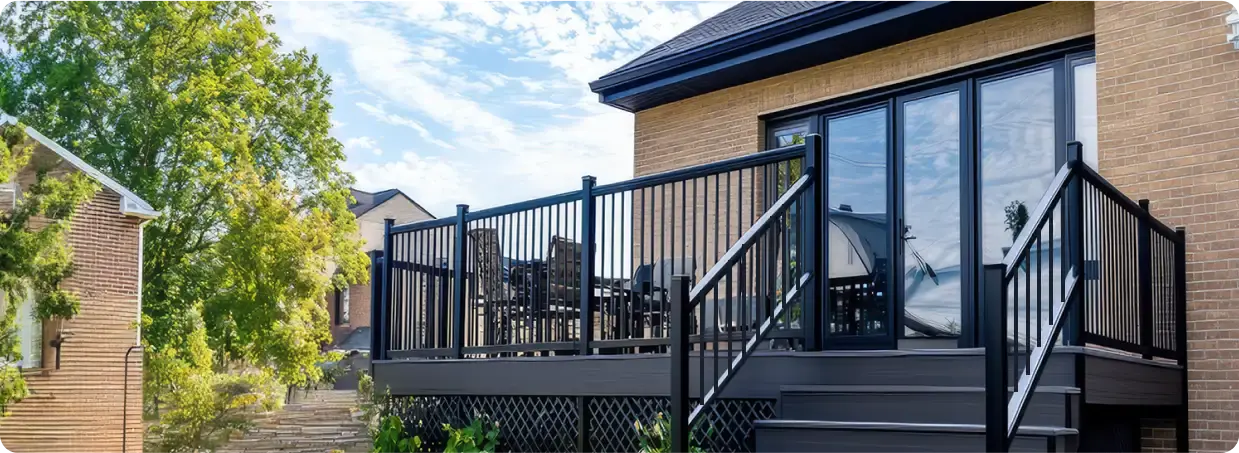
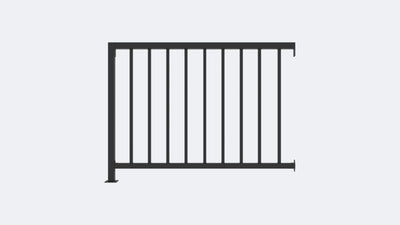
6' Classic Guard Rail Kit (V1)
starts at $97.97

6' Contemporary Vertical Guard Rail Kit (V3)
starts at $97.97

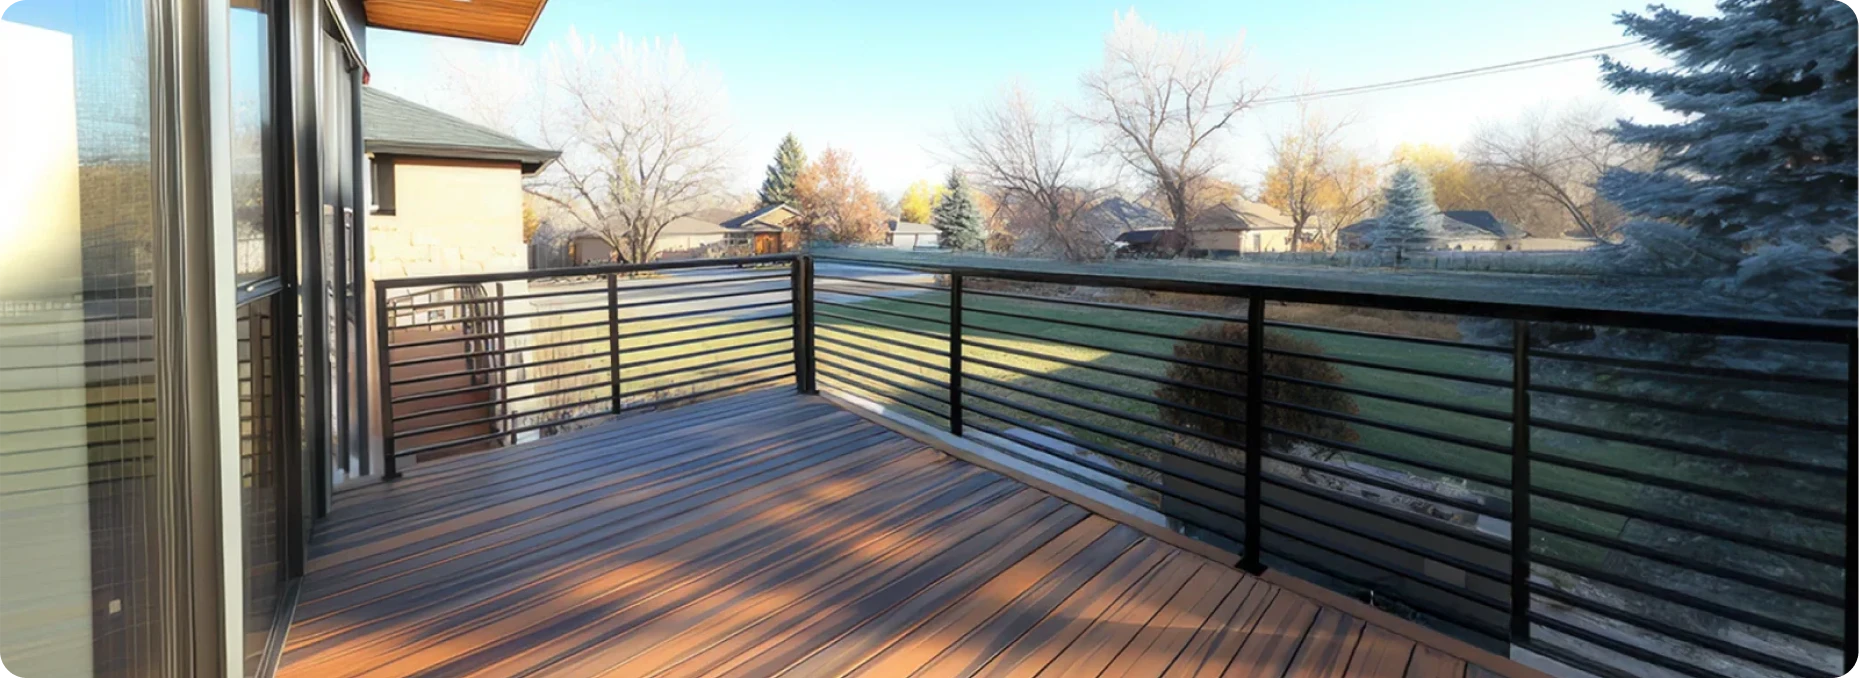
6' Contemporary Horizontal Guard Rail Kit (V4)
starts at $97.97


Loading Accessories...
Preparing product data...
Let us help plan your railing project
Click on the button below to submit a custom quote request. Our team will design your railing system and share a personalized shopping list.


Why Choose CR’s Guard Rail Over others?

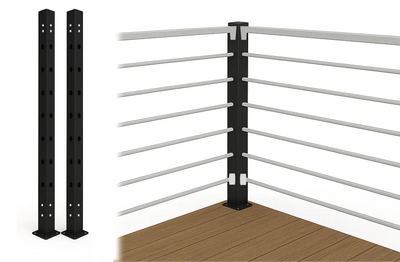
High-Quality Anchors
CR’s anchors have the perfect height and thickness.
Competitors’ anchors are too short or too weak.

Heavy-Duty Welds
CR’s post has thick, strong welds on all 4 sides.
Competitors’ posts have questionable strength – welded on 2 sides only.

Thicker Metal, Stronger
CR posts are ~60%* more heavy duty
*CR's Post weighs 3.5lbs, whereas competitor posts are at ~2lbs.

Not Just Claims. Actual Force Testing.
Anyone can say their rail is strong. We push ours to the breaking point—so you can see the truth.


Specifications

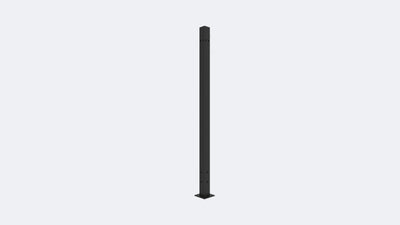
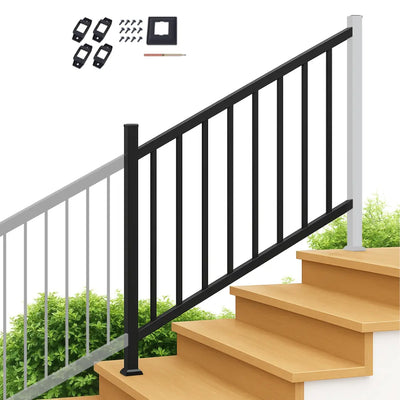
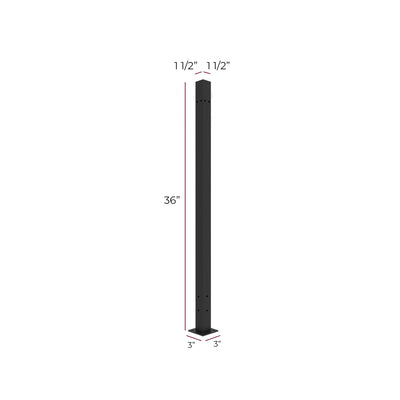
V1 Guard Rail

V1 Guard Rail Posts

V1 Stair Guard Rail

V1 Guard Rail Gate
Our business hours are between 9 am and 6pm (PST/UTC-8), Mondays to Sundays.
Specifications

4.5’ V3 Guard Rail Section Kit

6’ V3 Guard Rail Section Kit

V3 Guard Rail Posts
Our business hours are between 9 am and 6pm (PST/UTC-8), Mondays to Sundays.
Specifications

4.5’ V4 Guard Rail Section Kit

6’ V4 Guard Rail Section Kit

V4 Guard Rail Posts
Our business hours are between 9 am and 6pm (PST/UTC-8), Mondays to Sundays.
Installation Made Easy with 3 Simple Steps

Step 1: Install Your Posts

Step 2: Assemble a Section

Step 3: Connect Multiple Kits

Still Not Sure How to Install your Guard Rail Kit?
Watch the complete installation demo video to understand each step in details for easy installation of your Guard Rail Kit
Customer Reviews
Need More Details Before You Buy?
We’ve built a library of guides, test reports, and real installation footage to help you plan with confidence. Whether you’re comparing specs or figuring out your layout, we’ve got the proof and instructions to back it all up.

Product Literature
Brochures, specs, and reference sheets - everything in one place.

Installation Help
Step-by-step instructions and videos to guide your build.

Strength & Safety Reports
See how our kits performed in real-world strength and weather tests.

Warranty Details
Understand what’s covered in our 10-year product warranty.
Get a Quote in 30 Minutes(6am-6pm PST)
Our team is just one message away. Reach out for diagrams, clarifications, or personalized assistance. We’re DIY-friendly and happy to help!

- Choosing a selection results in a full page refresh.
- Press the space key then arrow keys to make a selection.