 Ships in 1-2 days
 365 days return
 We manufacture
 Average customer rating


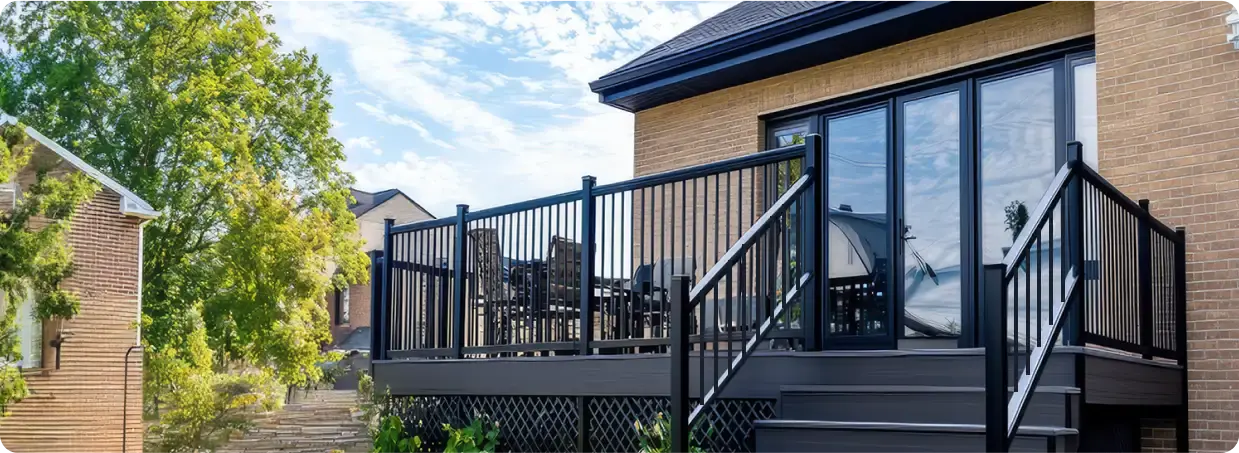
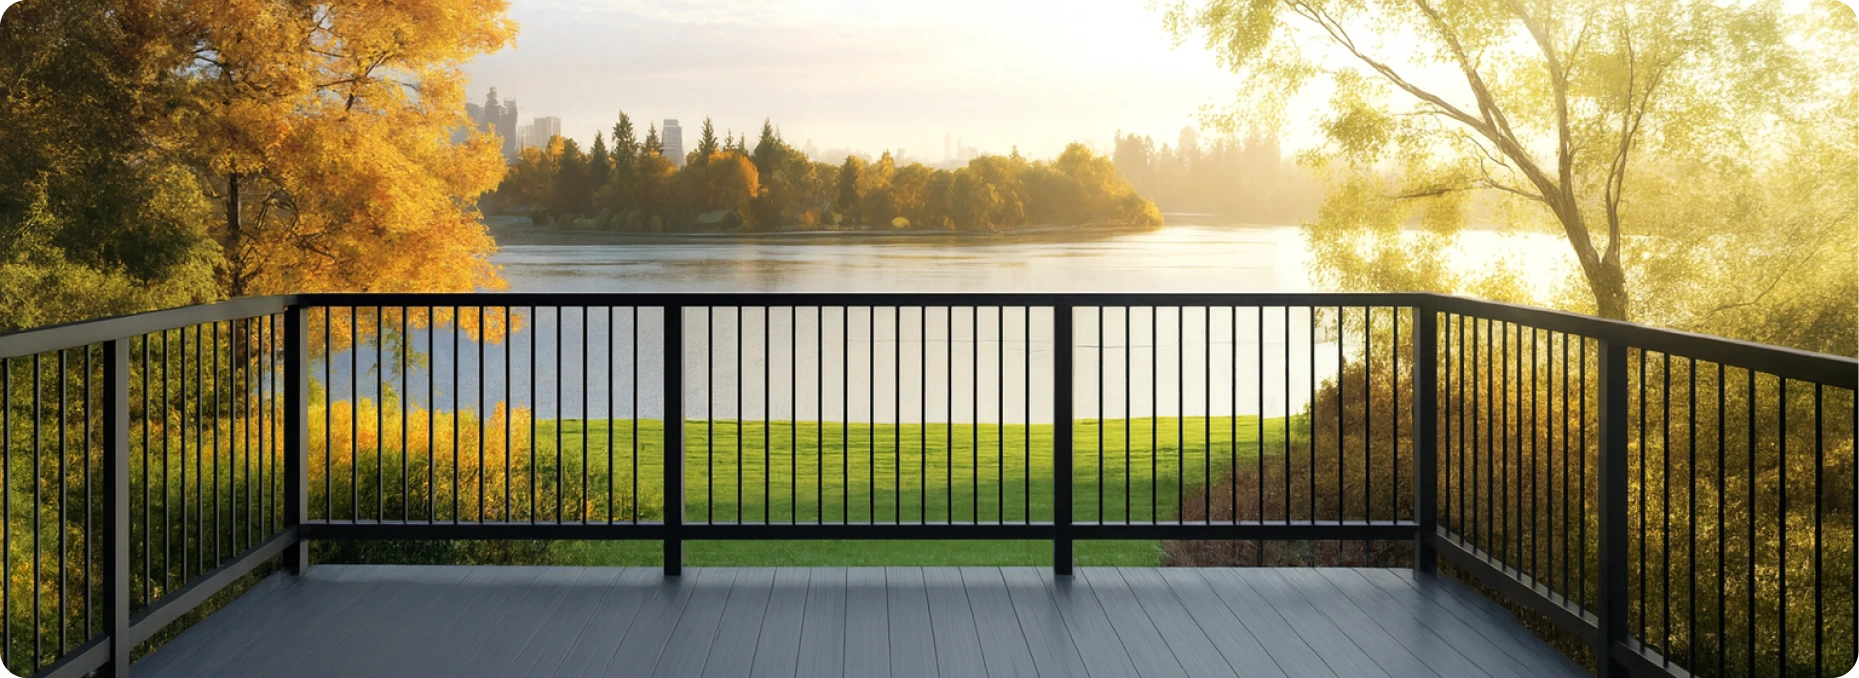
6' Classic Guard Rail Kit (V1)
starts at $97.97 + shipping

6' Contemporary Vertical Guard Rail Kit (V3)
starts at $97.97 + shipping

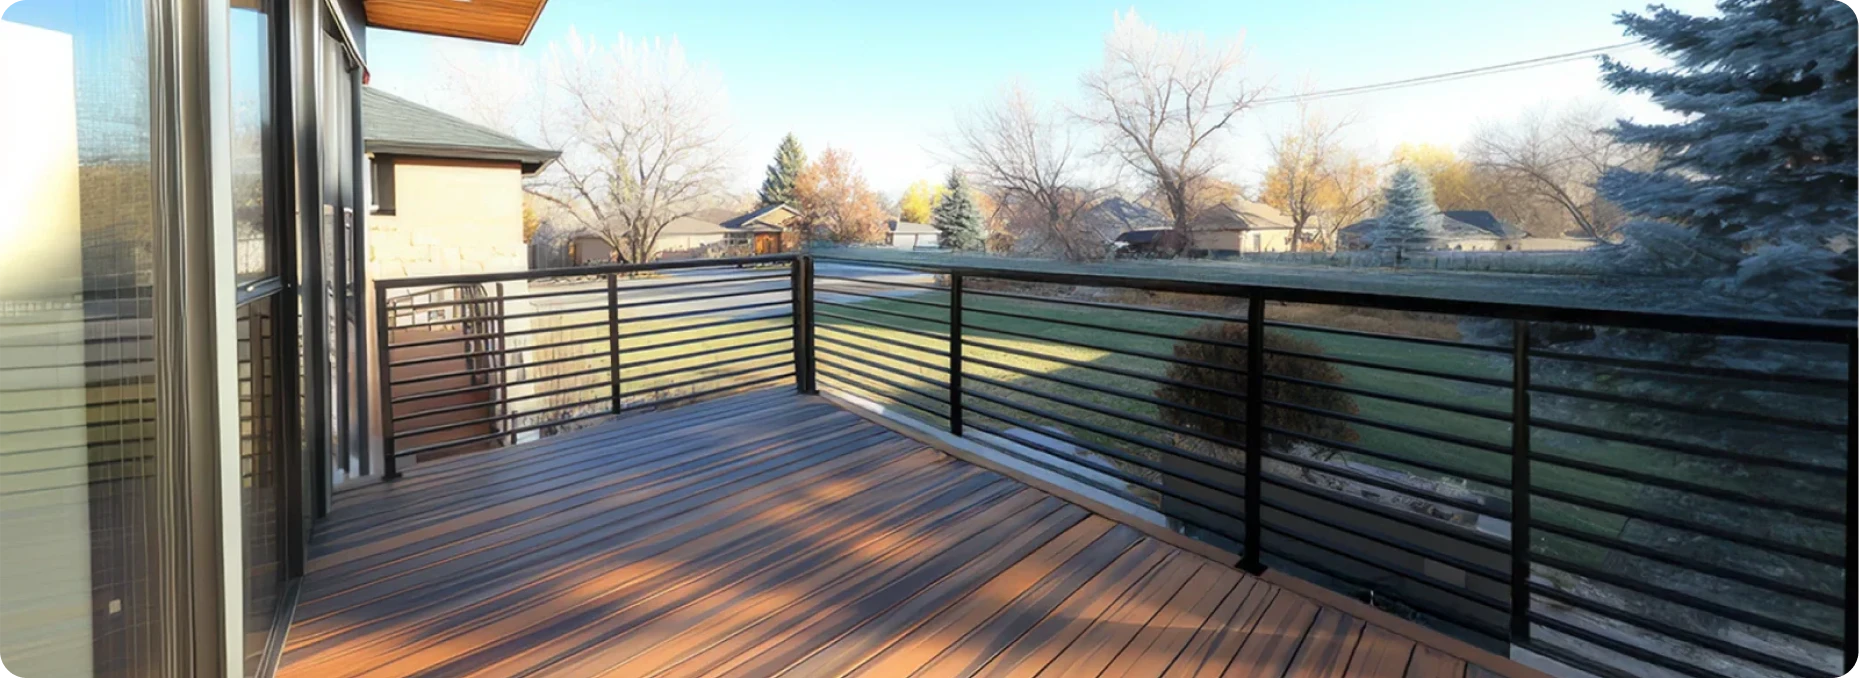
6' Contemporary Horizontal Guard Rail Kit (V4)
starts at $97.97 + shipping


Loading Accessories...
Preparing product data...


Build a Complete Guard Rail System
Build a Complete Guard Rail System
Build a Complete Guard Rail System
CR’s Testament to Durability & Safety

Meets R301.5 Load Requirement
Meets the industry standard for minimum uniformly distributed live load.

Heavy-Duty Welds
CR’s post has thick, strong welds on all 4 sides, which adds to its strength and durability.

Meet IRC R312 <4" Gap
Our guard rails comply with IRC’s 4” ball test, ensuring they’re safe to install anywhere.
What Makes Our Railings Stand Out?

CR’s RailSync™ Design
The modular build of our kits allow you to chain sections together to build out a complete system.

Galvanized Steel
Made with strong, thick, galvanized steel, CR’s posts are bound to stand stronger and last longer.

Commerical Powder Coating
5-layer coating prevents rust, protects against UV rays, dust, and fingerprints.
Why Choose CR’s Guard Rail Over others?

High-Quality Anchors
CR’s anchors have the perfect height and thickness.
Competitors’ anchors are too short or too weak.

Heavy-Duty Welds
CR’s post has thick, strong welds on all 4 sides.
Competitors’ posts have questionable strength – welded on 2 sides only.

Thicker Metal, Stronger
CR posts are ~60%* more heavy duty
*CR's Post weighs 3.5lbs, whereas competitor posts are at ~2lbs.
Order Right & Install Your Railing, Easily
Step 1: Install Your Posts
Position end posts at the start and end of each run, and add corner posts at 90° turns.
Mark post locations, drill with the bits, and secure posts using the provided anchors and screws.
Check that each post is level before tightening.
Step 2: Assemble a Kit
Attach the lower rail between posts.
Slide balusters into the lower rail - pre-fitted seals keep them snug.
Secure upper rail with adjustable brackets.
Step 3: Connect Multiple Kits
Repeat the assembly process for each section kit.
Continue connecting kits seamlessly until your entire planned railing area is covered.
Trim Your Rail Sections for a Perfect Fit
Trimming is optional, but sometimes necessary to make sure your guard rail fits just right.

Option 1: Cut the last section only (gives an asymmetrical finish).

Option 2: Cut each section equally (gives a symmetrical finish).
Slideable brackets are already included in the kit. You won’t need to purchase separately.
Trim Your Rail Sections for a Perfect Fit
Trimming is optional, but sometimes necessary to make sure your guard rail fits just right.

Option 1: Cut the last section only (gives an asymmetrical finish).

Option 2: Cut each section equally (gives a symmetrical finish).
Detachable brackets are already included in the kit. You won’t need to purchase separately.
Get a Quote in 30 Minutes(6am-6pm PST)
Our team is just one message away. Reach out for diagrams, clarifications, or personalized assistance. We’re DIY-friendly and happy to help!

- Choosing a selection results in a full page refresh.
- Press the space key then arrow keys to make a selection.